DIY Thrifted Sweater Heart Garland
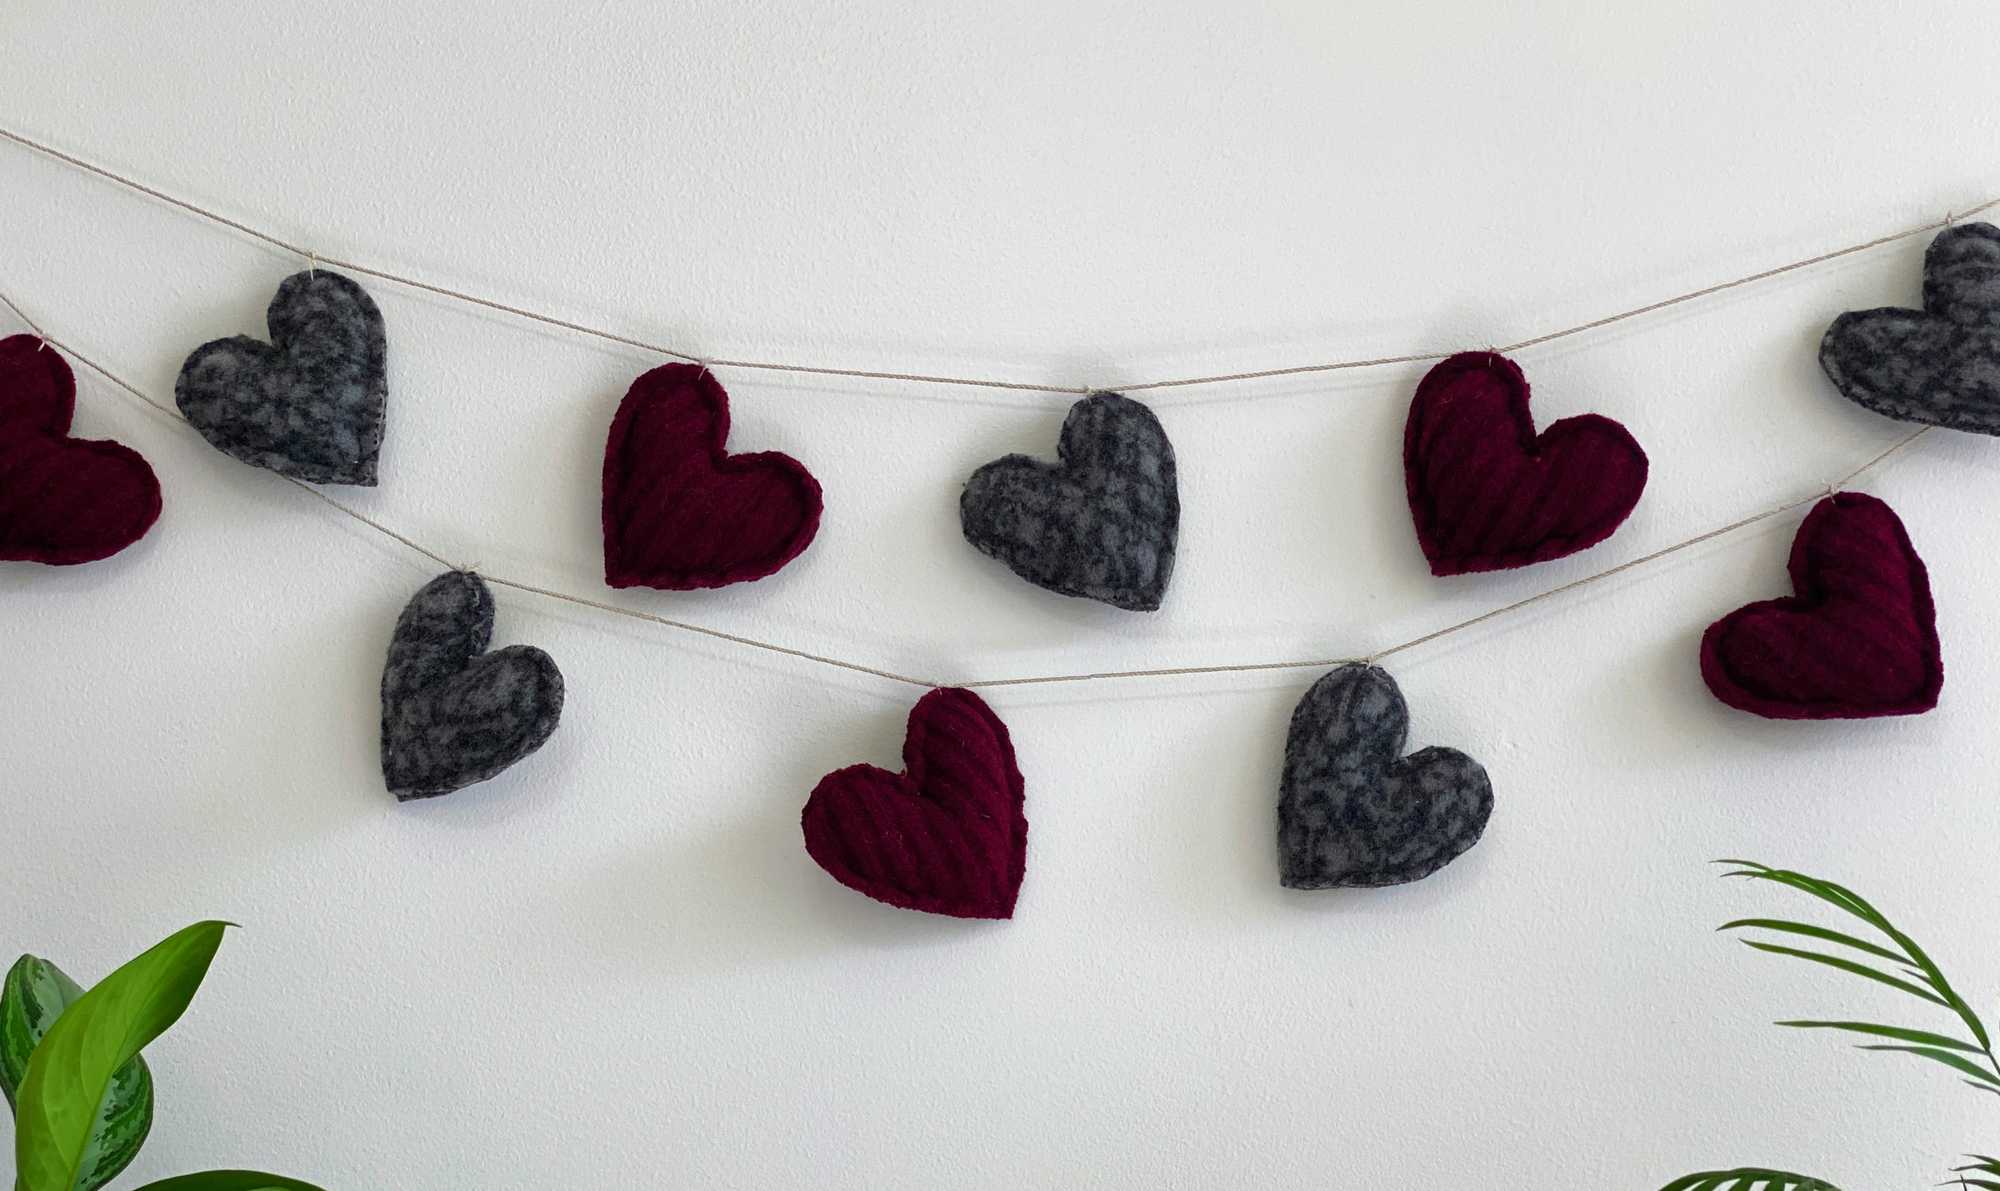
Can you believe this cute heart garland started out as a couple of thrifted wool sweaters? It’s true! Once we found the sweaters we liked, the process of felting the wool was simple and made it possible for us to cut out the hearts without the sweater fraying or unraveling. This is an easy project anyone could do. Here’s how you can make your own.
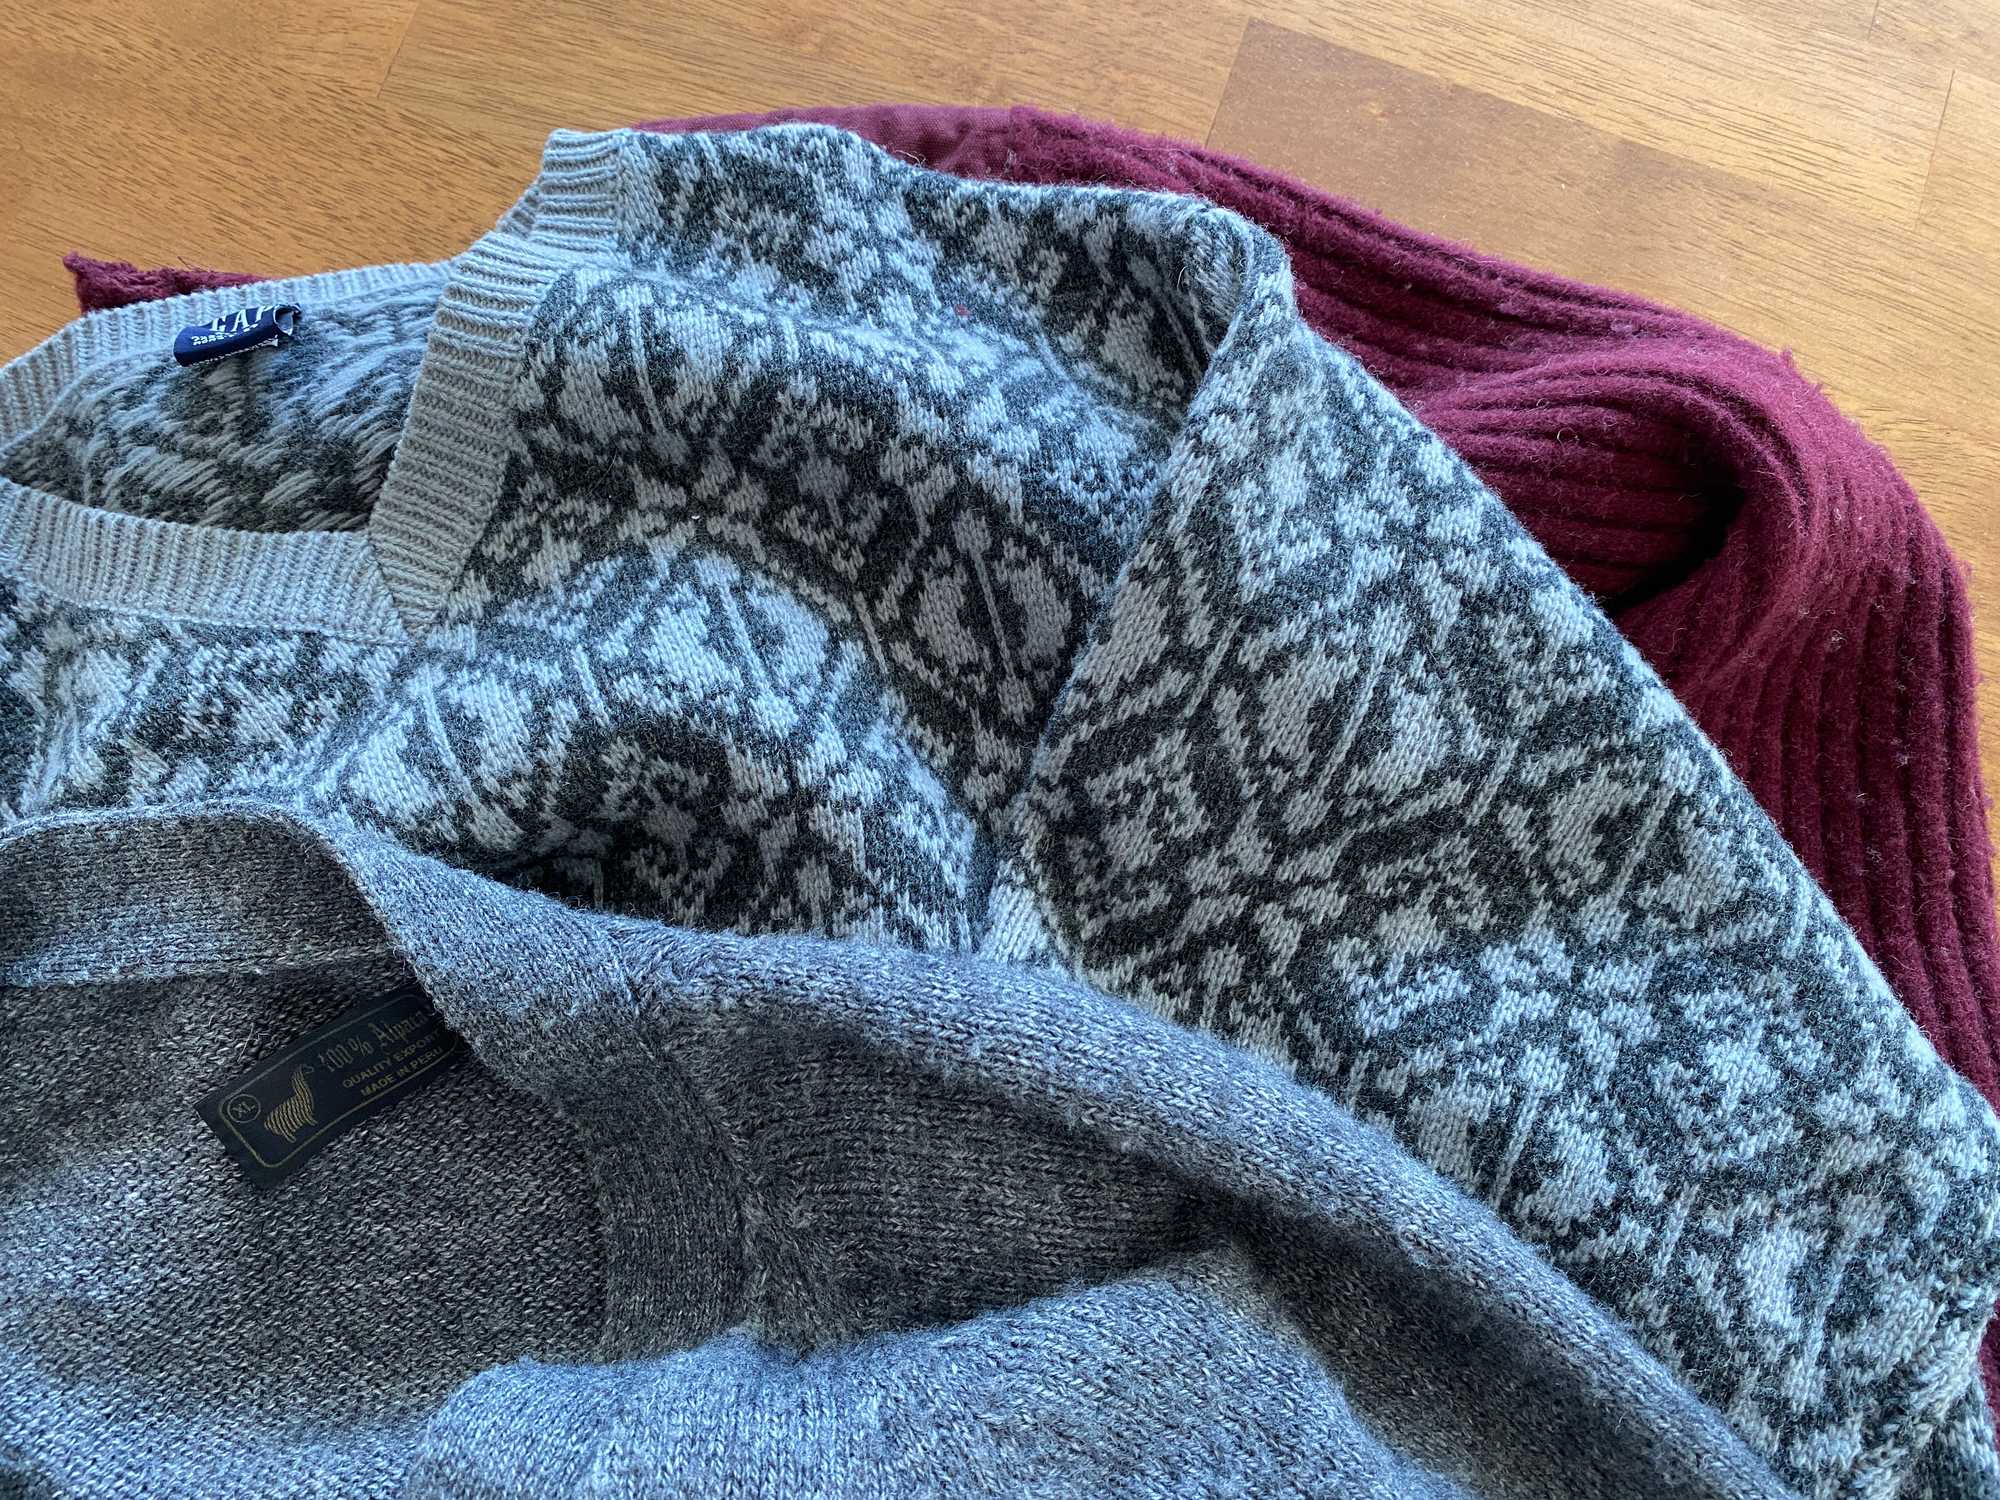
Thrift Wool Sweaters
If you're trying to felt sweaters, you need to start by finding the right kind of sweaters. Here are a few tips.
- Look for sweaters that are at least 80% natural animal fiber, such as wool, alpaca, or cashmere.
- Look in the side seam for fiber content information if there are no tags in the neck.
- If there are no other tags, the care instructions can be a clue that a sweater is wool. Dry cleaning is typically recommended for wool sweaters.
- Check the men’s section for larger sweaters that will produce more felt. Check the women’s section for more colorful sweaters.
- Be prepared to spend a bit of time looking before you find the right sweater. Most thrifted sweaters are not wool, so you will likely look at a lot of sweaters before you find one that will work for felting.
- While looking through the rack, note how sweaters not made from wool look and feel. Over time, this will help you more easily identify those that are wool.
Felt the Sweaters
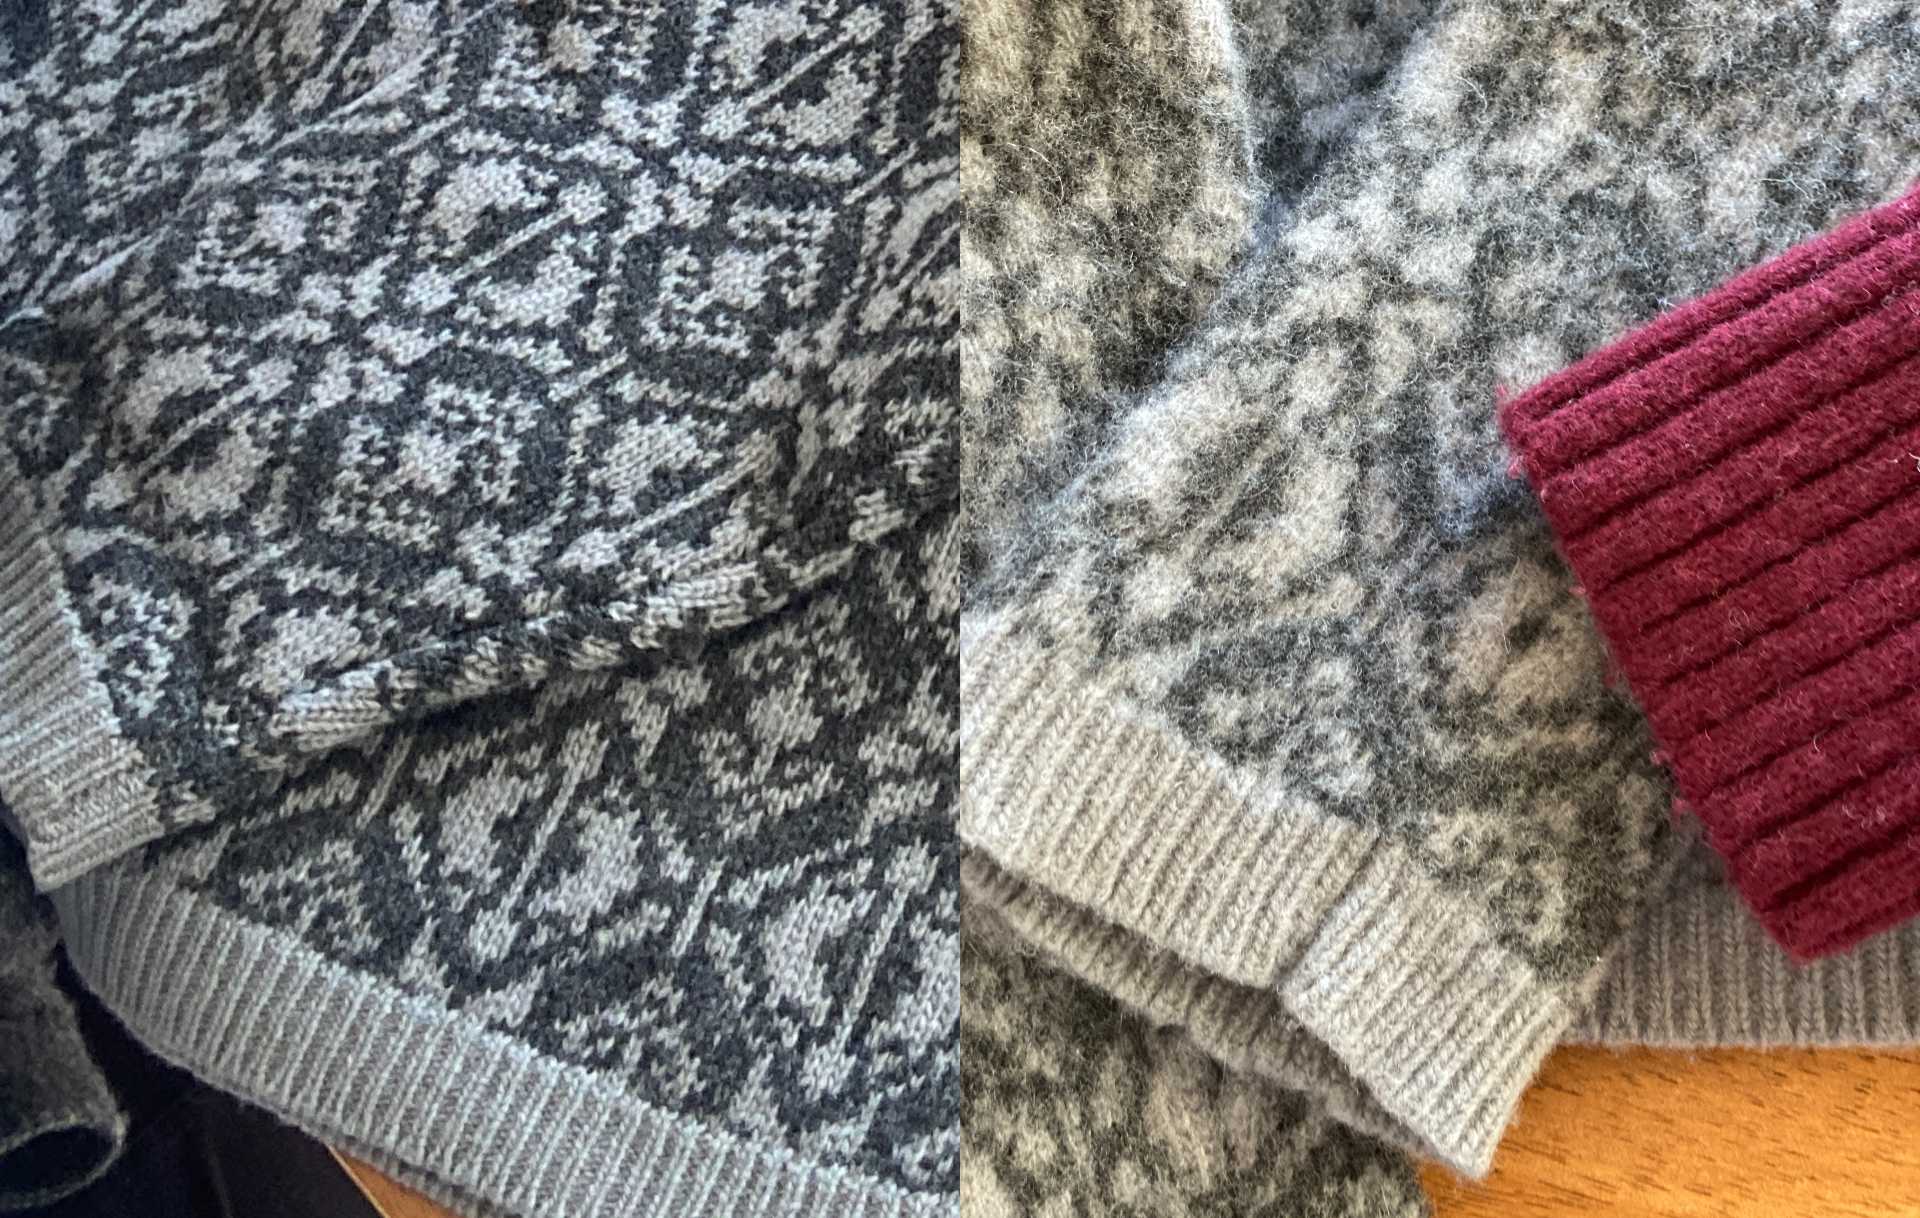
The process of felting wool turns a knitted sweater into felt fabric. Washing, agitating, and heating the sweater causes the natural fibers to bind together in a way that won’t come undone. Once the wool has been felted, it can be used as fabric without coming unraveled or fraying.
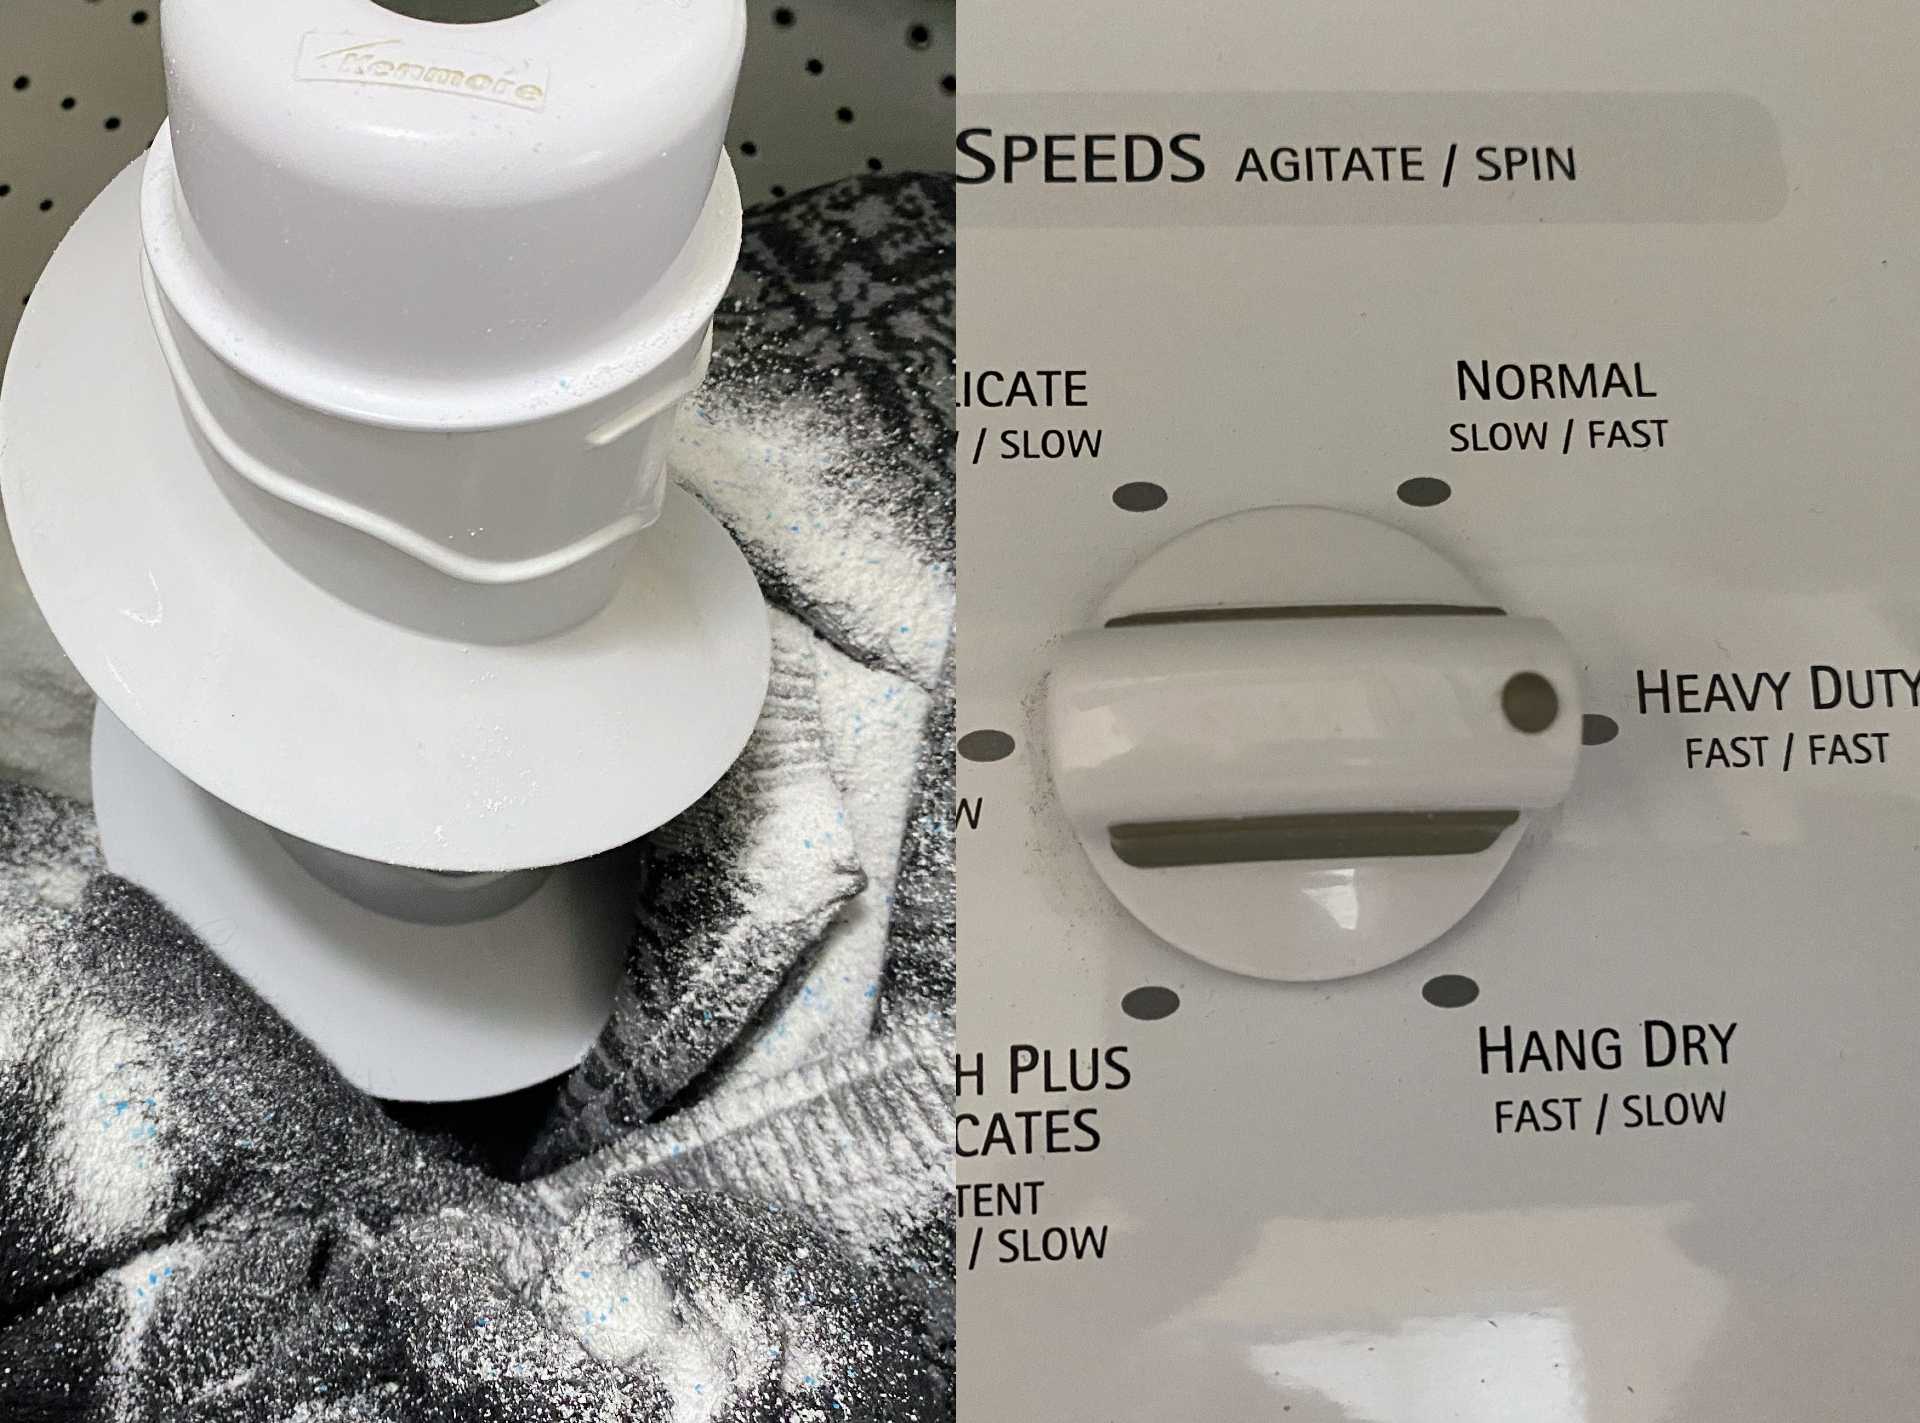
1. Place the sweaters and a towel in the washing machine with a small amount of detergent.
2. Set the washer to the hottest wash cycle and the most aggressive agitation.
3. Put the sweaters in the dryer until thoroughly dried.
Check out our post on Felted Wool Crafts for additional information on felting wool.
Gather Your Supplies
Now that your wool is felted, gather the rest of the supplies you'll need:
- Felted wool
- Heart pattern (multiple copies will make the project go faster)
- Scissors
- Pins
- A large needle
- Embroidery thread
- Stuffing
- A sewing machine
- Twine
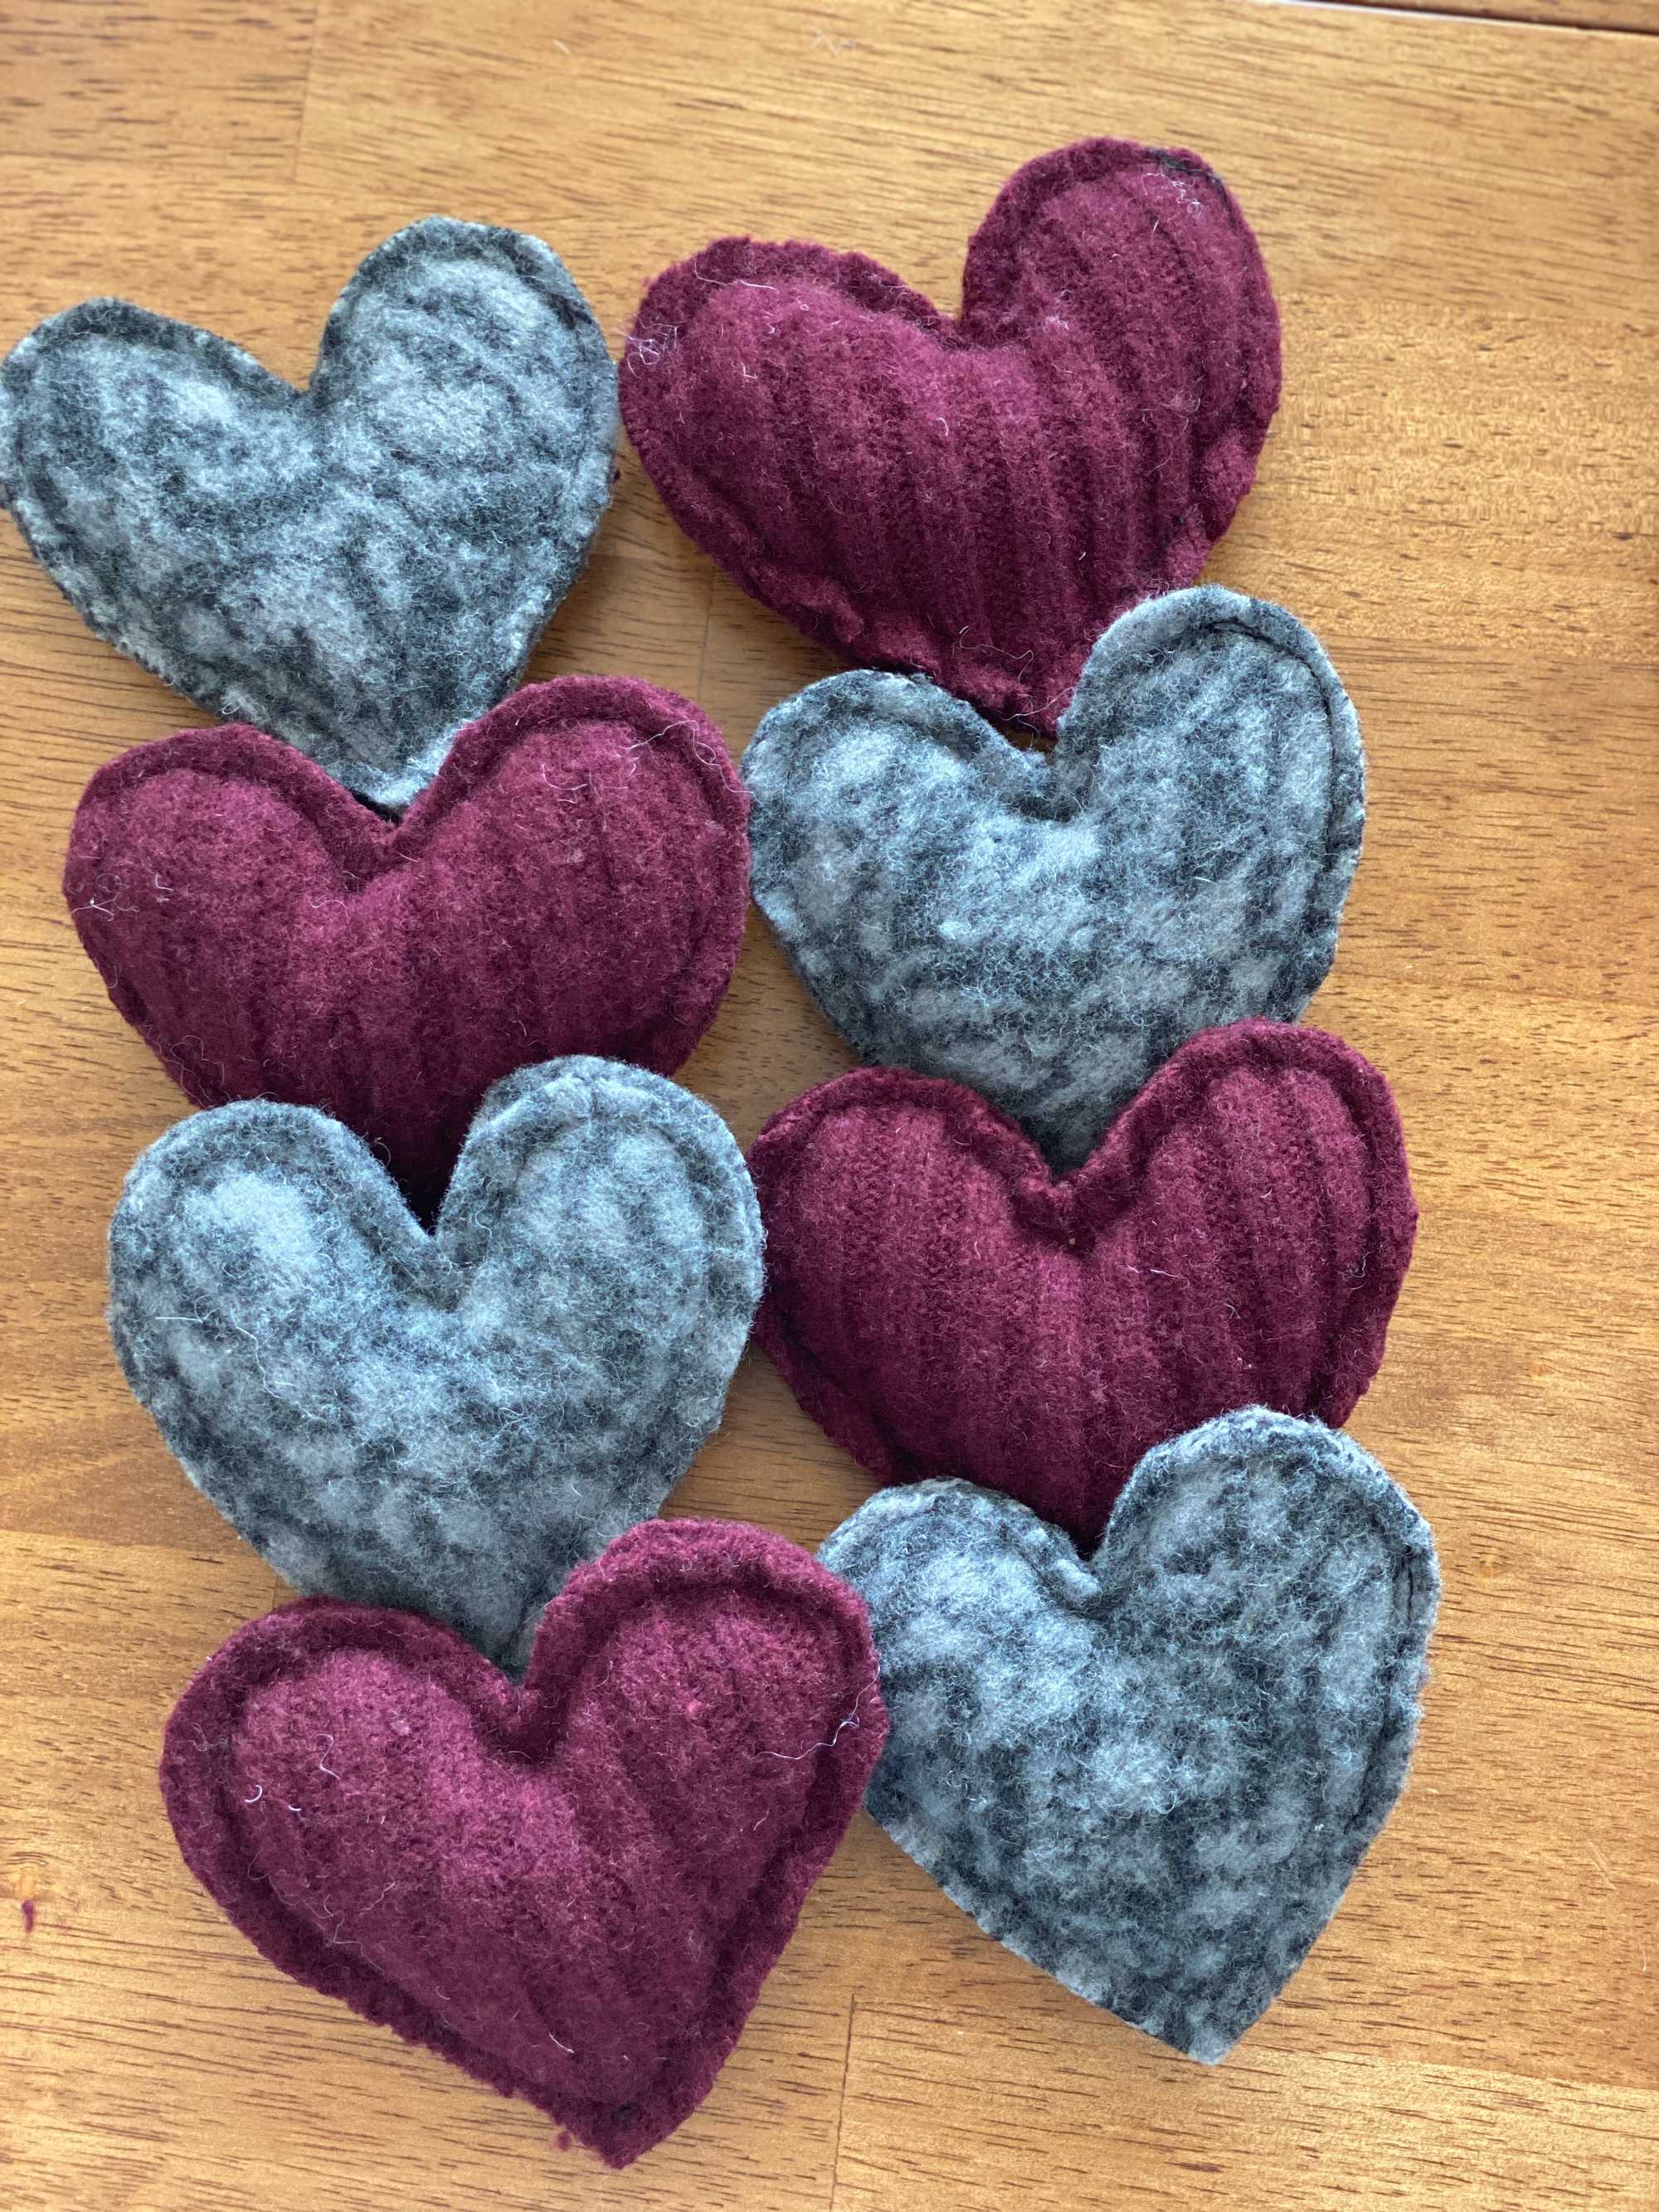
Make the Felted Hearts
1. Cut the seams, cuffs, and neck out of the sweaters to get flat pieces of fabric.
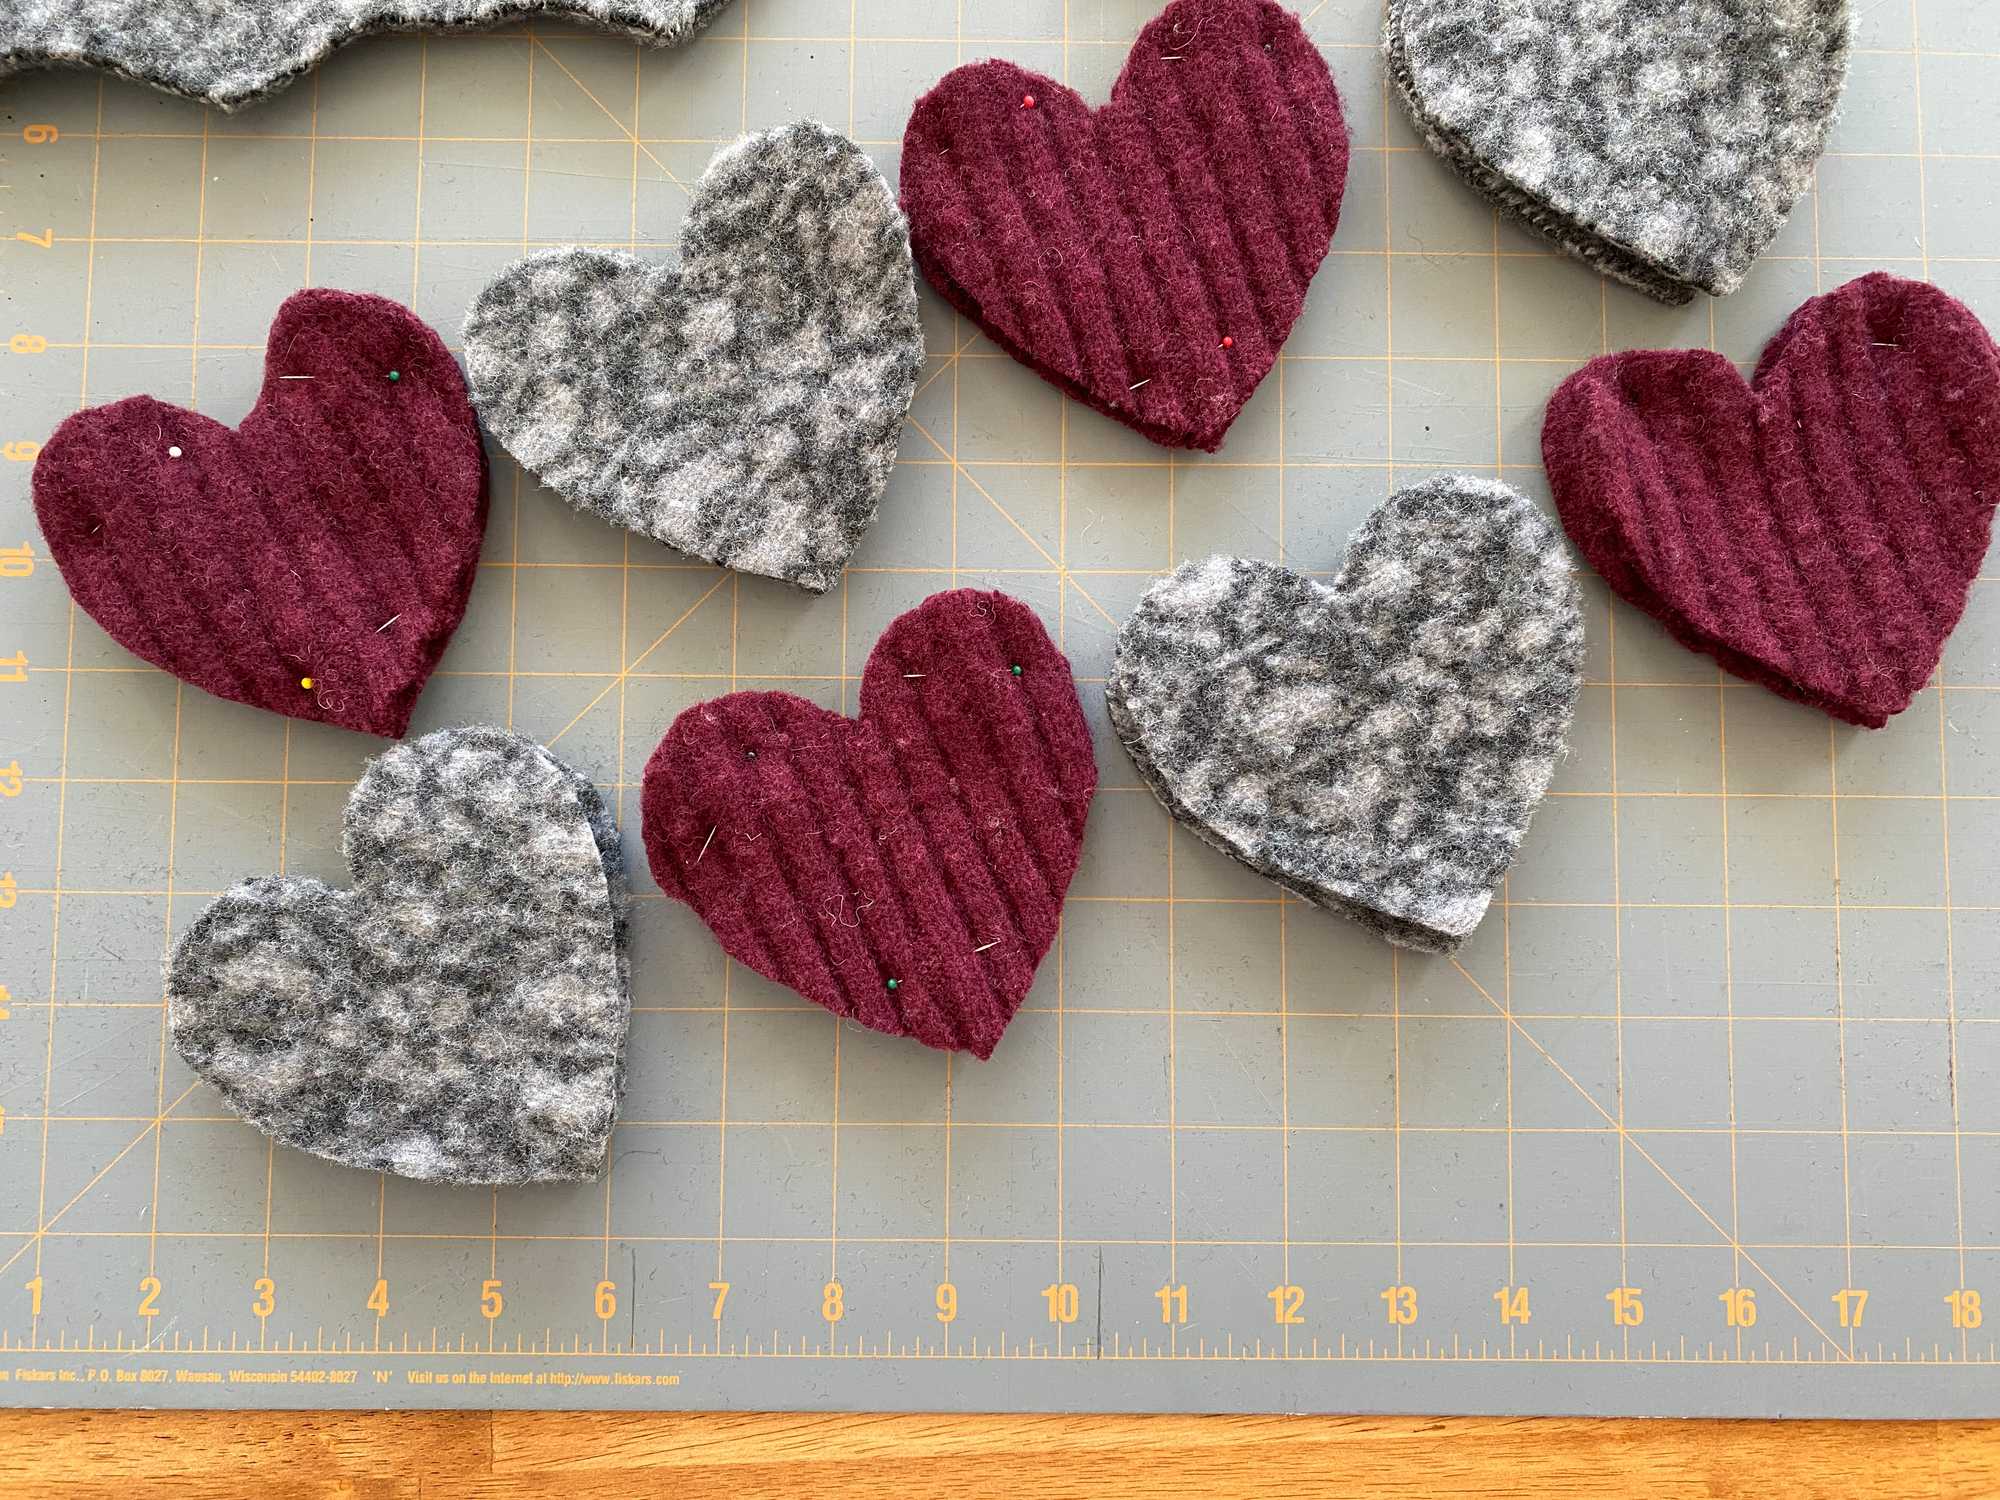
2. Determine the length you want the finished garland to be. This will help you know how many hearts you need make. Our garland has ten hearts, placed 6 inches apart.
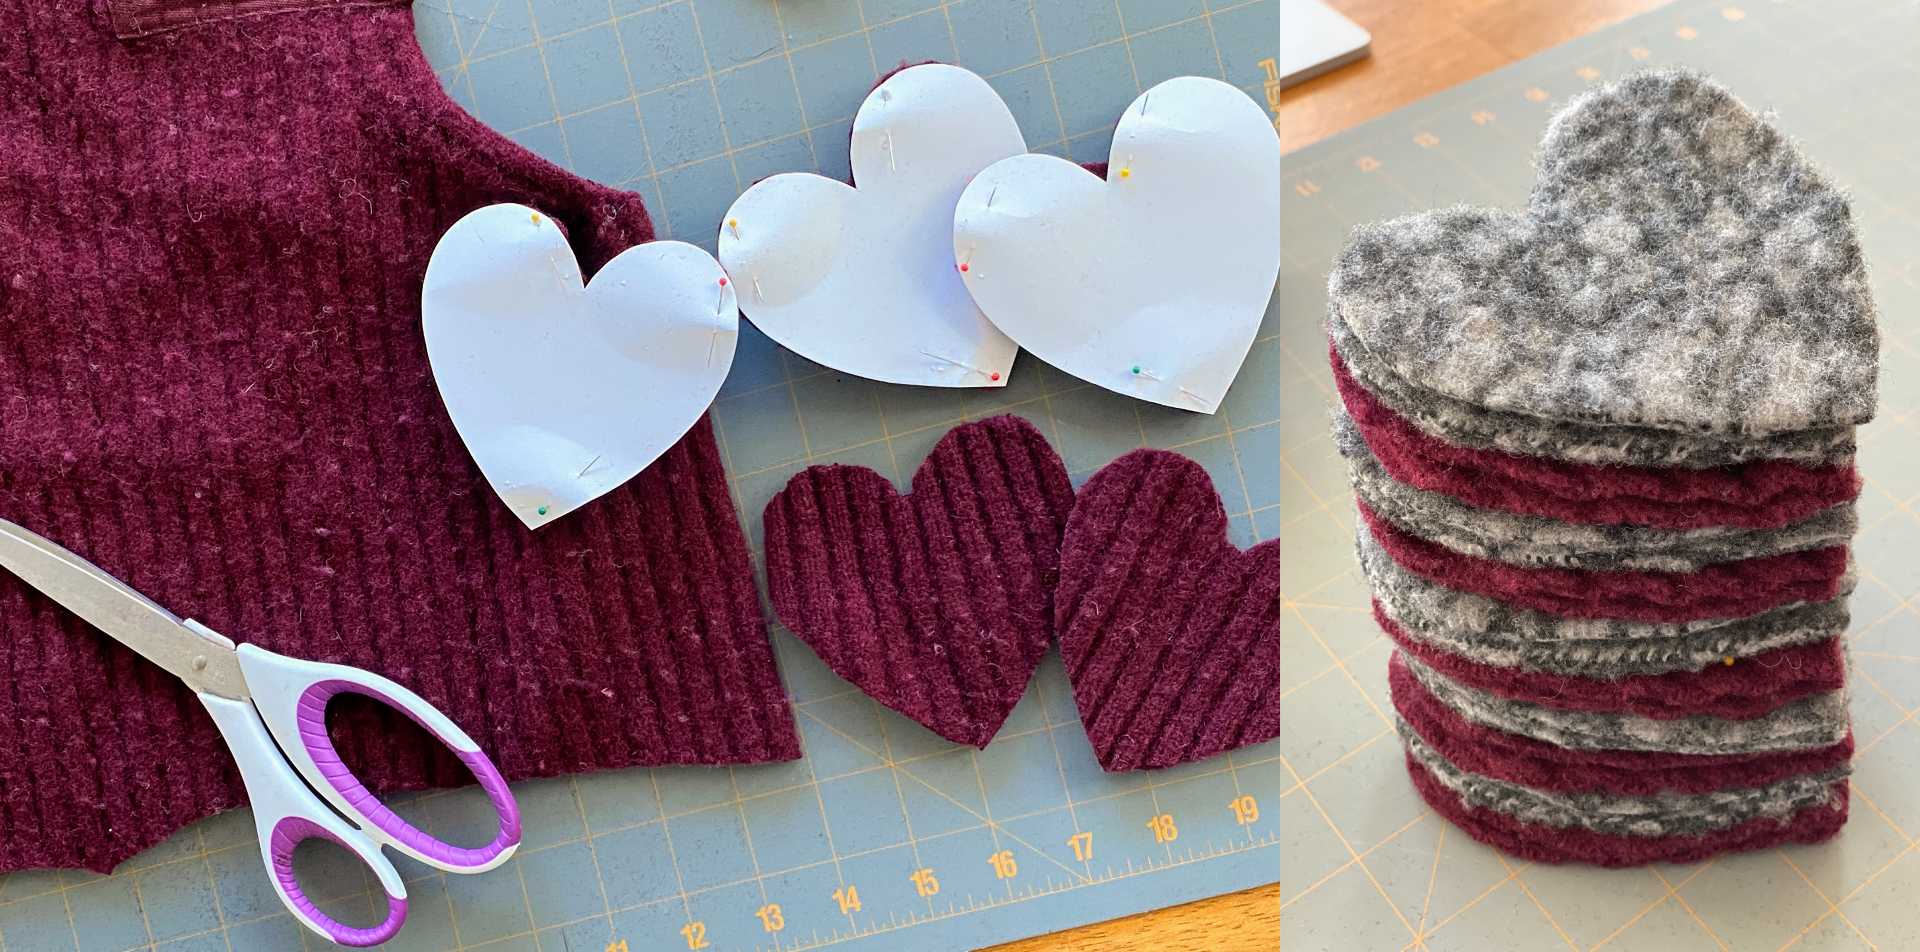
3. Pin the heart patterns to the felt and cut the shape. Using a pattern will ensure the front and back of the hearts will match and can easily be sewn together. It will also ensure all of the hearts will be the same size.
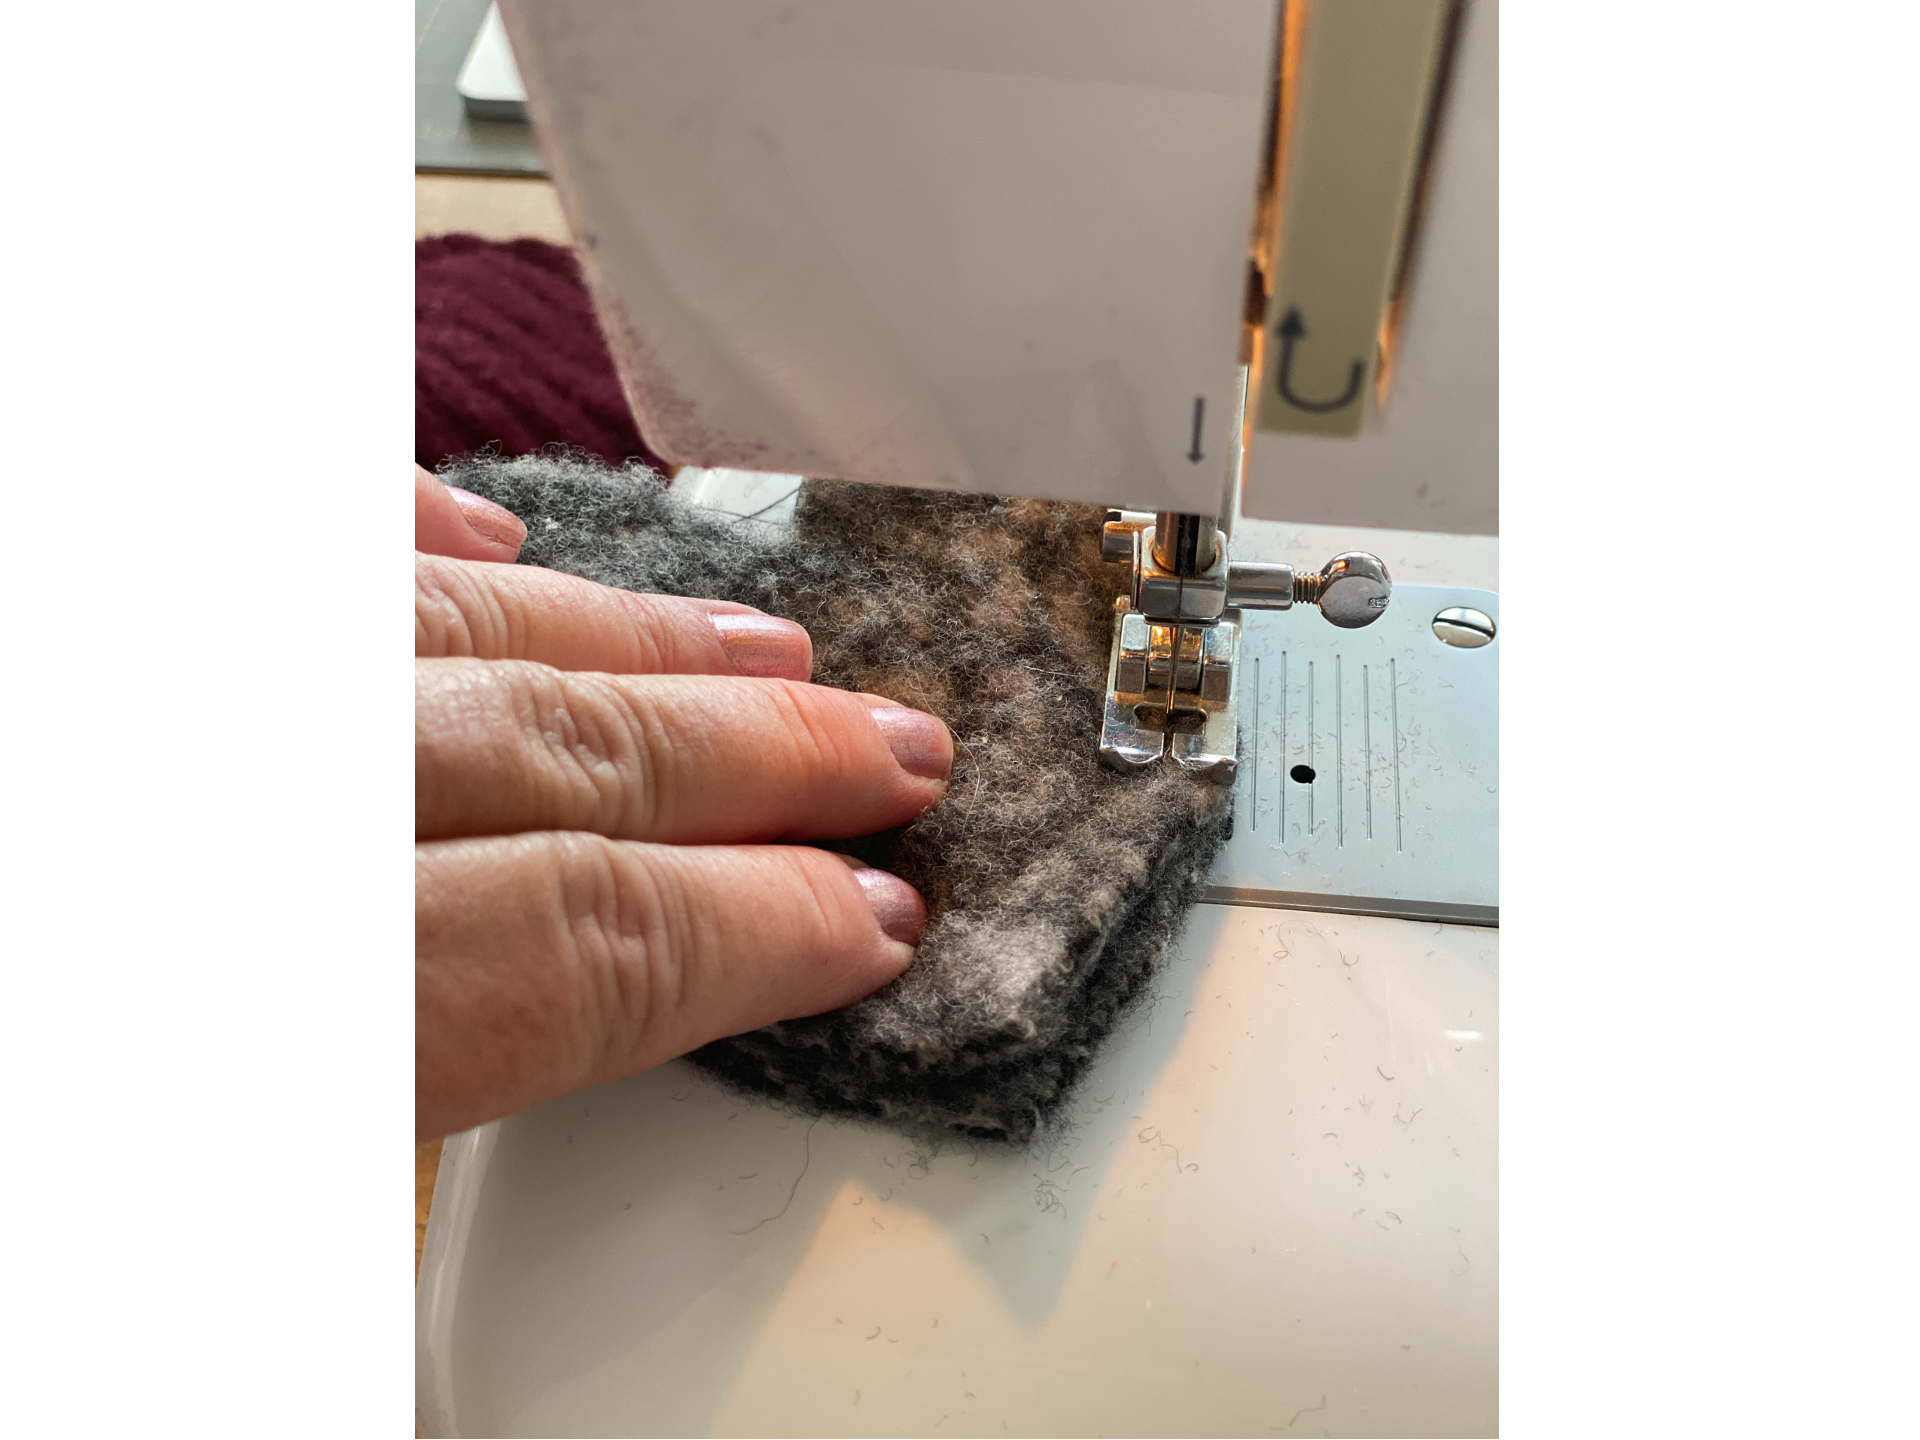
4. Match two hearts together and pin.
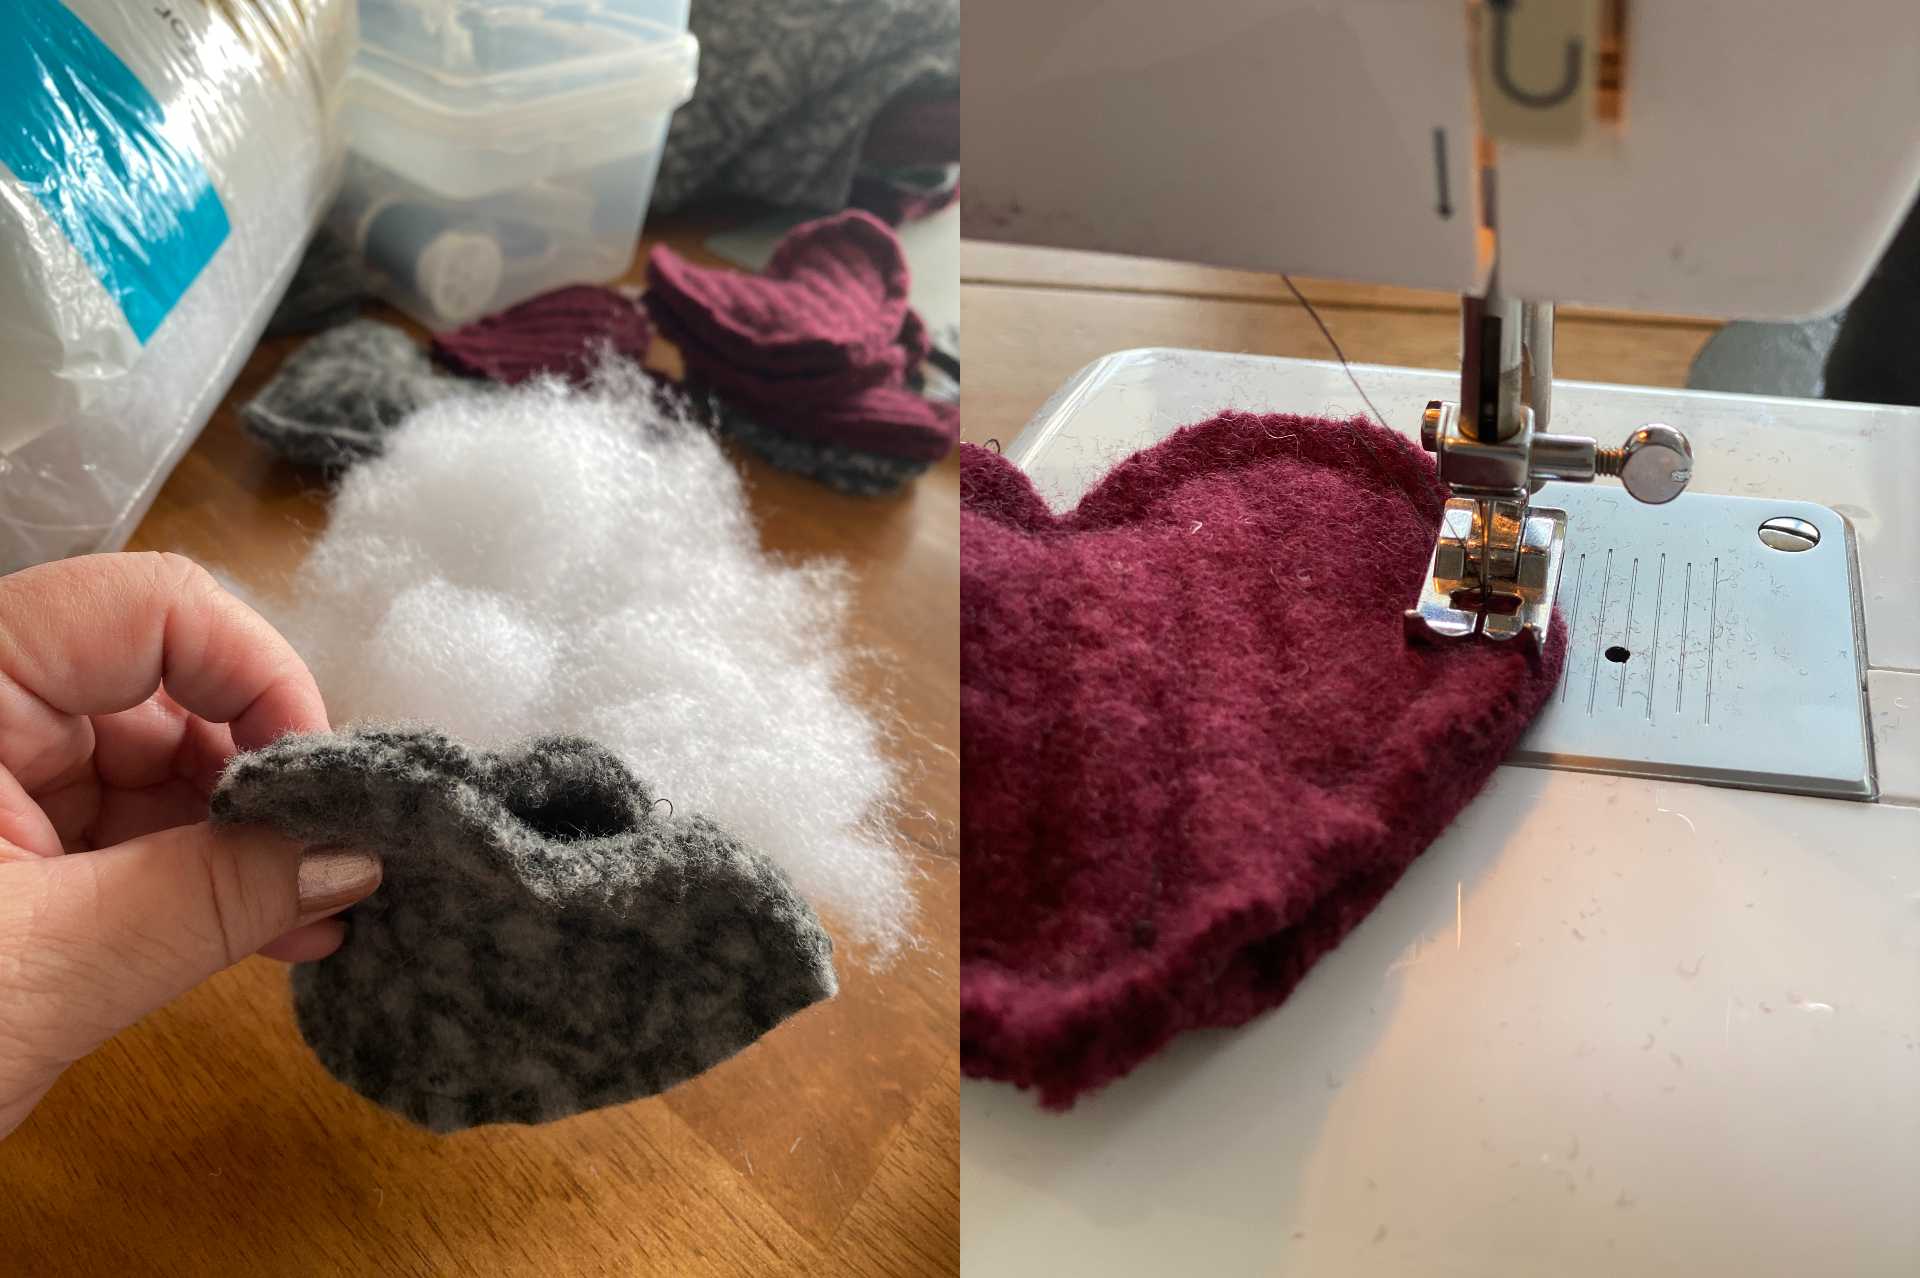
5. Sew the two pieces together, leaving a small opening to allow you to fill the heart.
6. Fill the heart with stuffing and sew the opening closed.
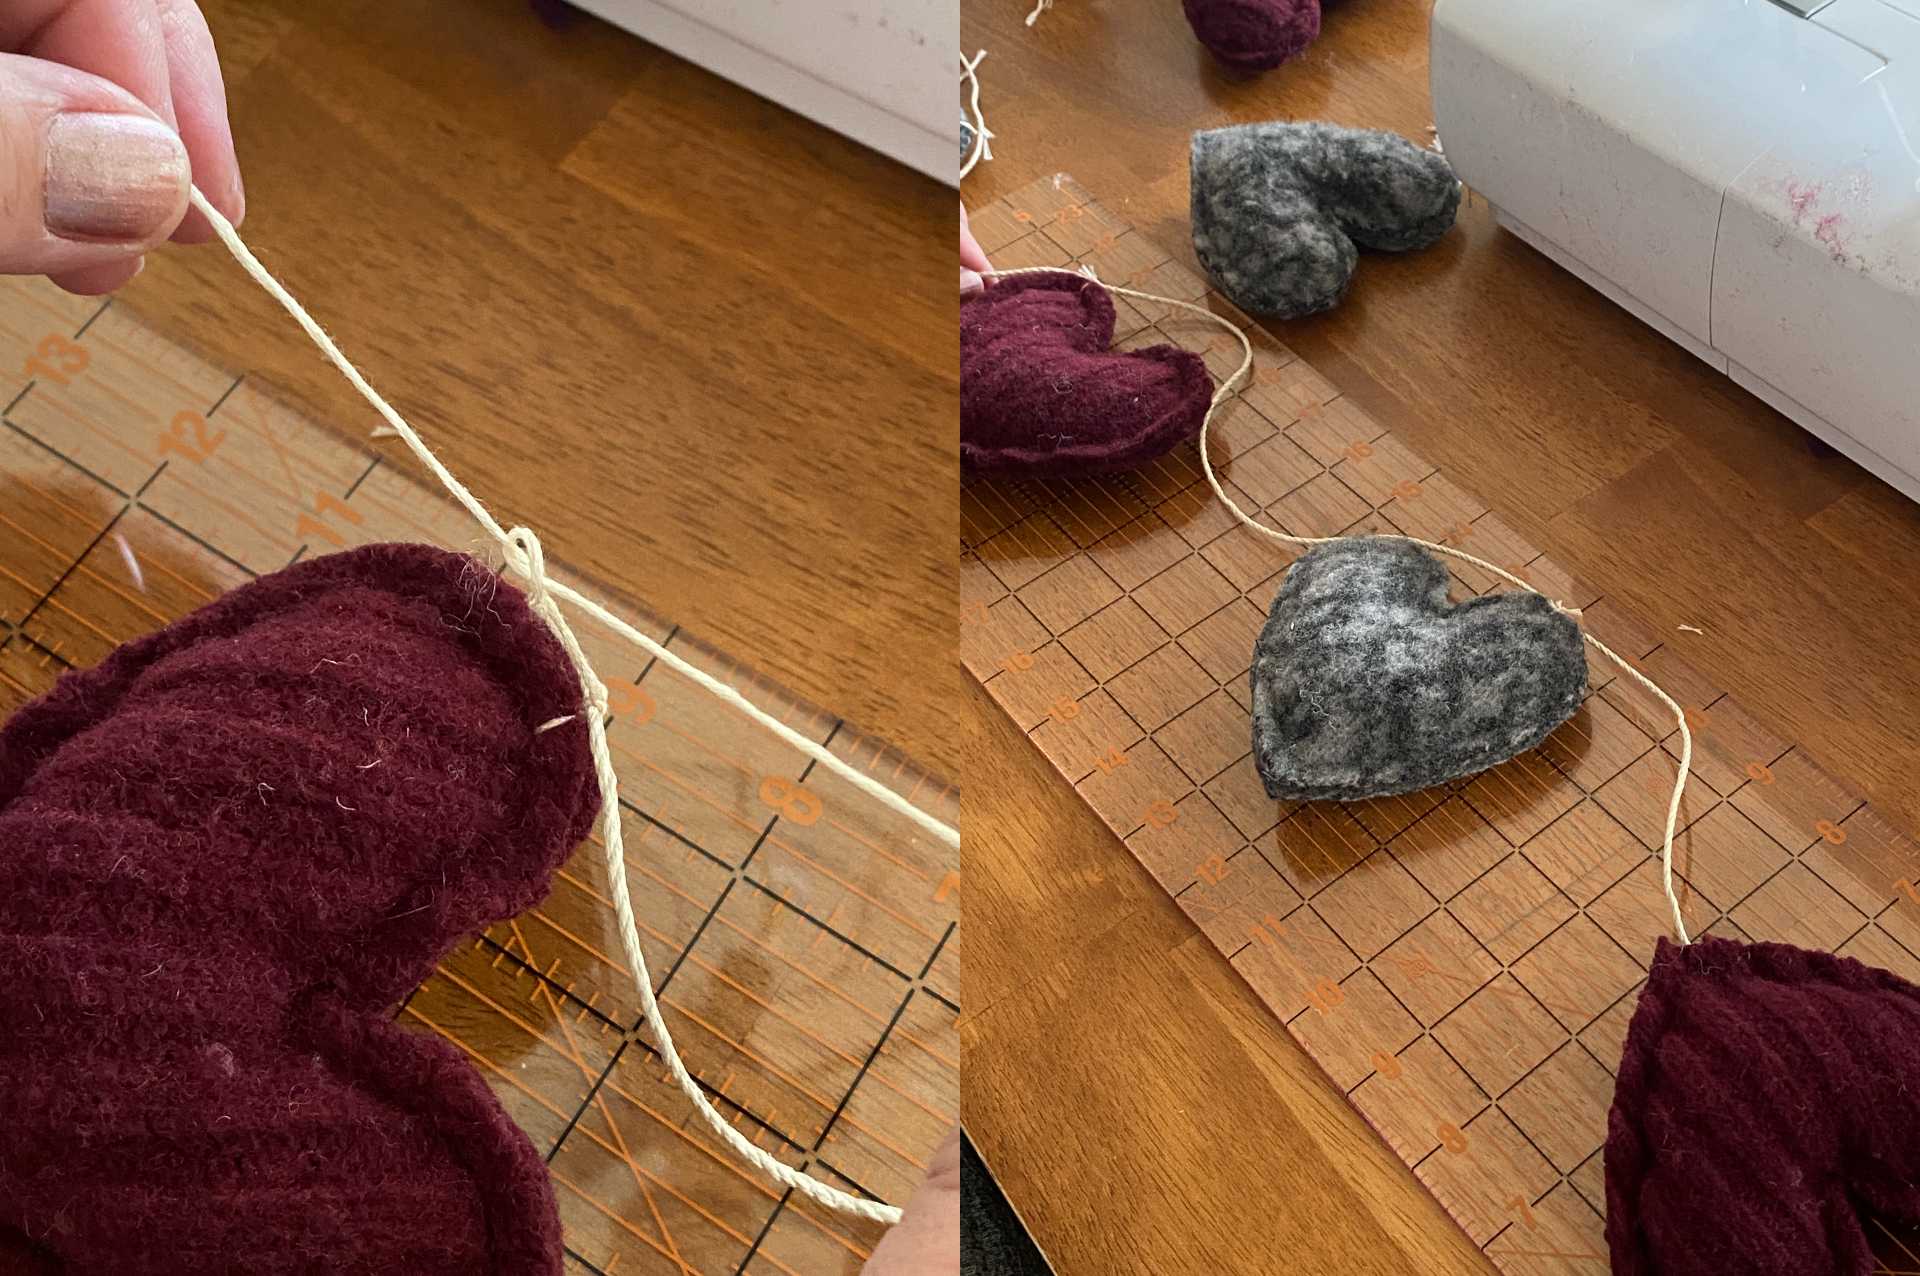
Tie Hearts to the Twine
1. Using a needle and embroidery thread, add a loop of thread that will be used to tie the heart to the twine.
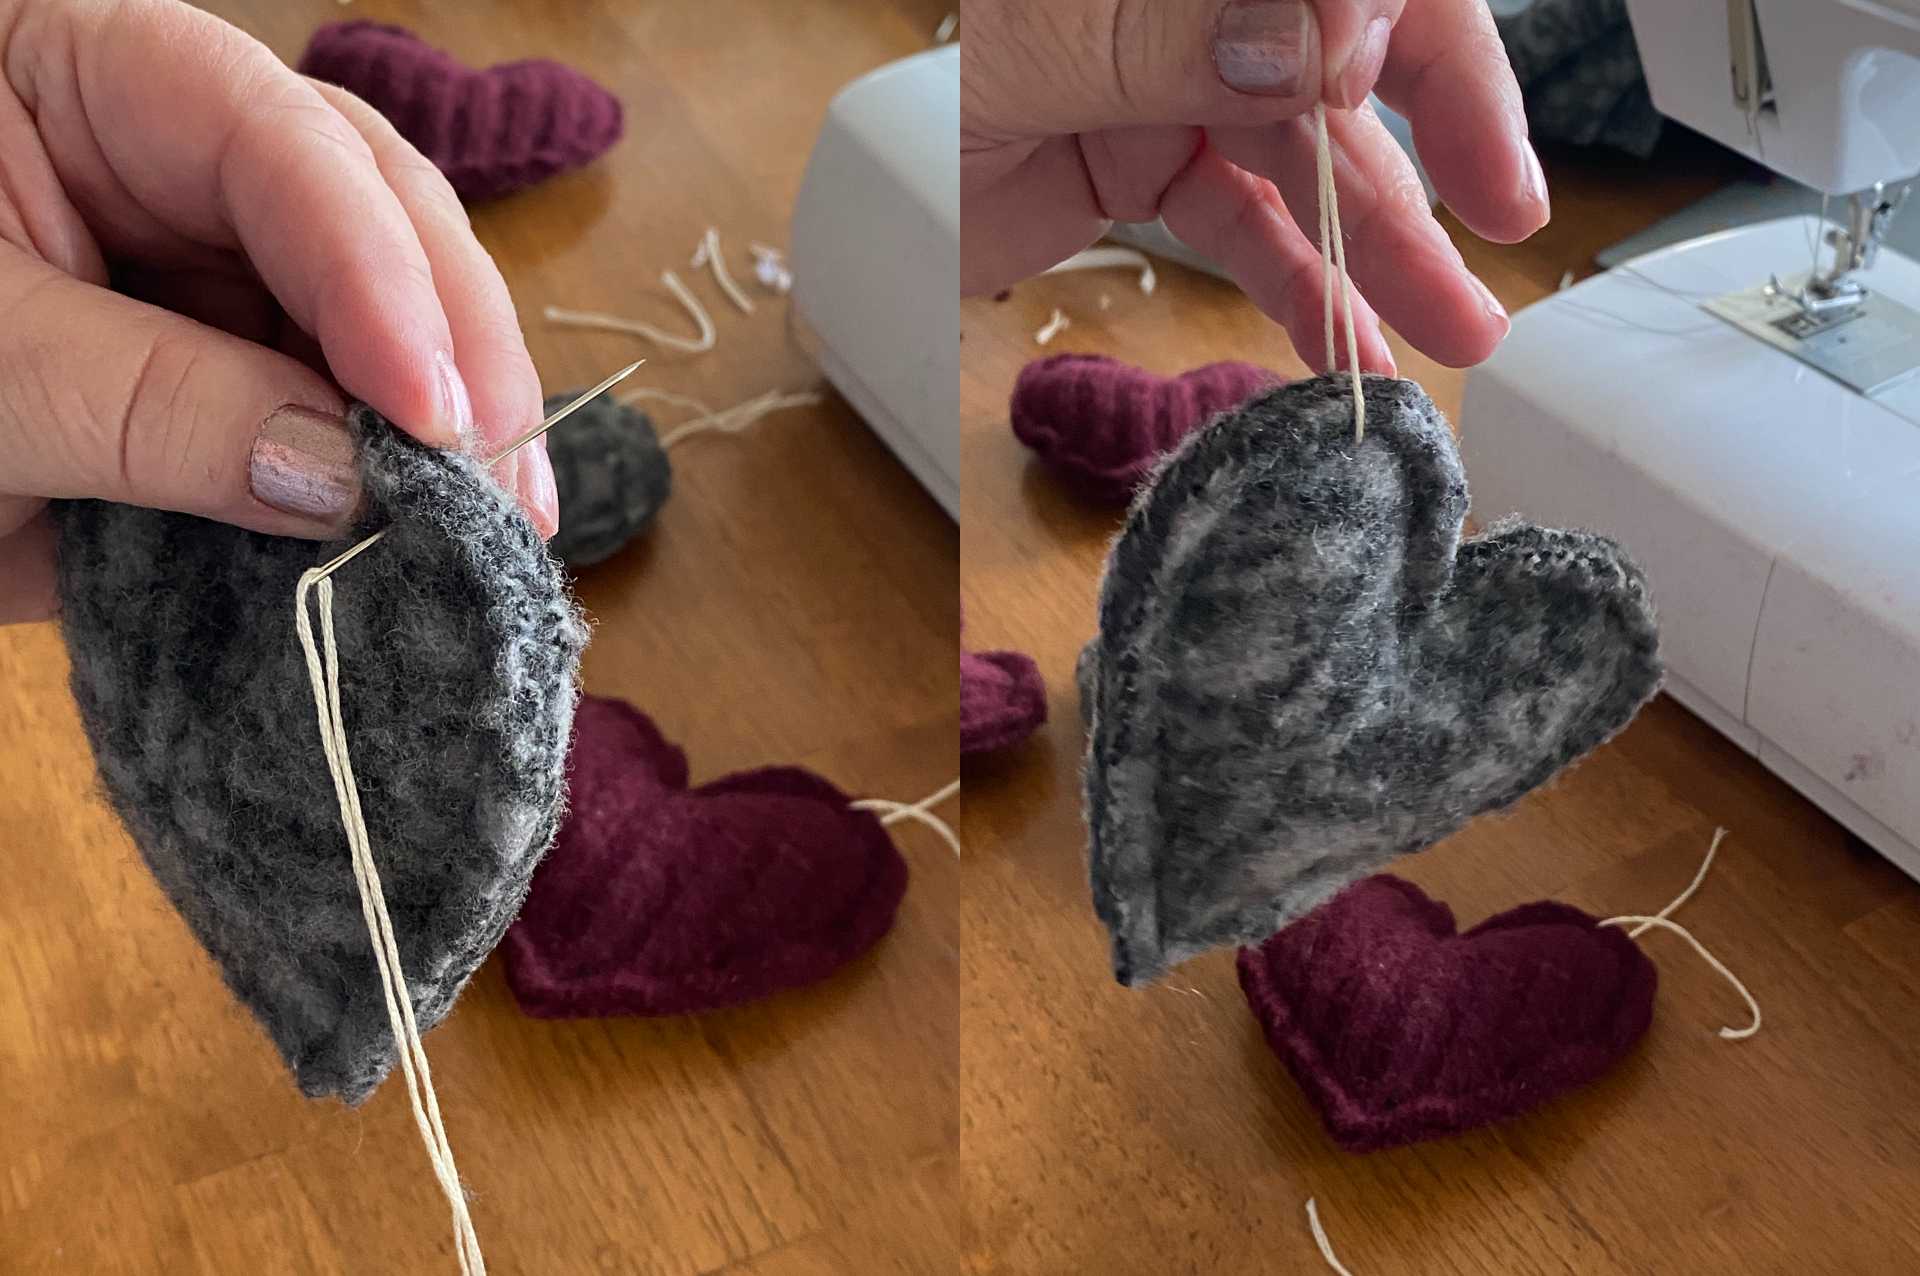
2. Using a square knot, tie each heart to the twine. Based on the length of your twine and the number of hearts you made, measure the distance between each heart to ensure they are evenly spaced.
3. Find a space that needs a cute addition and admire your handiwork!
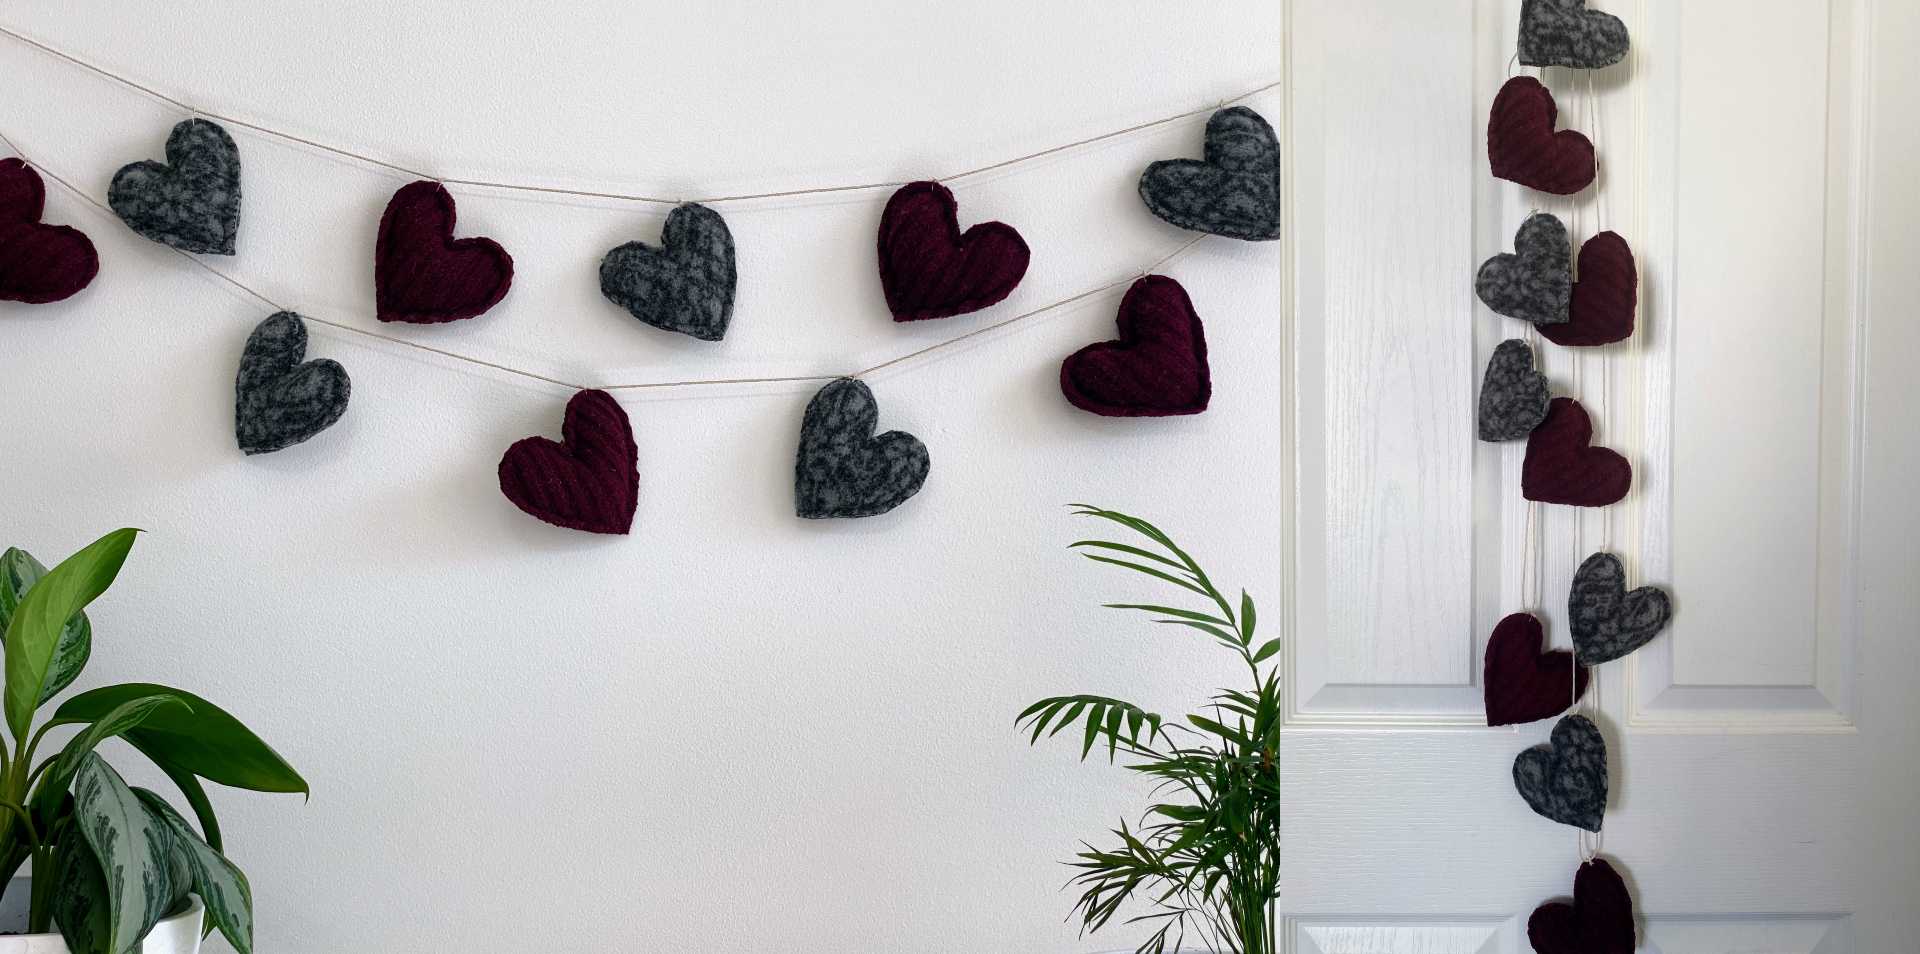
This project is a simple way to learn how to make and use felted wool, and it is a cute addition to any space. You might want to make stopping at the sweater racks a regular practice whenever you visit your local DI store. Soon, you’ll have a fun collection of wool to use for all kinds of other felt projects.
Are you going to try this project? Be sure to tag us on Instagram, Facebook, or Twitter if you do!
Recent Posts

Harrisville Deseret Industries Reopens with a Fresh Look and Expanded Offerings
The Harrisville DI store has been remodeled, featuring an improved layout, new items, and a renewed focus on job training.
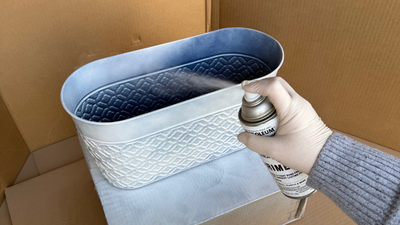
How to Use Spray Paint to Transform Your Thrifted or Secondhand Finds
Learn how to prep, spray paint, and refresh your thrifted finds with easy DIY techniques. Simple steps, beginner projects, and budget-friendly ideas

Donate to Support Real Christmas Joy at Deseret Industries
You can help your local community in a fast and easy way this holiday season by donating to your local DI. Learn how donations like yours have helped people in need and warmed their hearts through Deseret Industries.

How to Help Your Community Through Thrifting
Support your community through thrifting at Deseret Industries—shop, donate, and create care packages that make a meaningful difference.