DIY Challenge: Making a Table from Thrifted Dictionaries
We at Deseret Industries recently challenged some of our DIY friends to upcycle some items from Deseret Industries. To make things interesting, we picked the items! Each of our participants was mailed a mystery box of items to transform. Here’s what Laurel from @thehousethatDIYbuilt did!
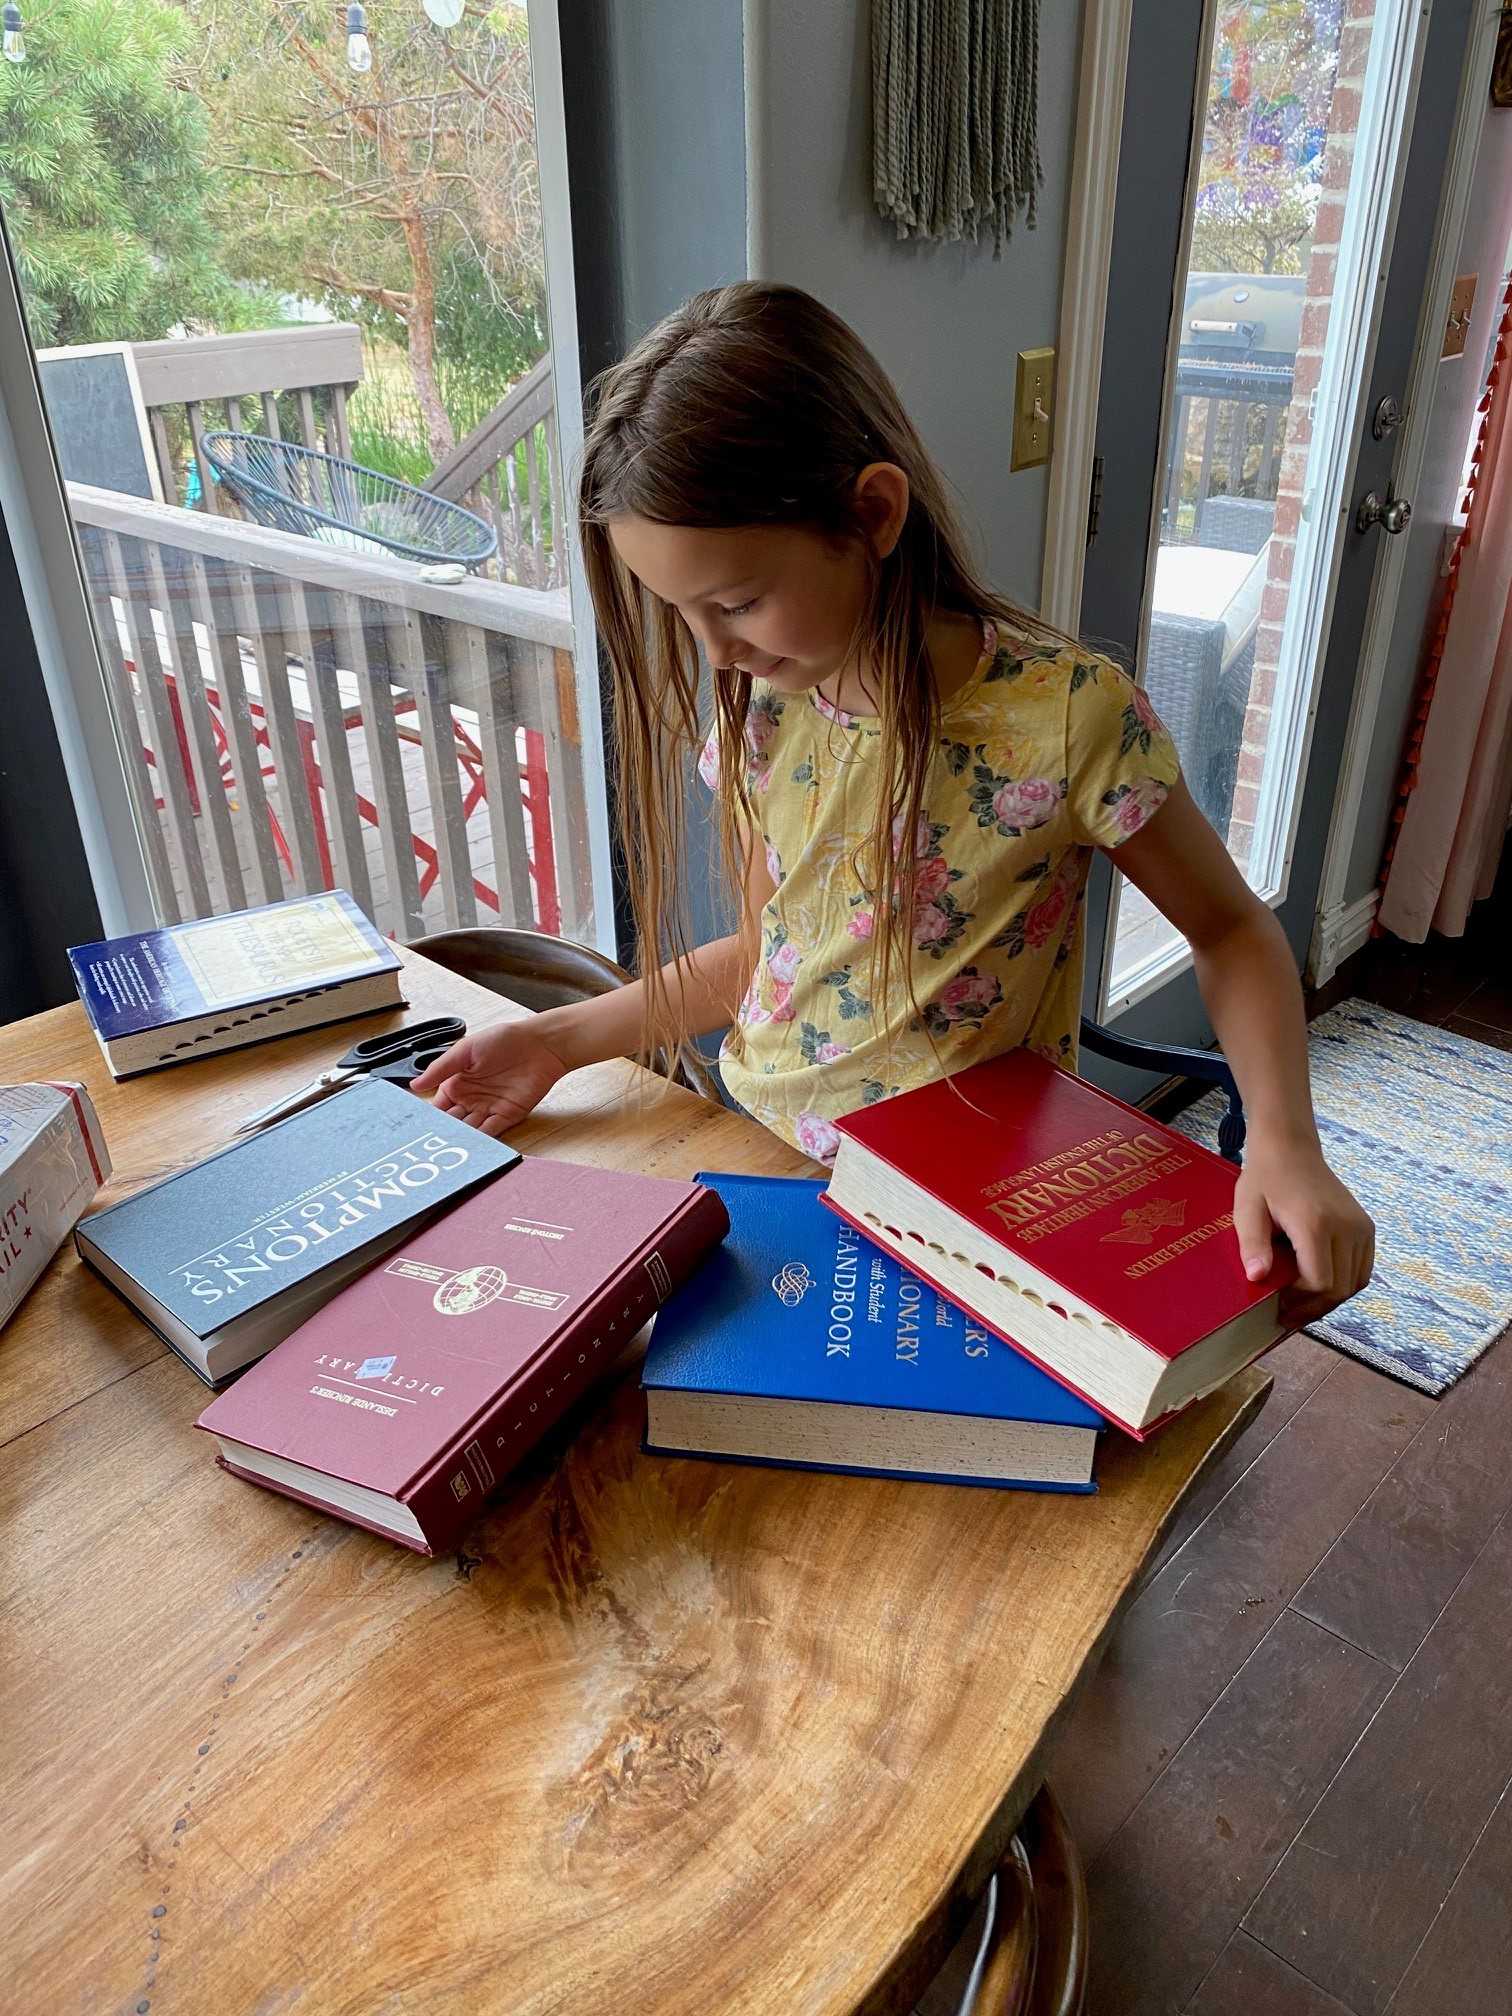
We were intrigued when Deseret Industries sent us five dictionaries a few weeks ago to upcycle into something new! Honestly, I had no ideas, but my husband immediately thought of turning them into a resin-coated coffee table.
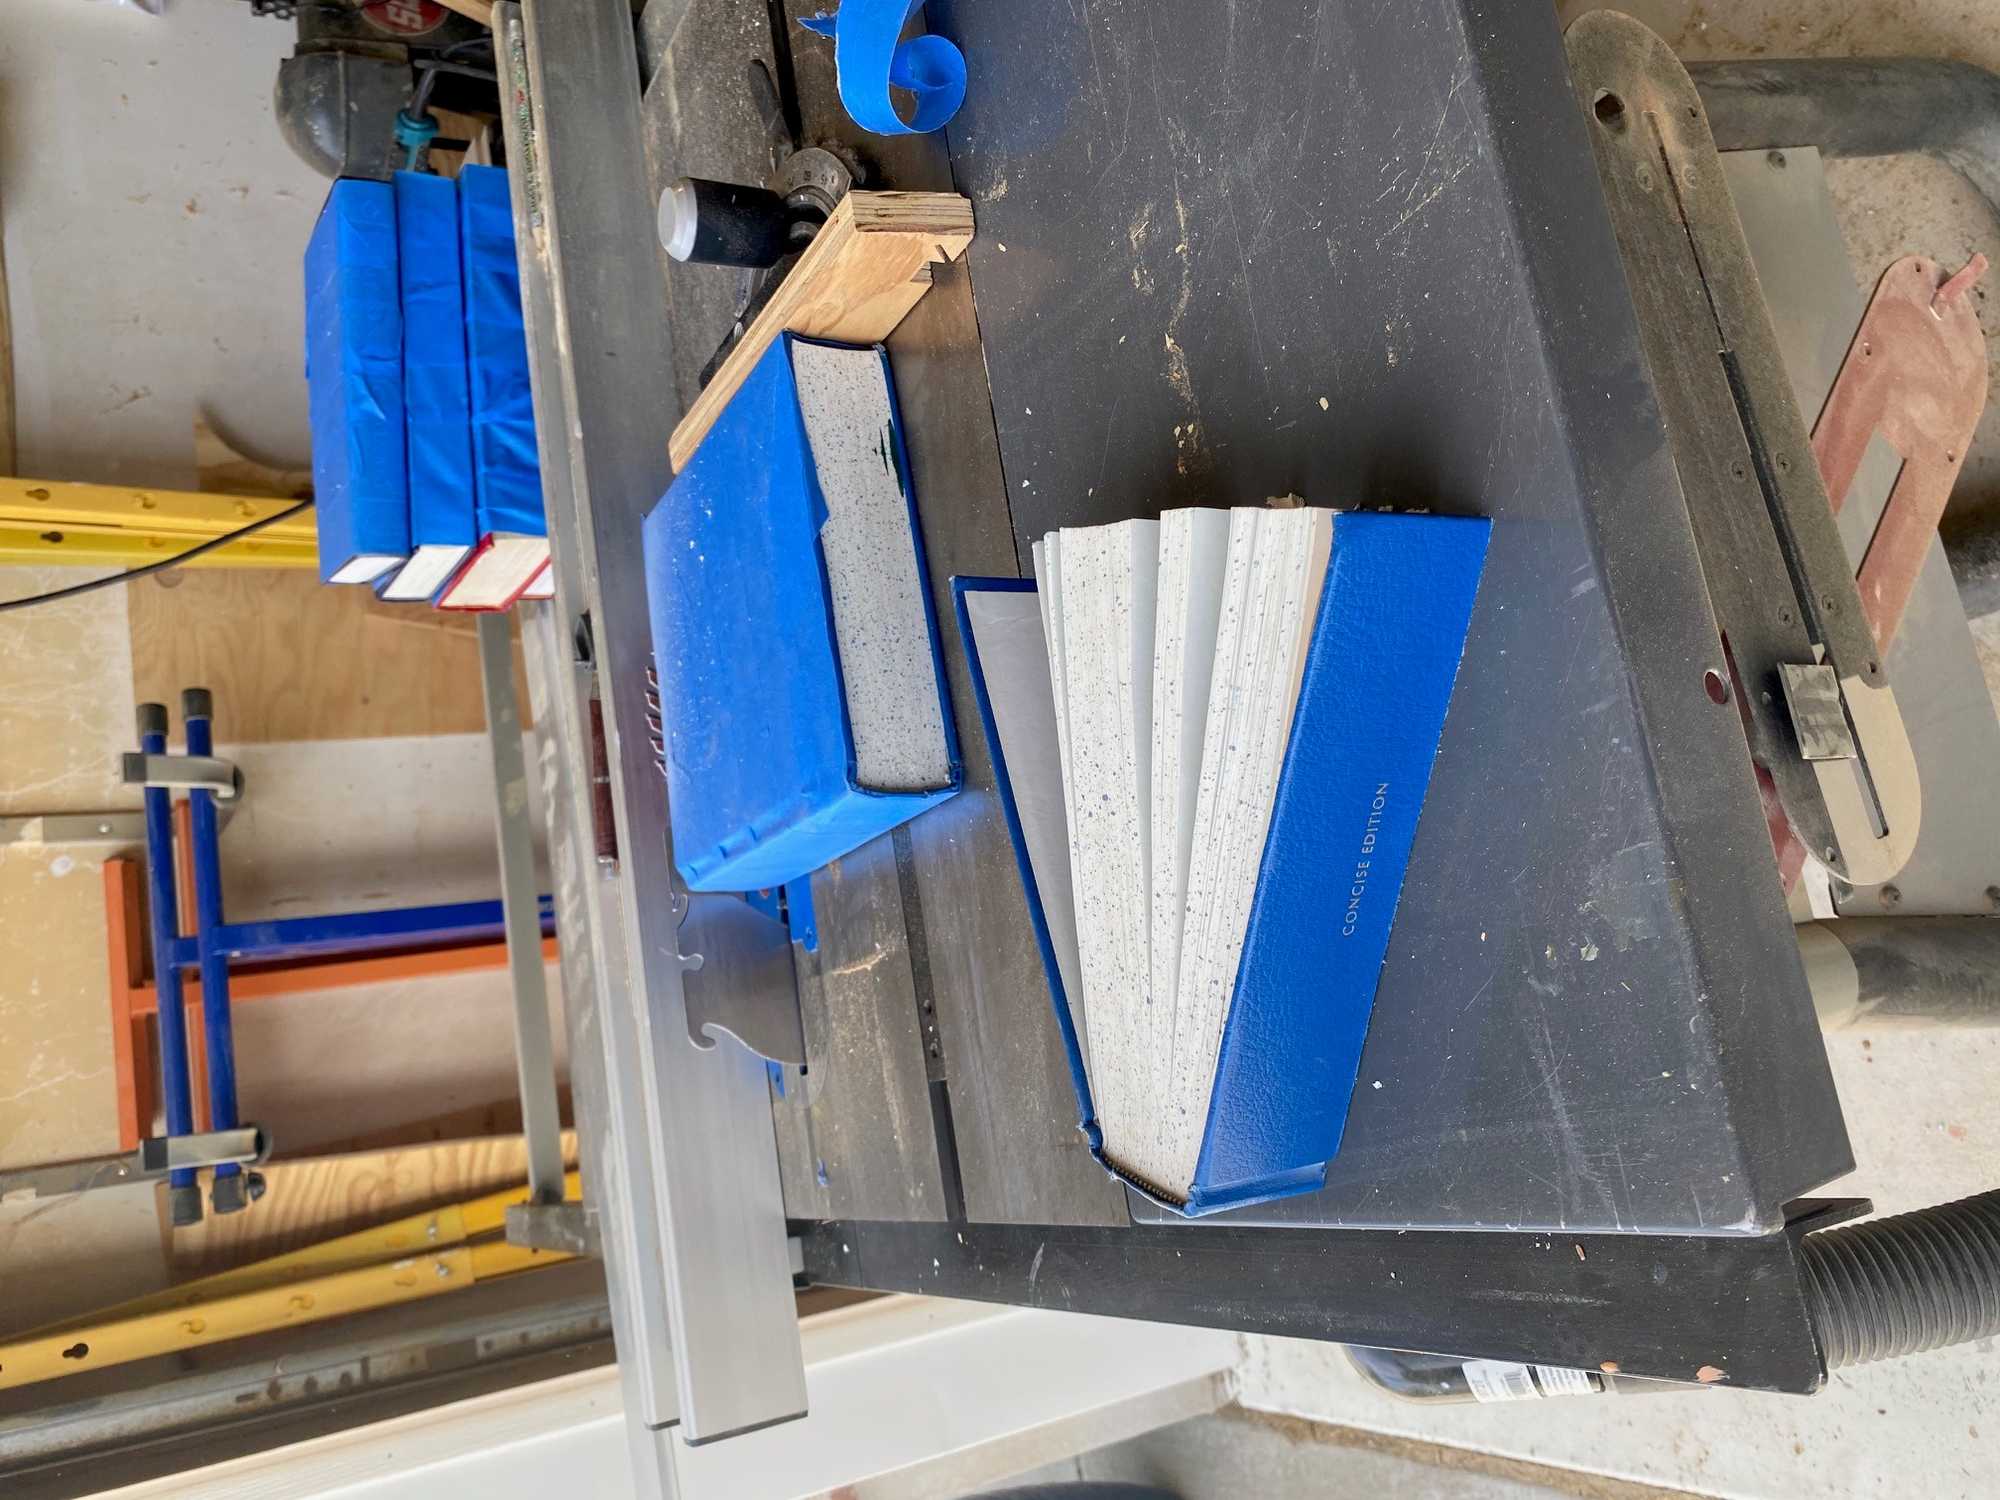
The first step to create the coffee table was to cut the books down so that we were left with just the tops and bottoms of the dictionaries. This way, they would be thin enough to make a tabletop! We used tape to bind the pages tightly together before my husband ran them through his table saw to cut them down.
Next, my husband built a frame out of wood in the size we wanted for the tabletop. We laid a plastic sheet down on our worktable under the wood frame and arranged the books in a pattern that we thought looked good.
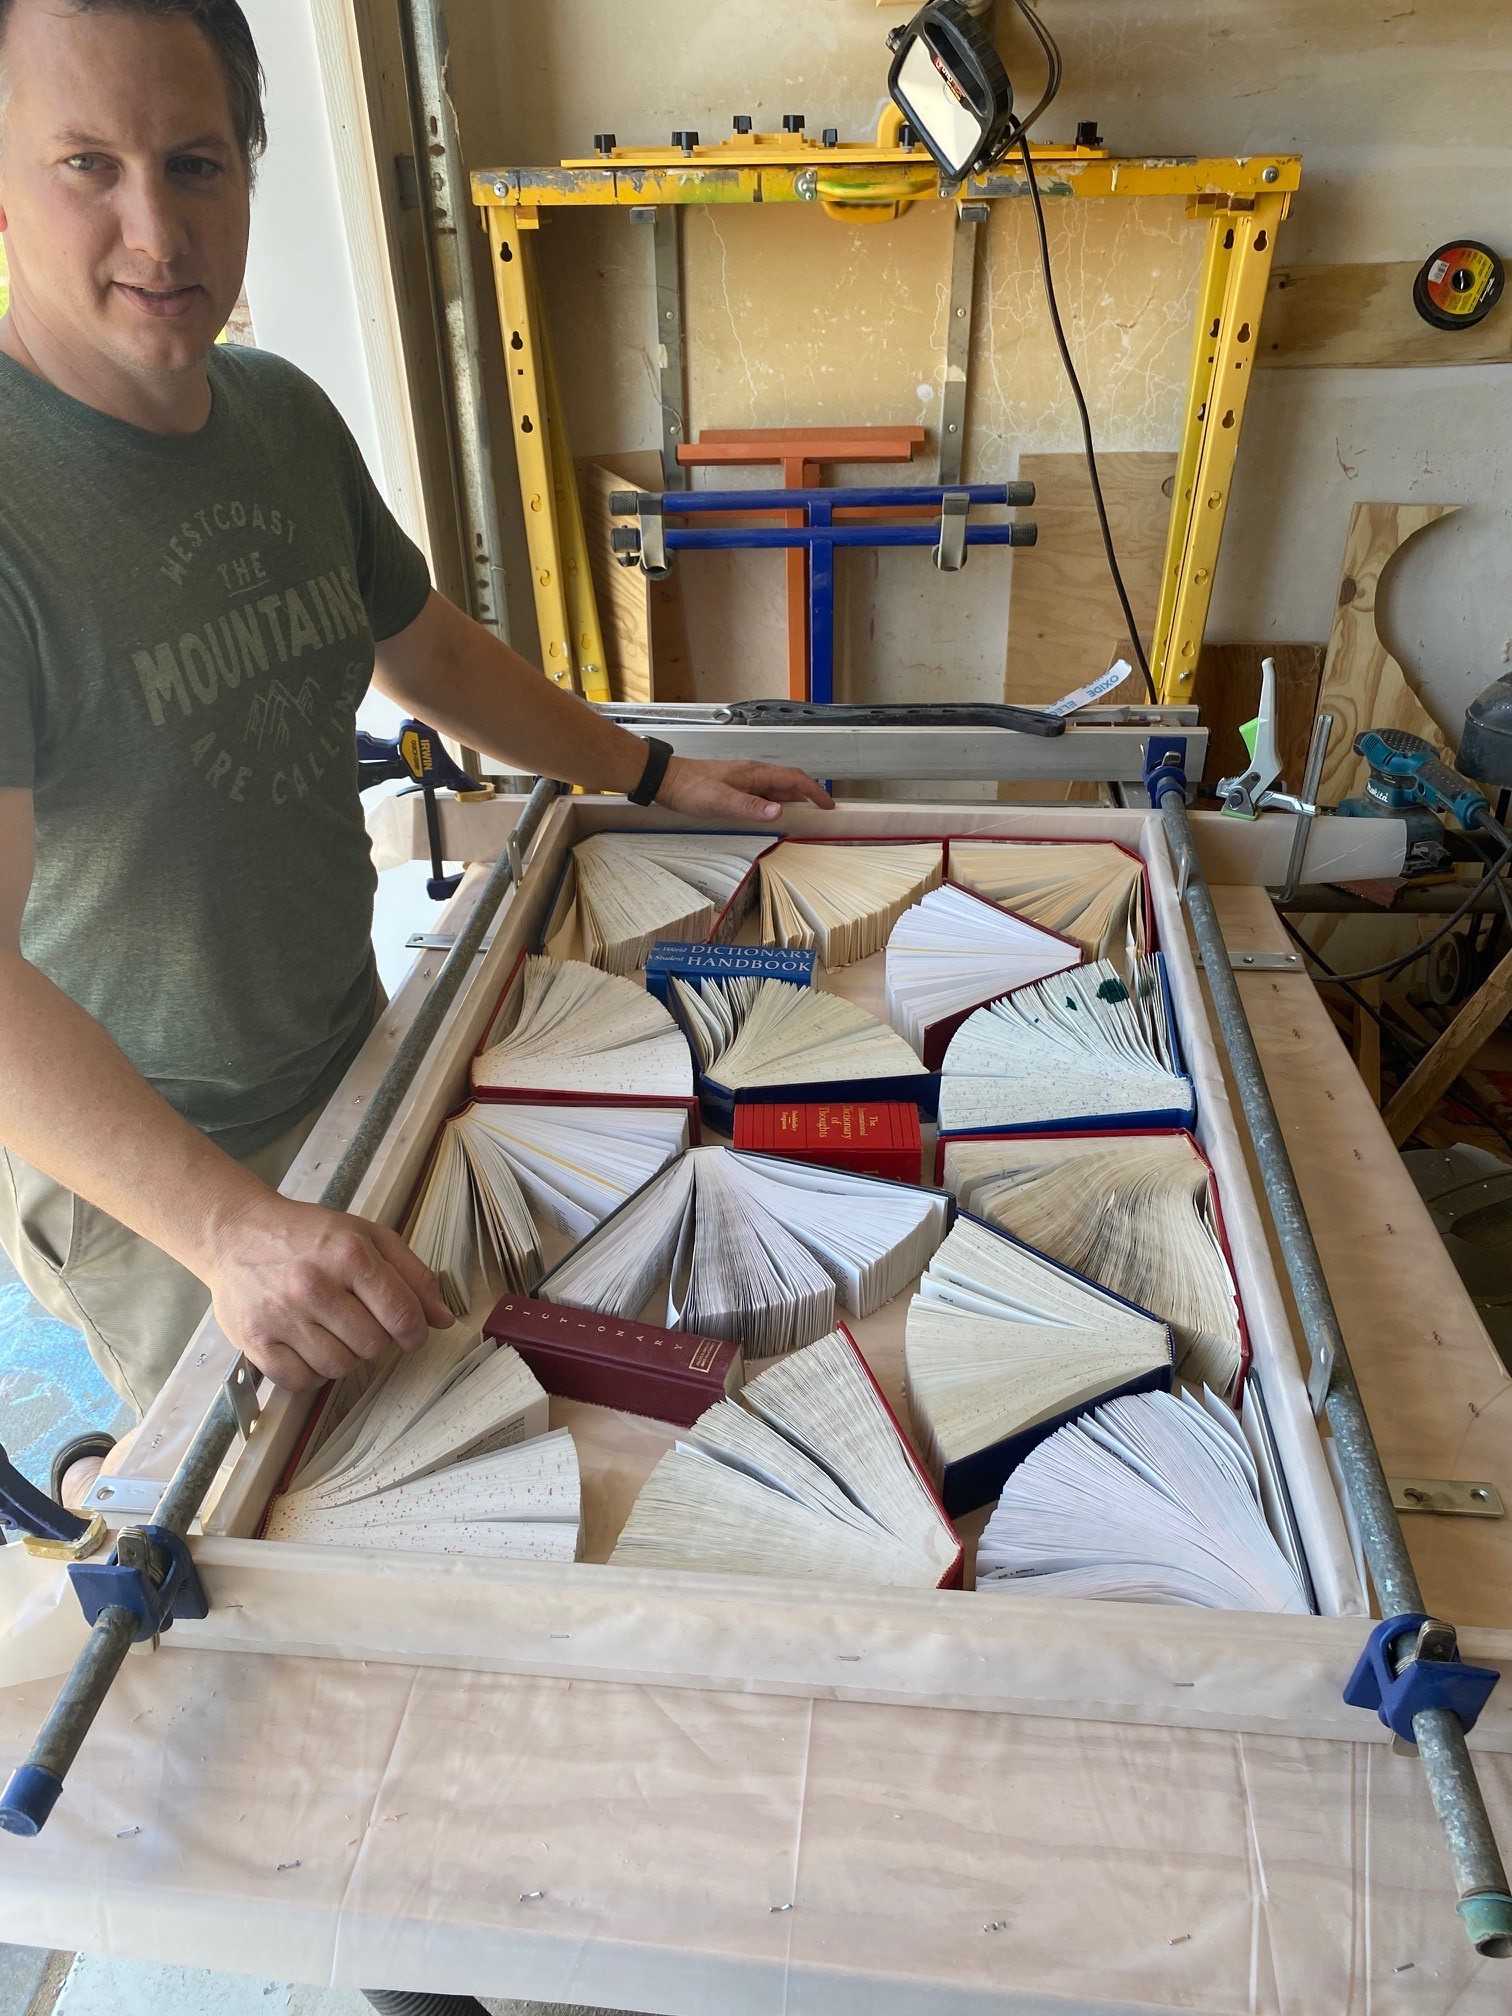
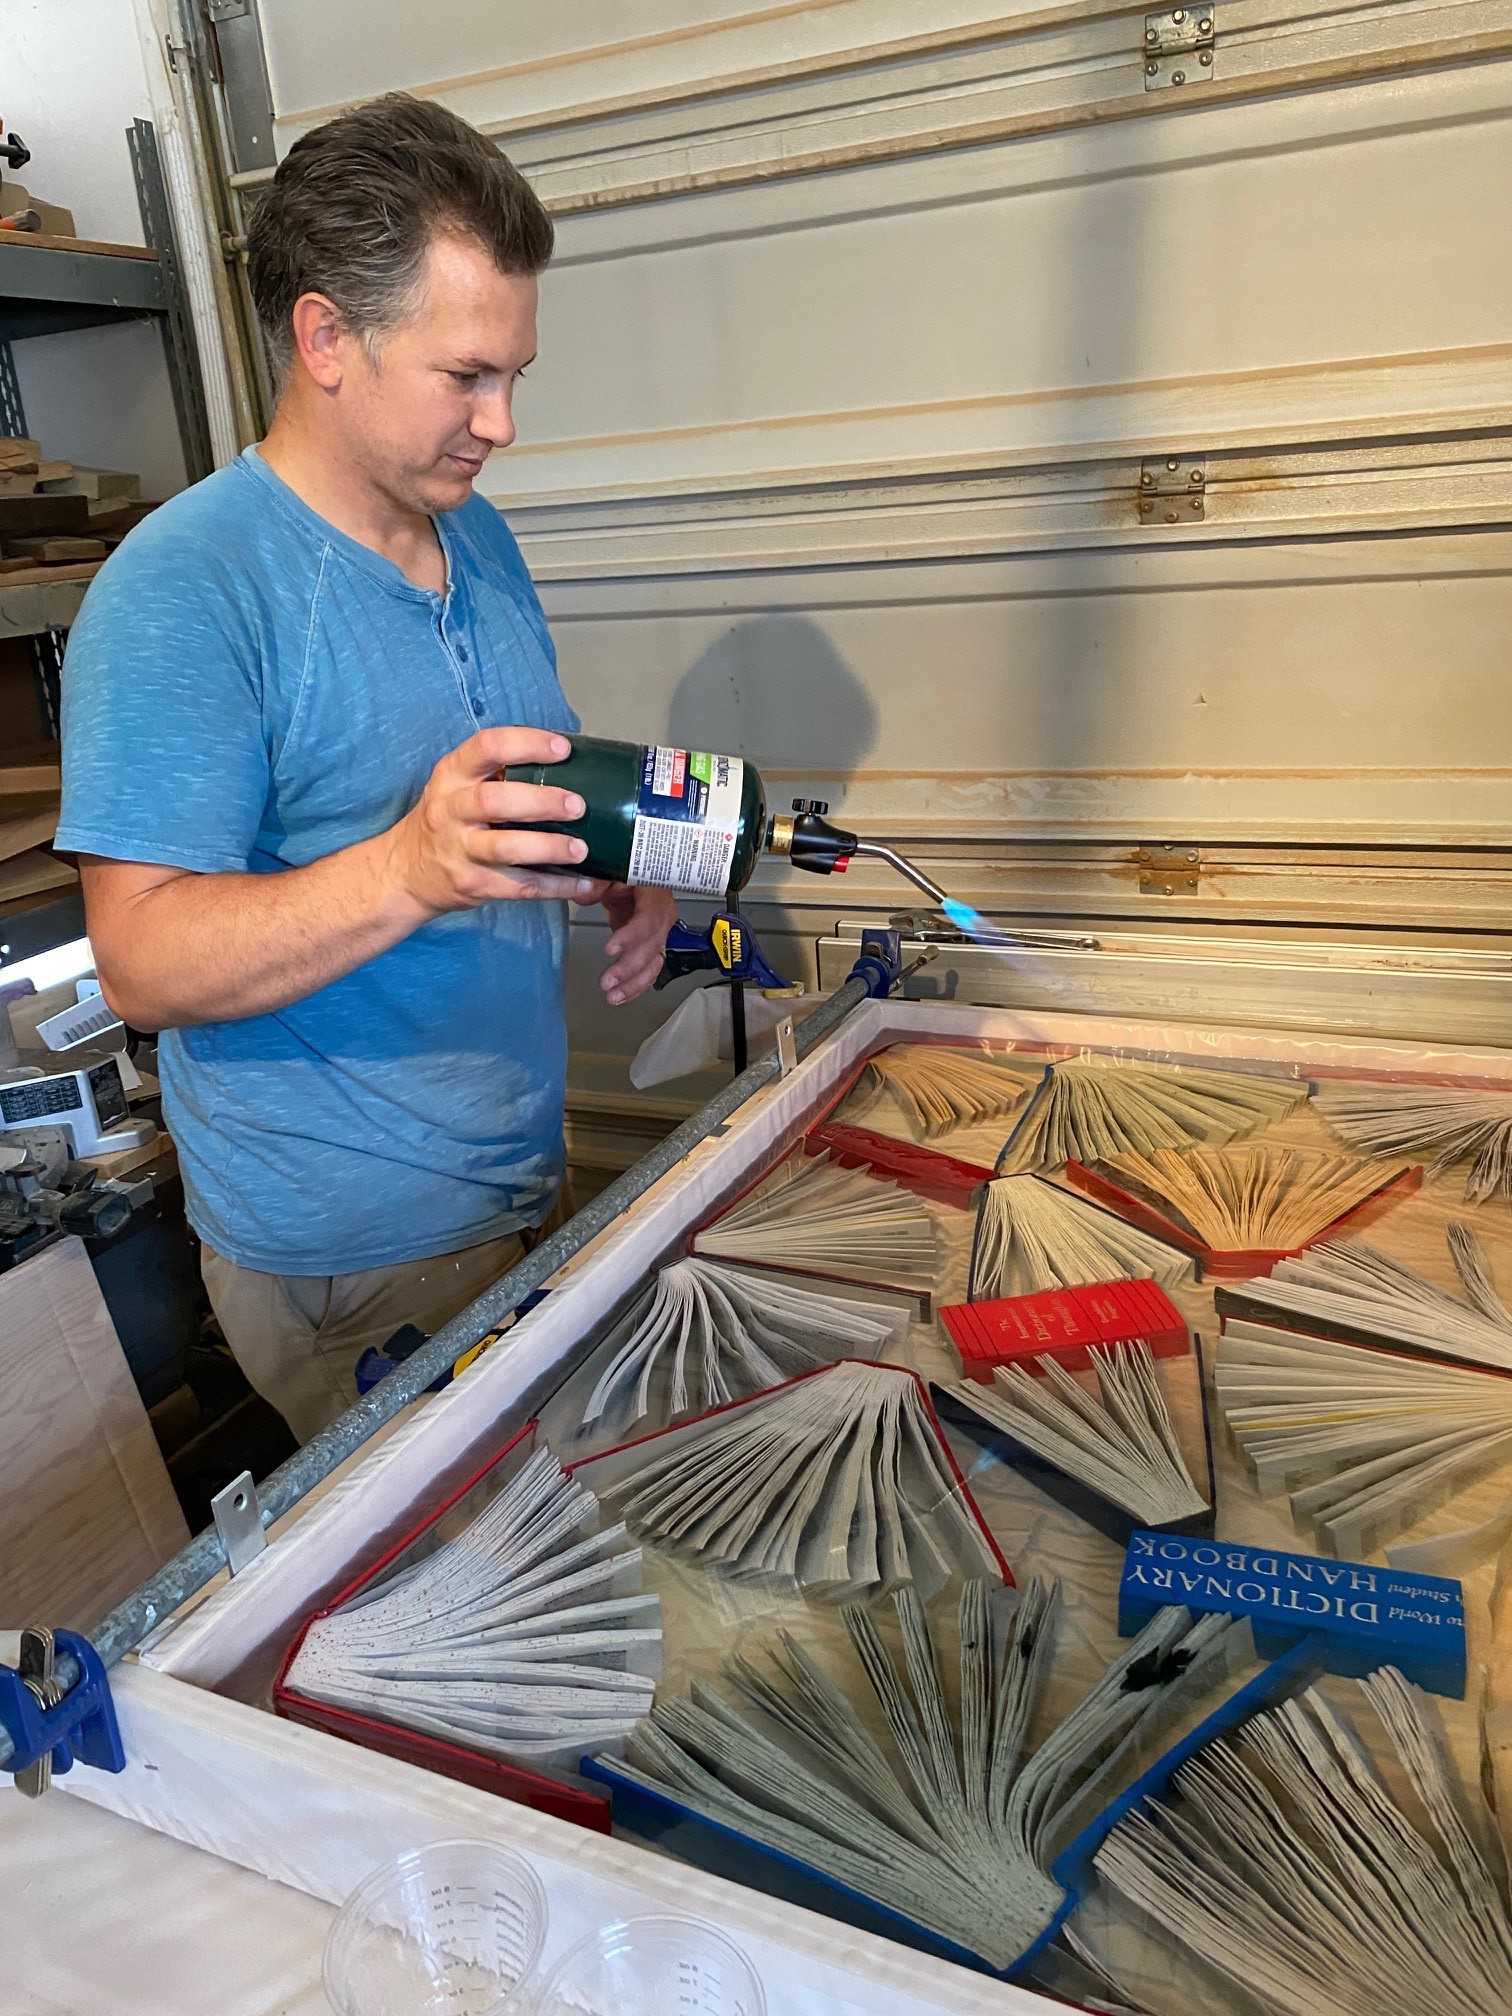
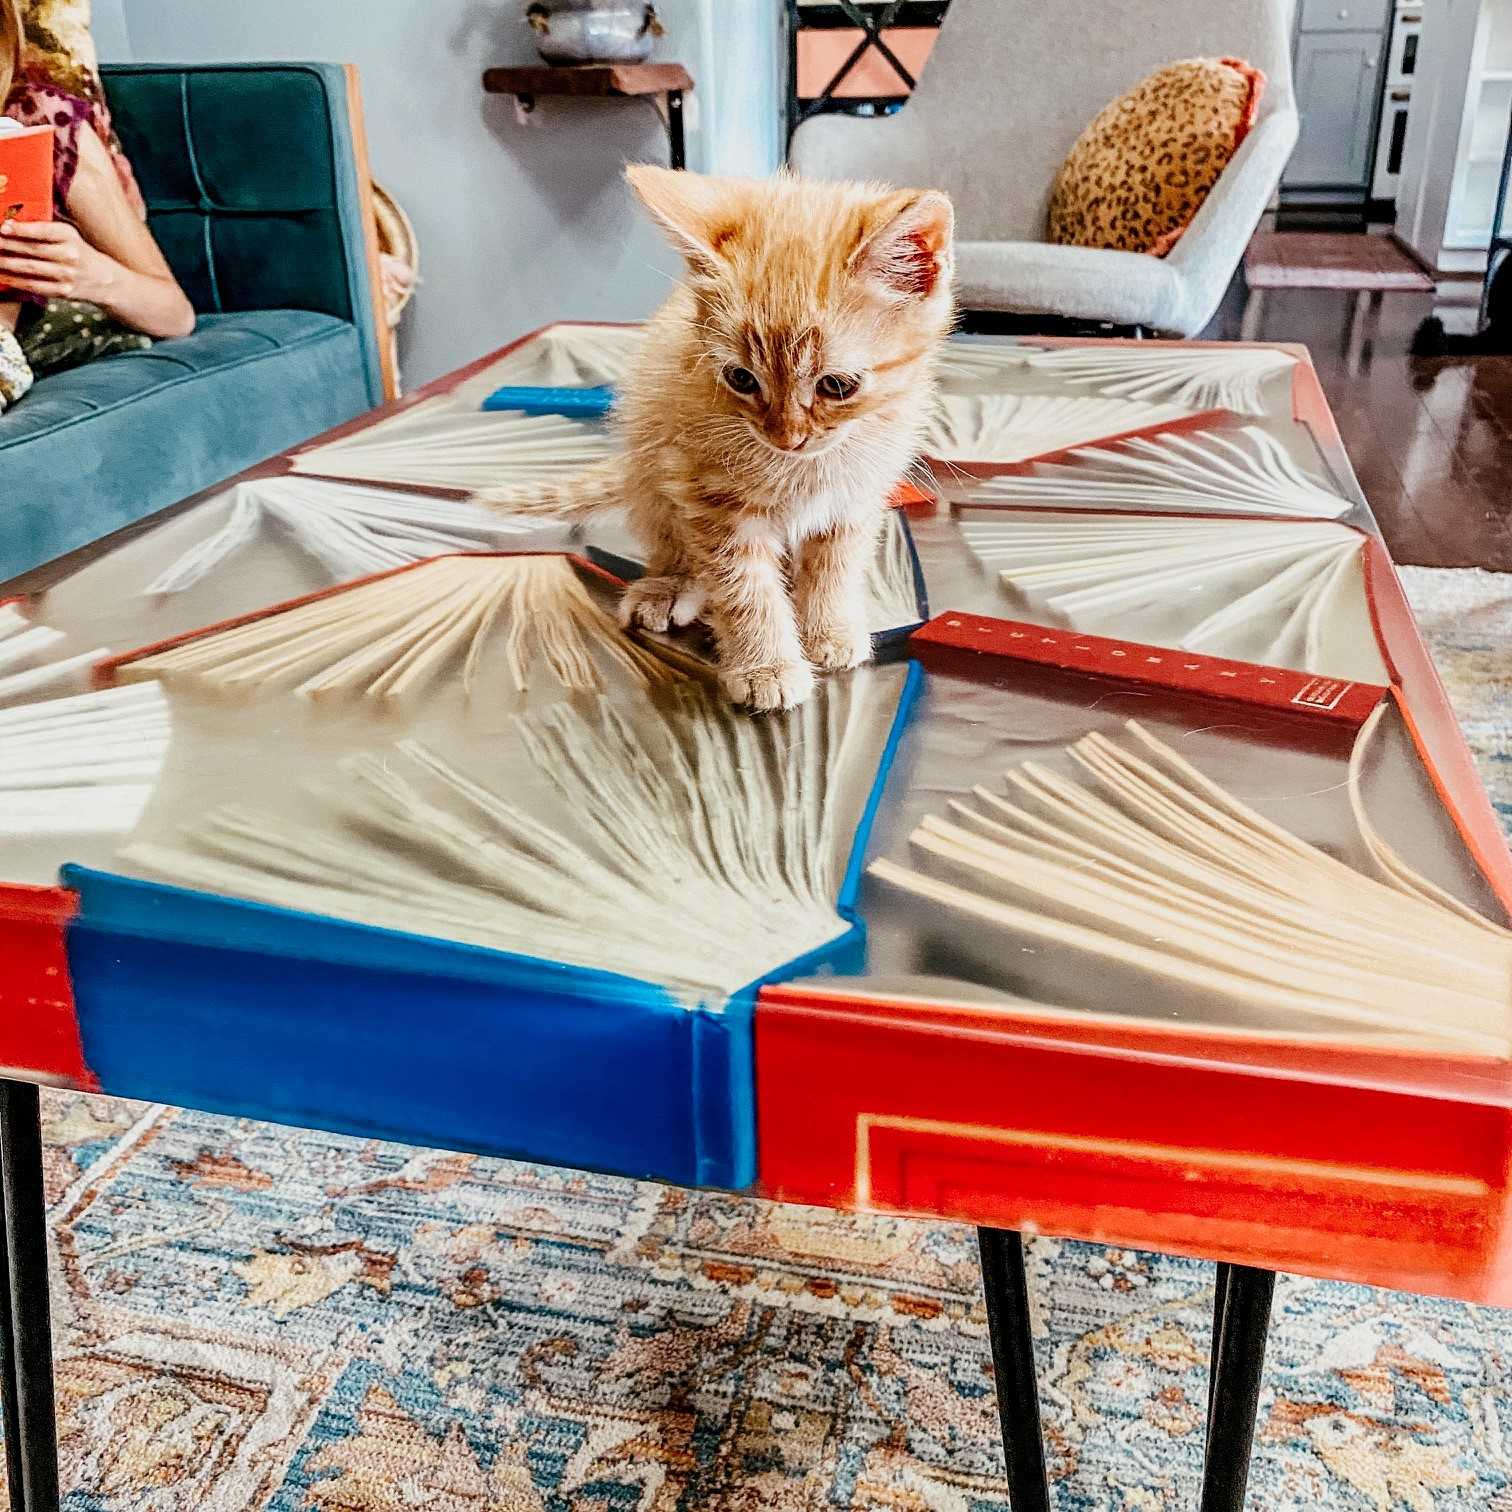
To create a fun border for the tabletop, we made sure the edges of the frame had the book covers along them. Then, we filled in the rest of the space with fanned-out pages. We added some of the spines of the dictionaries as well to add some interest. You can see one of the dictionaries had an old ink stain on it, and we wanted to make sure that was seen—it added character!
Then it was time to start pouring the resin.
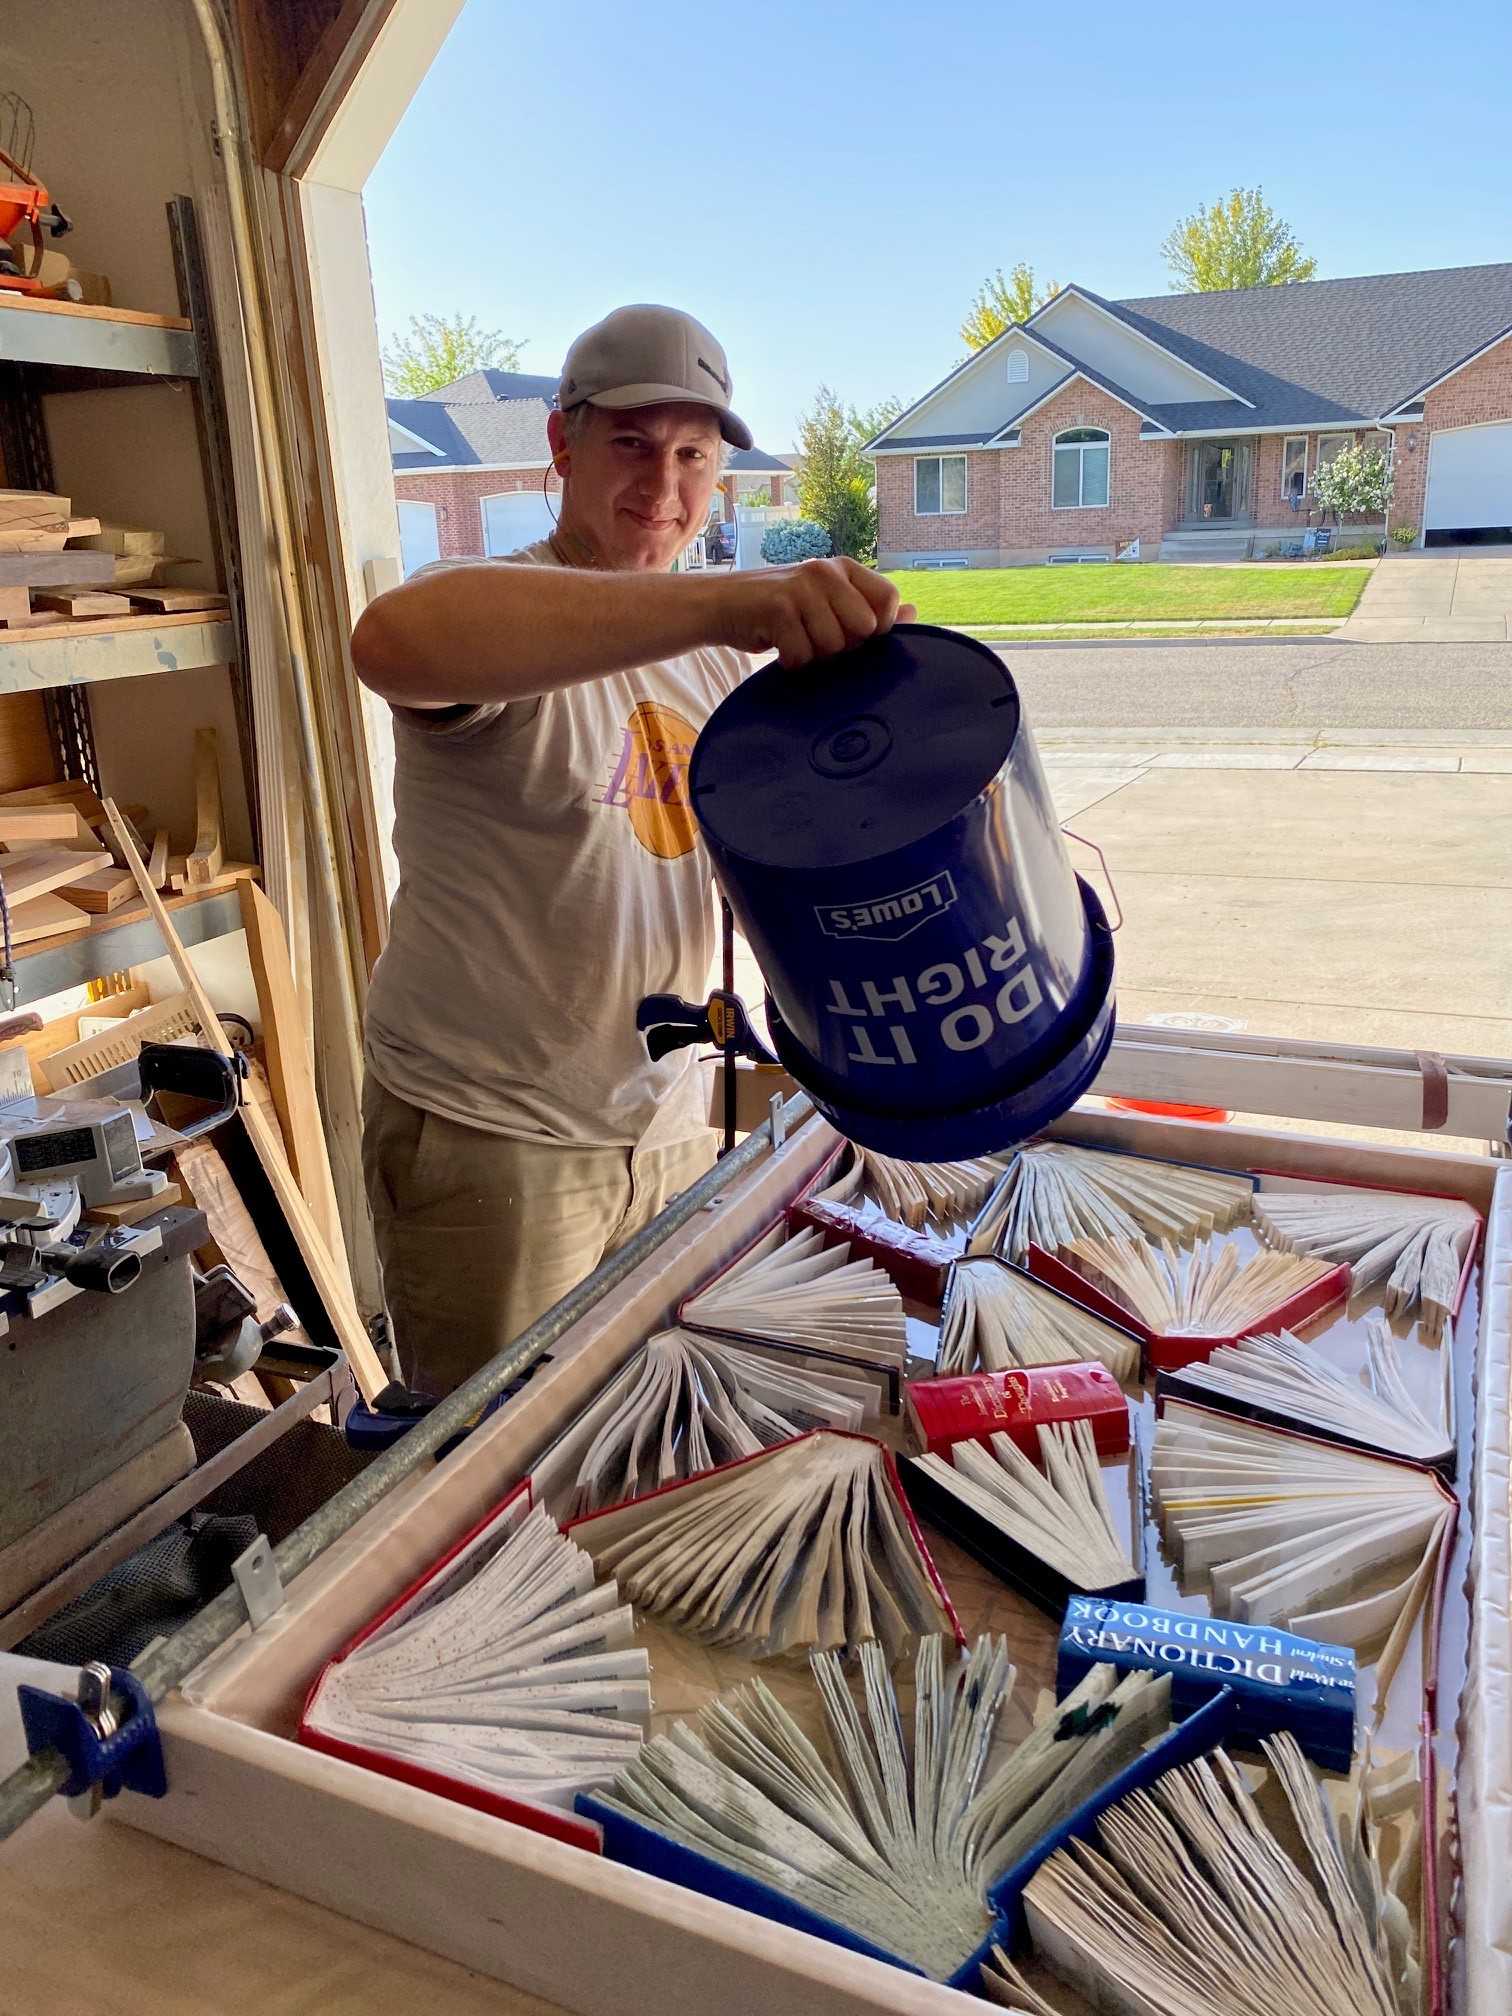
The resin had to be poured in quarter-inch increments every 3 to 4 hours to allow it time to set and dry in between coats. Because we needed quite a few layers of resin to cover the books, we started the first pour in the morning and finished the last coat the next day.
During the last couple resin pours, bubbles started to form where air was coming up from between the book pages, so my husband used a blow torch to help smooth them out. Not sure why this worked (I’m sure there is a very scientific answer), but it did!
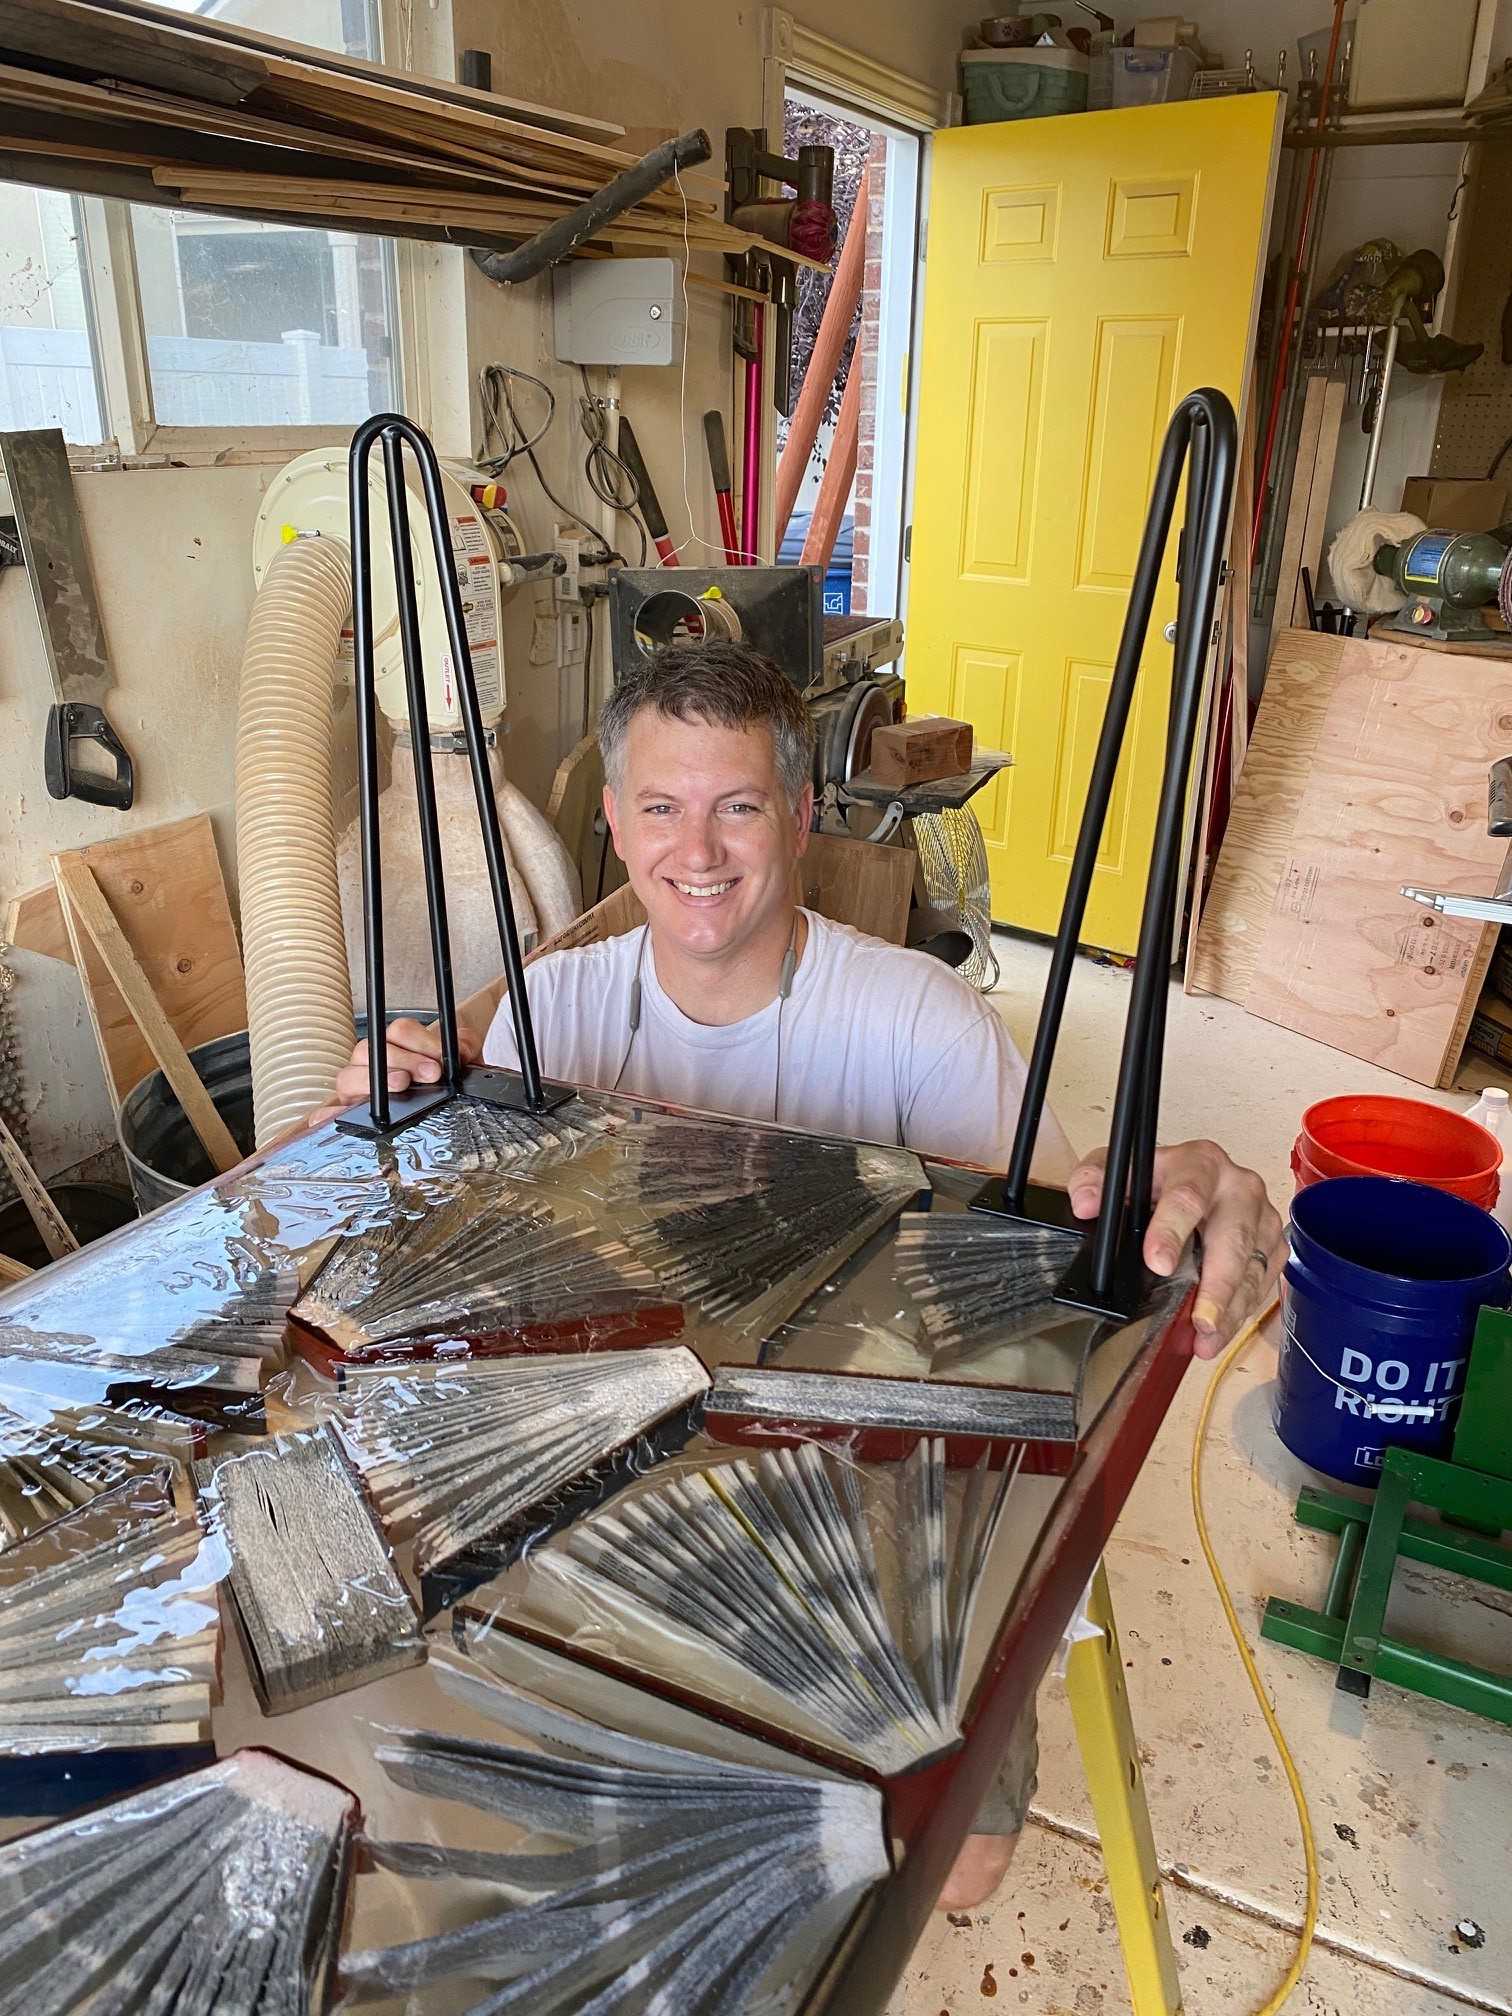
We waited another couple of days to make sure the resin was completely dry and then removed the wooden frame.
The edges of the tabletop weren’t very smooth after taking the frame off, so my husband trimmed them down with his table saw. He then used a sander to round the edges for a smoother look.
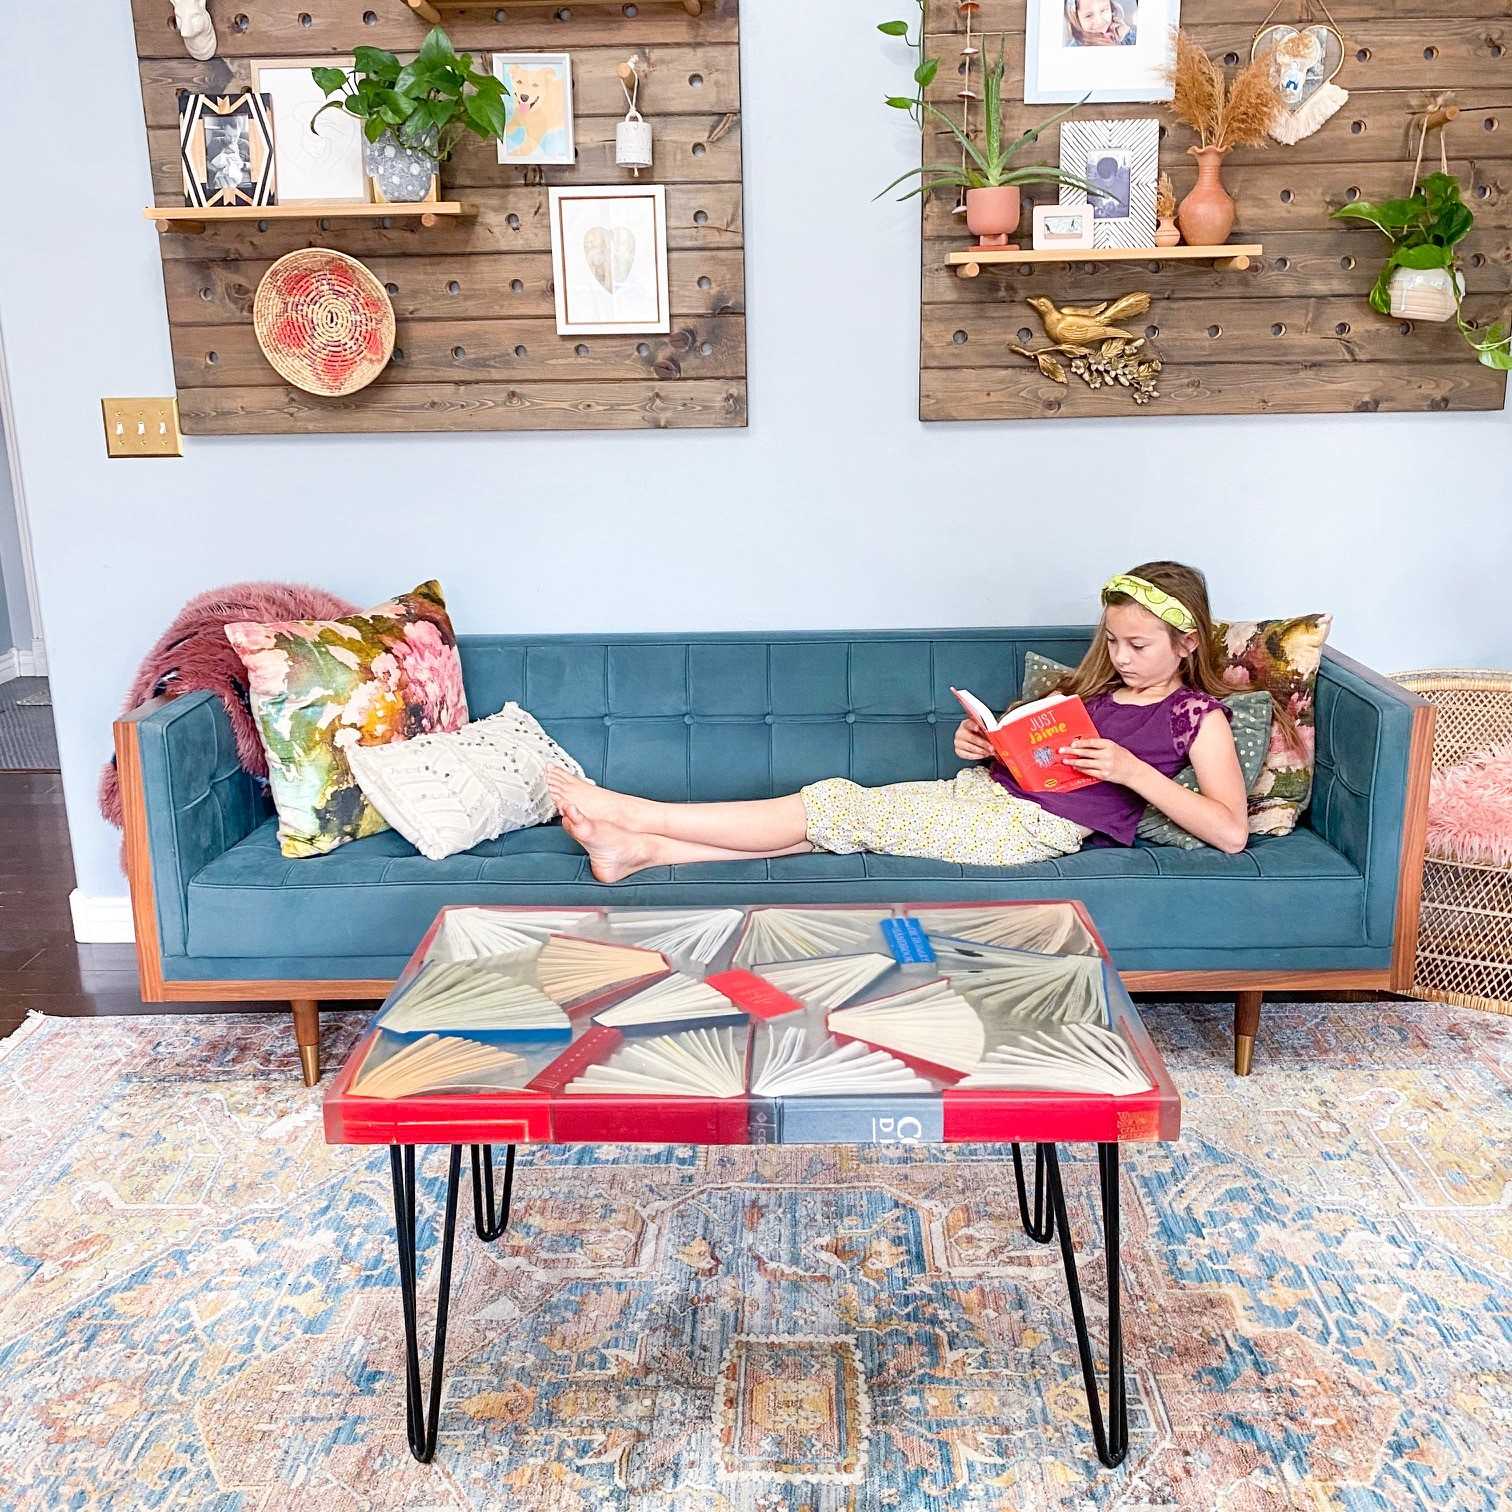
The last step of this project was to attach some legs to the bottom of the table. For a modern look, we went with some metal hairpin legs that we found on Amazon for $40. Depending on what style you are going for, you could also build some table legs out of wood, which would be a fun alternative. My husband drilled holes into the resin and attached the legs with screws.
We love how this coffee table turned out! It is quirky and fun, and the English major in me appreciates any book-related décor. Some classic literature books would also be a fun alternative to the dictionaries. It was so fun to turn books that you can thrift for a few dollars each into a work of art!
Laurel lives in Utah with her kids and her husband. They love whimsical décor and fun DIY projects. See more of her work on Instagram @thehousethatDIYbuilt.