Upcycling a Homework Desk
Sitting at a desk and buckling down on homework can be a bit of a struggle. Creating a unique and interesting home study space can help motivate students to hone in on their studious side and crank out those assignments.
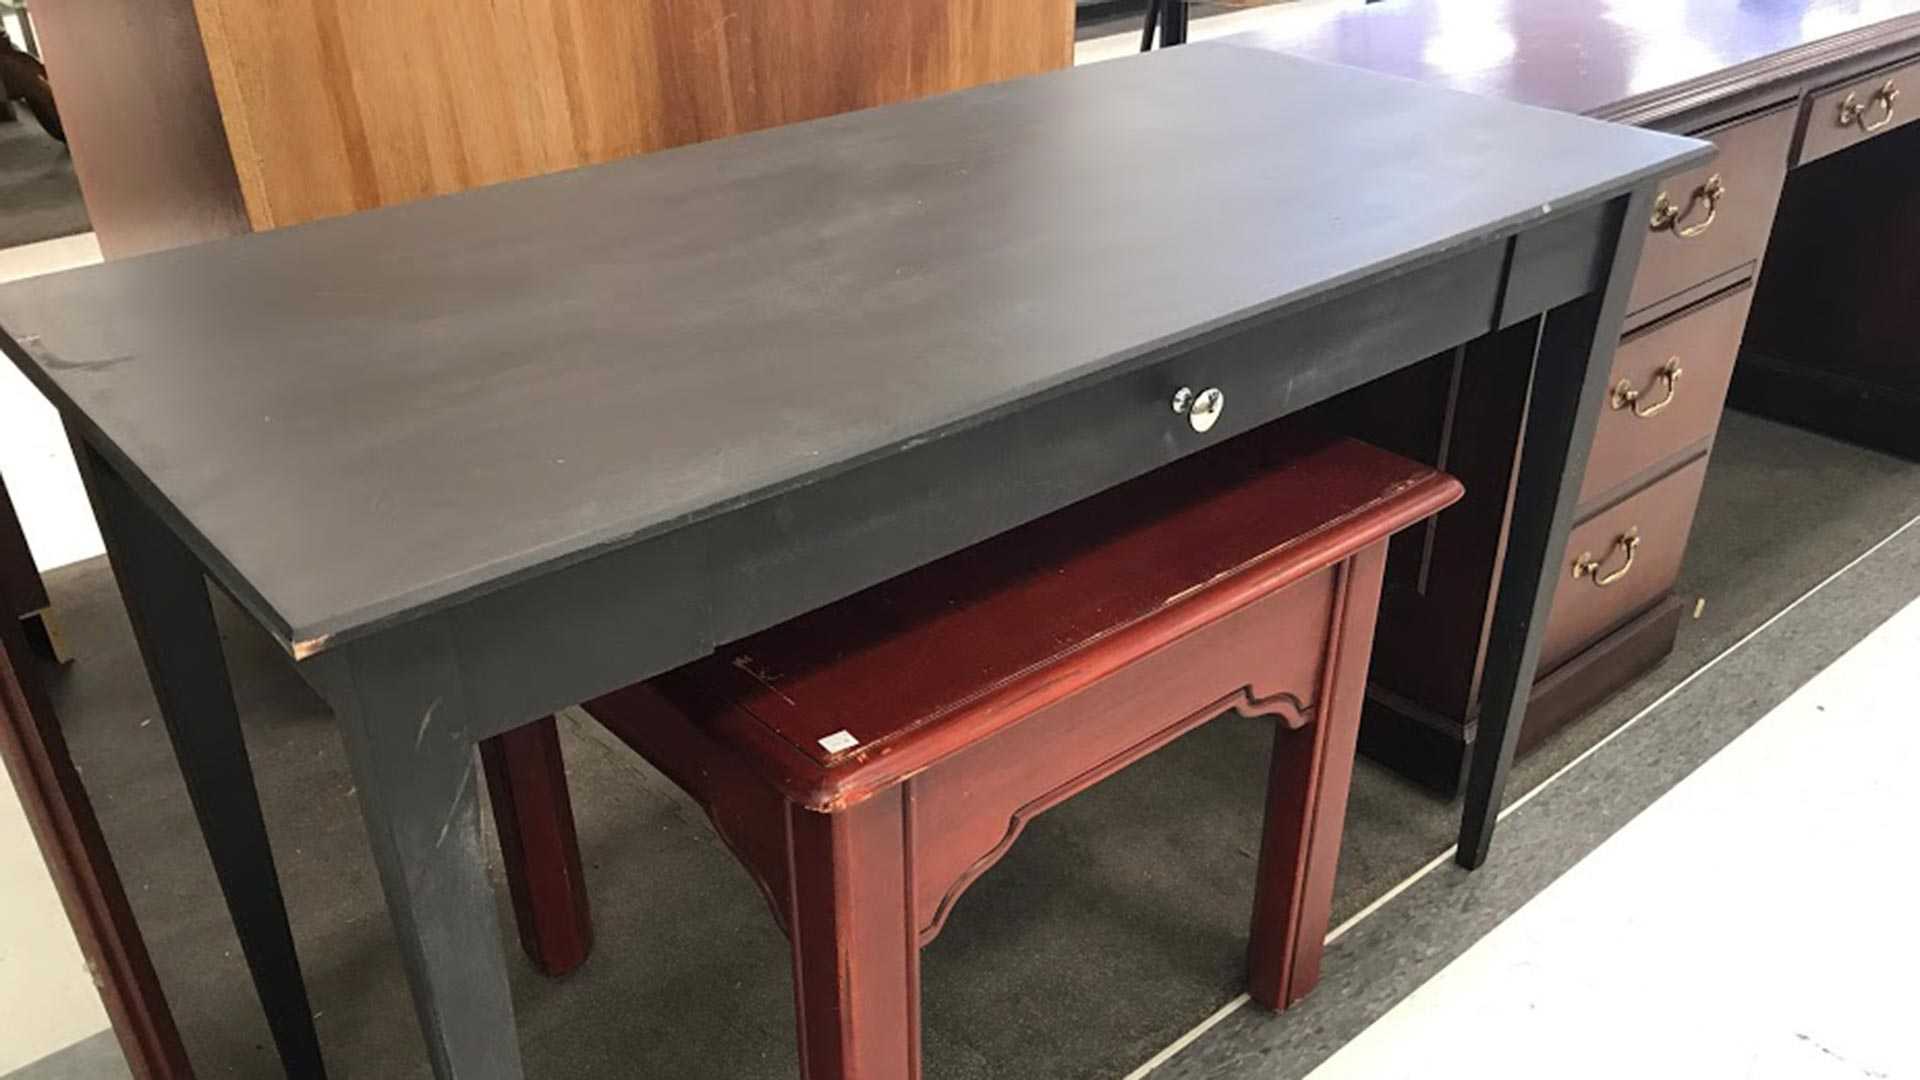
We picked up this basic student desk at Deseret Industries for 25 dollars with the idea that we could update it and work some DIY magic on it. The desk was in great condition, and the keyboard tray drawer was in working order.
Painting
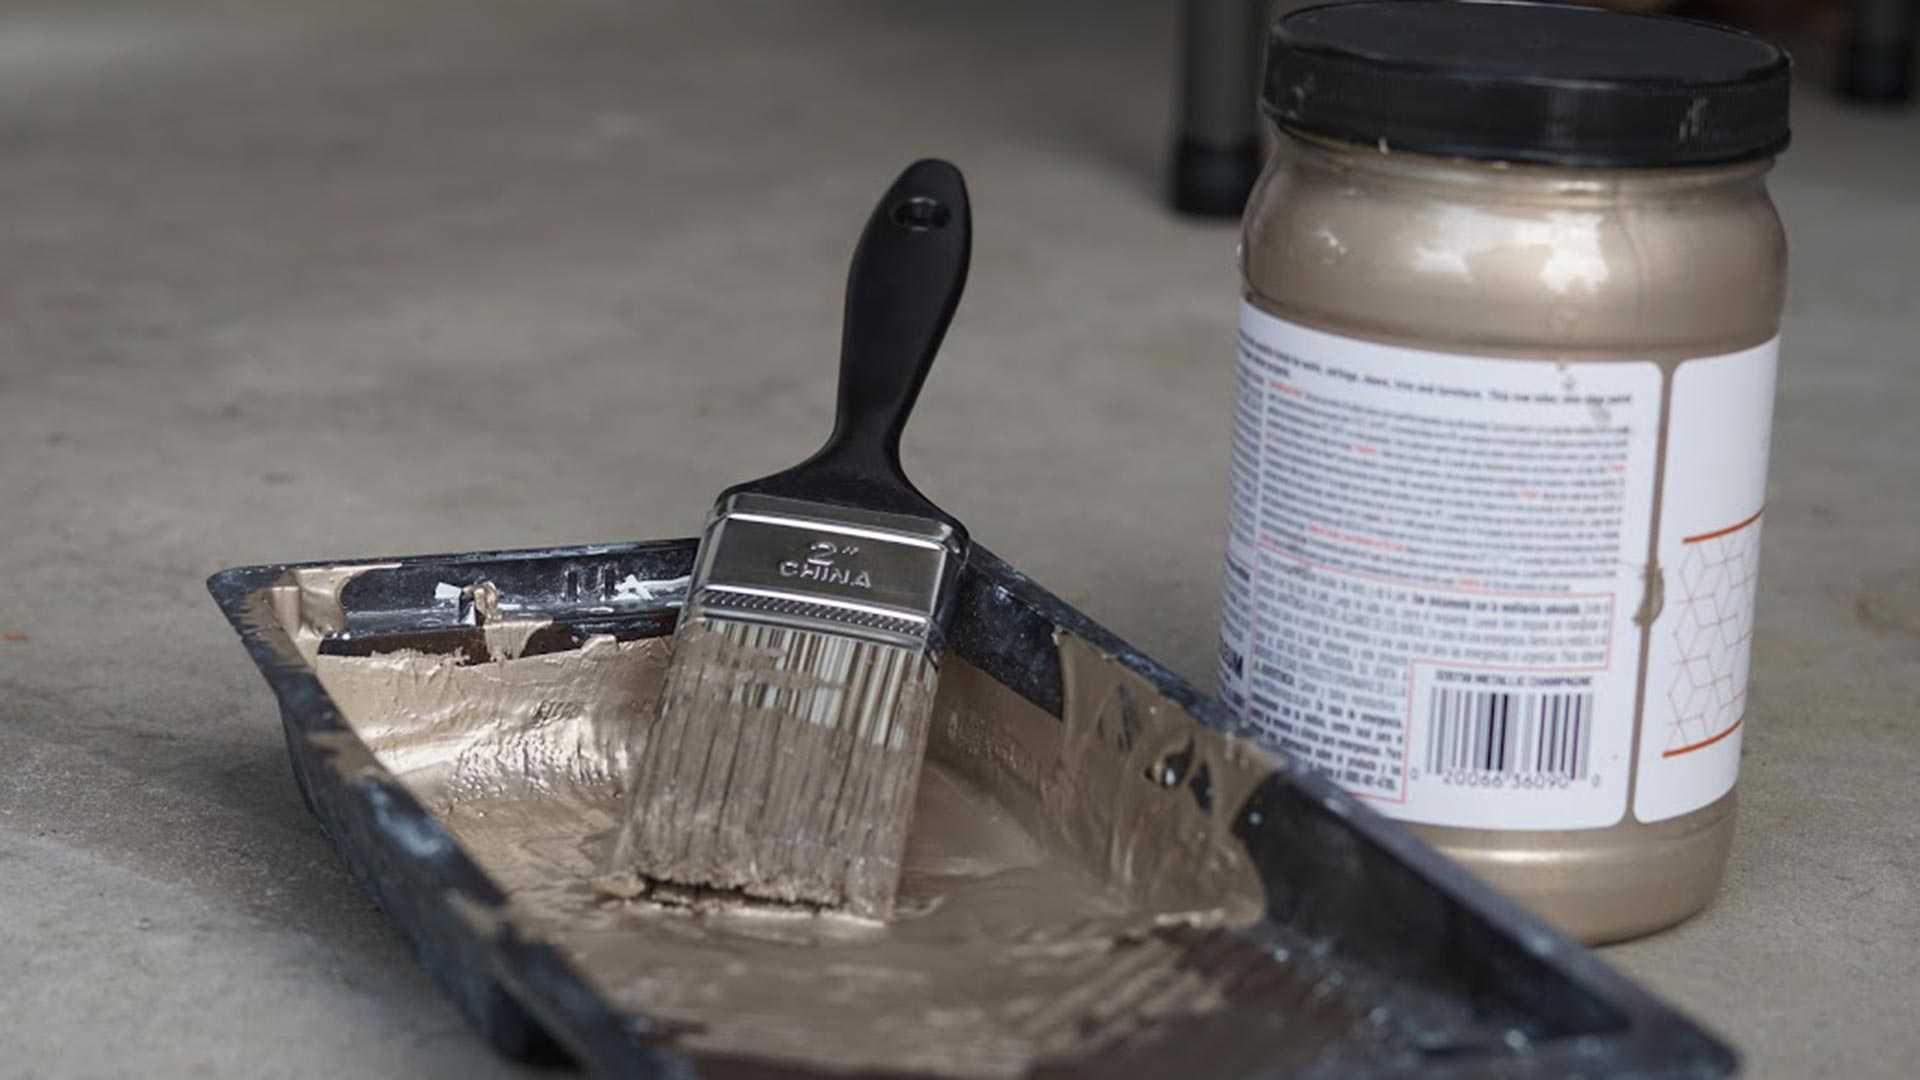
Originally, we thought about restaining the desk, but we realized that the desk had been painted before, which limited our options. In order to restain the painted surface, we would have needed to strip the paint and sand the desk, which, though doable, takes a lot of time and effort. We decided to go with a metallic paint. If you want to update your own desk with metallic paint, make sure to get wall or furniture paint and not spray paint. The paint comes in a can or jar and behaves a lot like chalk paint.
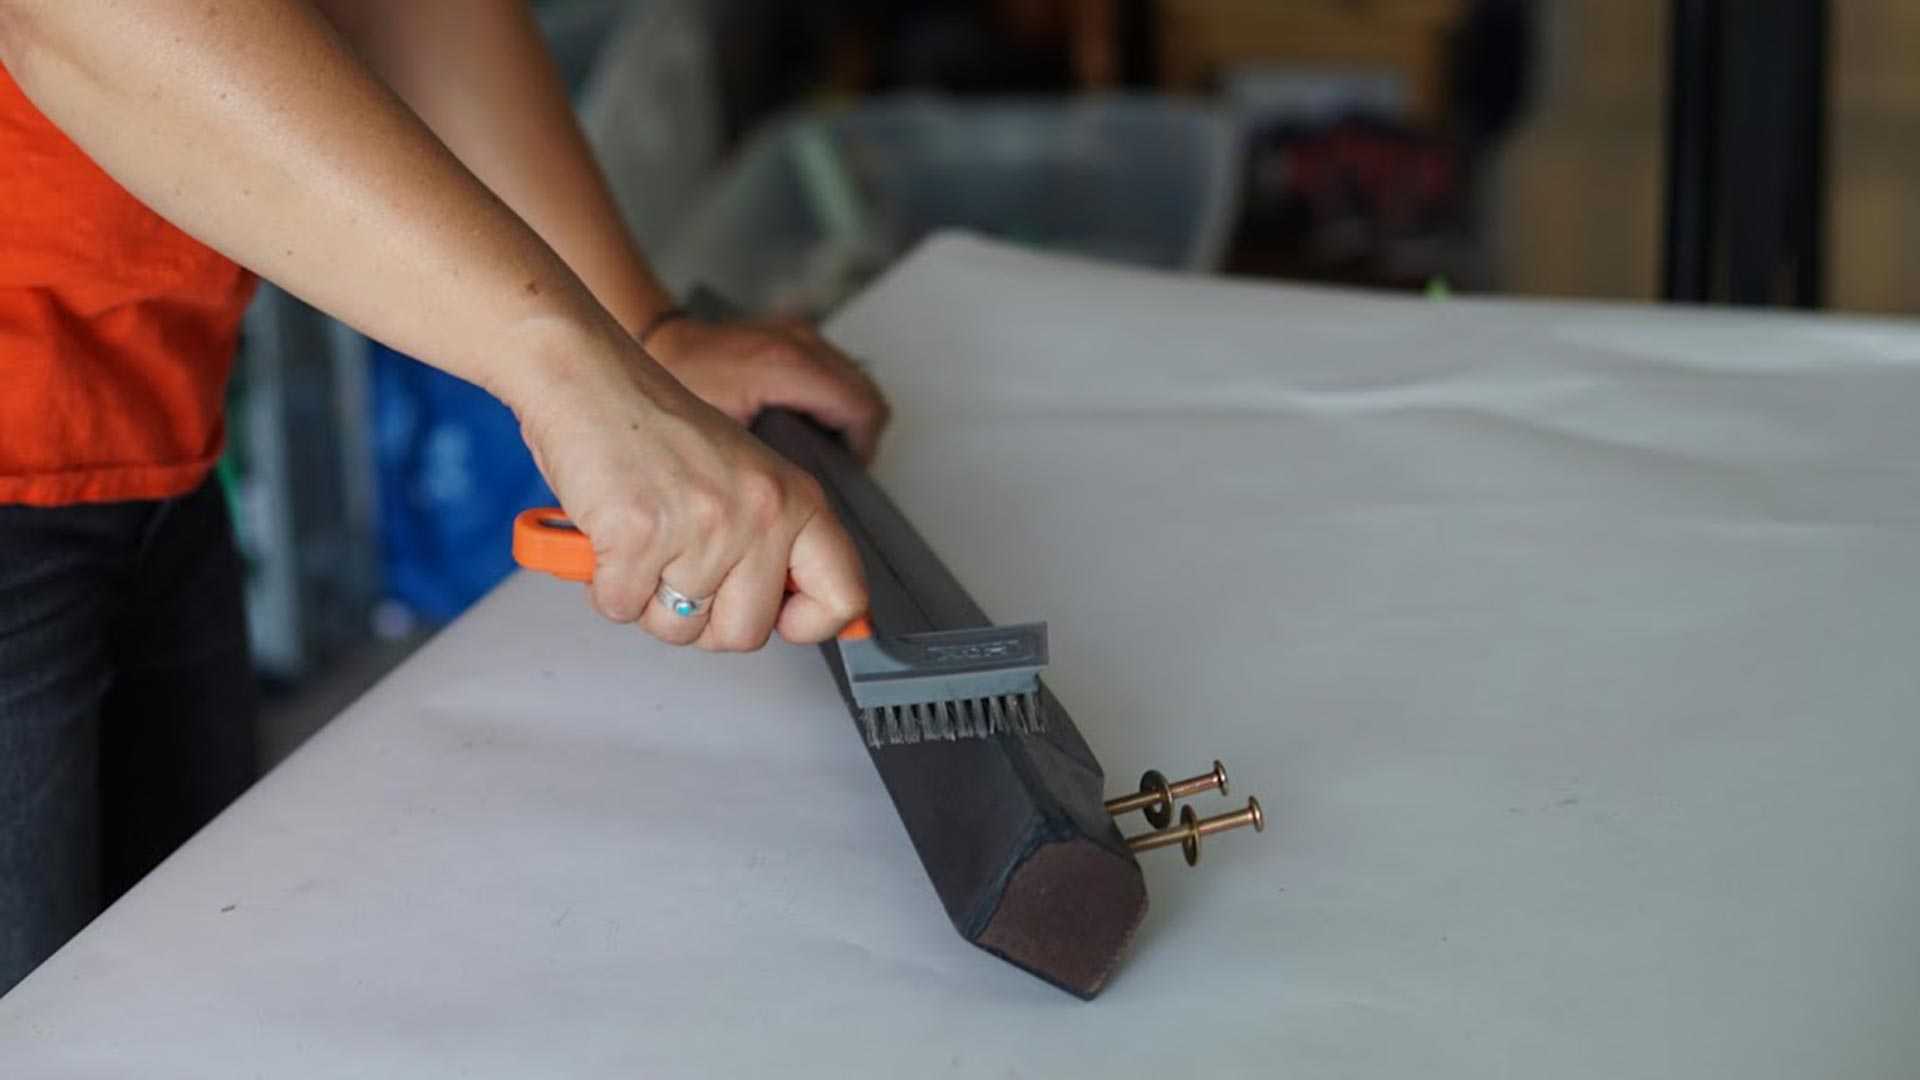
Since the desk had been painted once before, an employee at the hardware store suggested we use a wire brush to rough up the previous paint job to make it easier to apply the new paint. Brush the desk with the wire brush until some of the paint is removed and your surface feels ready to go. Don’t worry about brushing off all the old paint—the new paint will cover it.
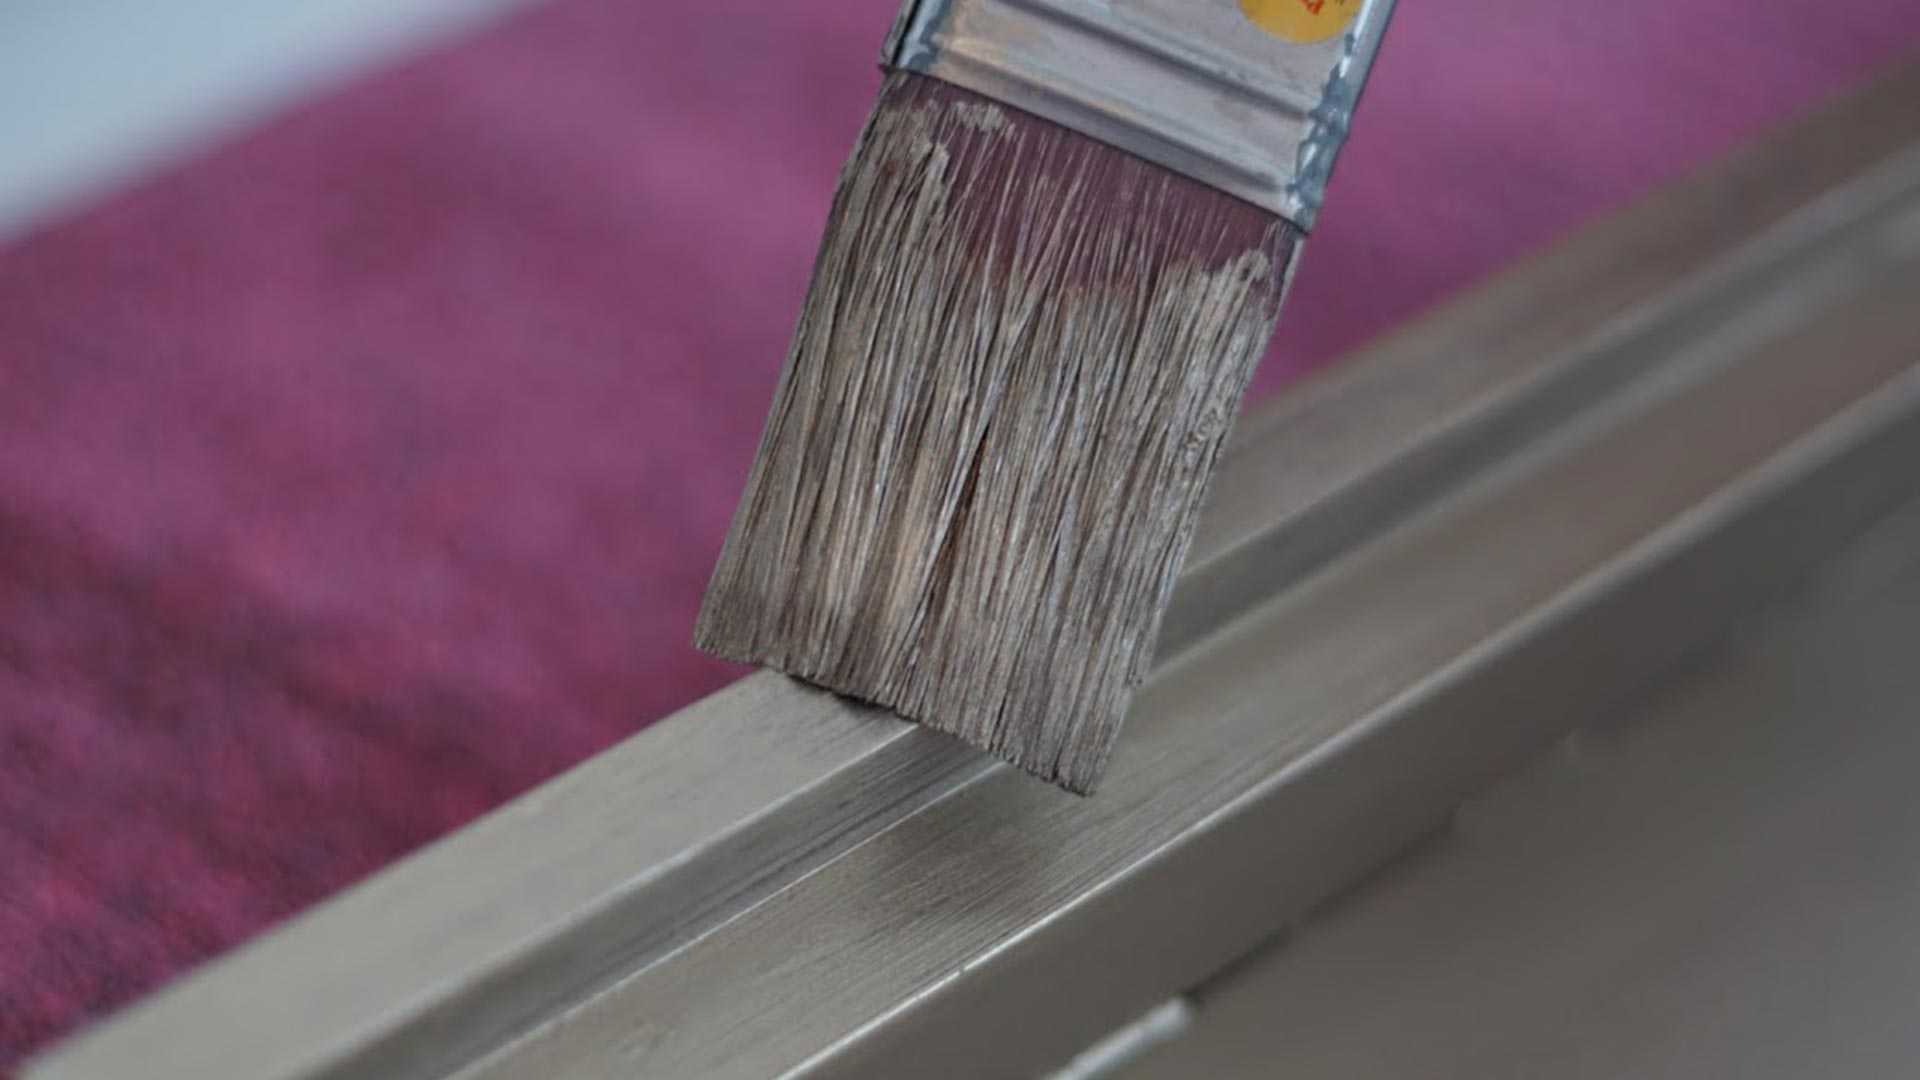
Metallic paint can be applied with either a roller or a paintbrush; it all depends on the texture you want. We decided to use the brush, which gave the paint a brushed-on look with visible strokes. The roller would have created a more bubbly texture.
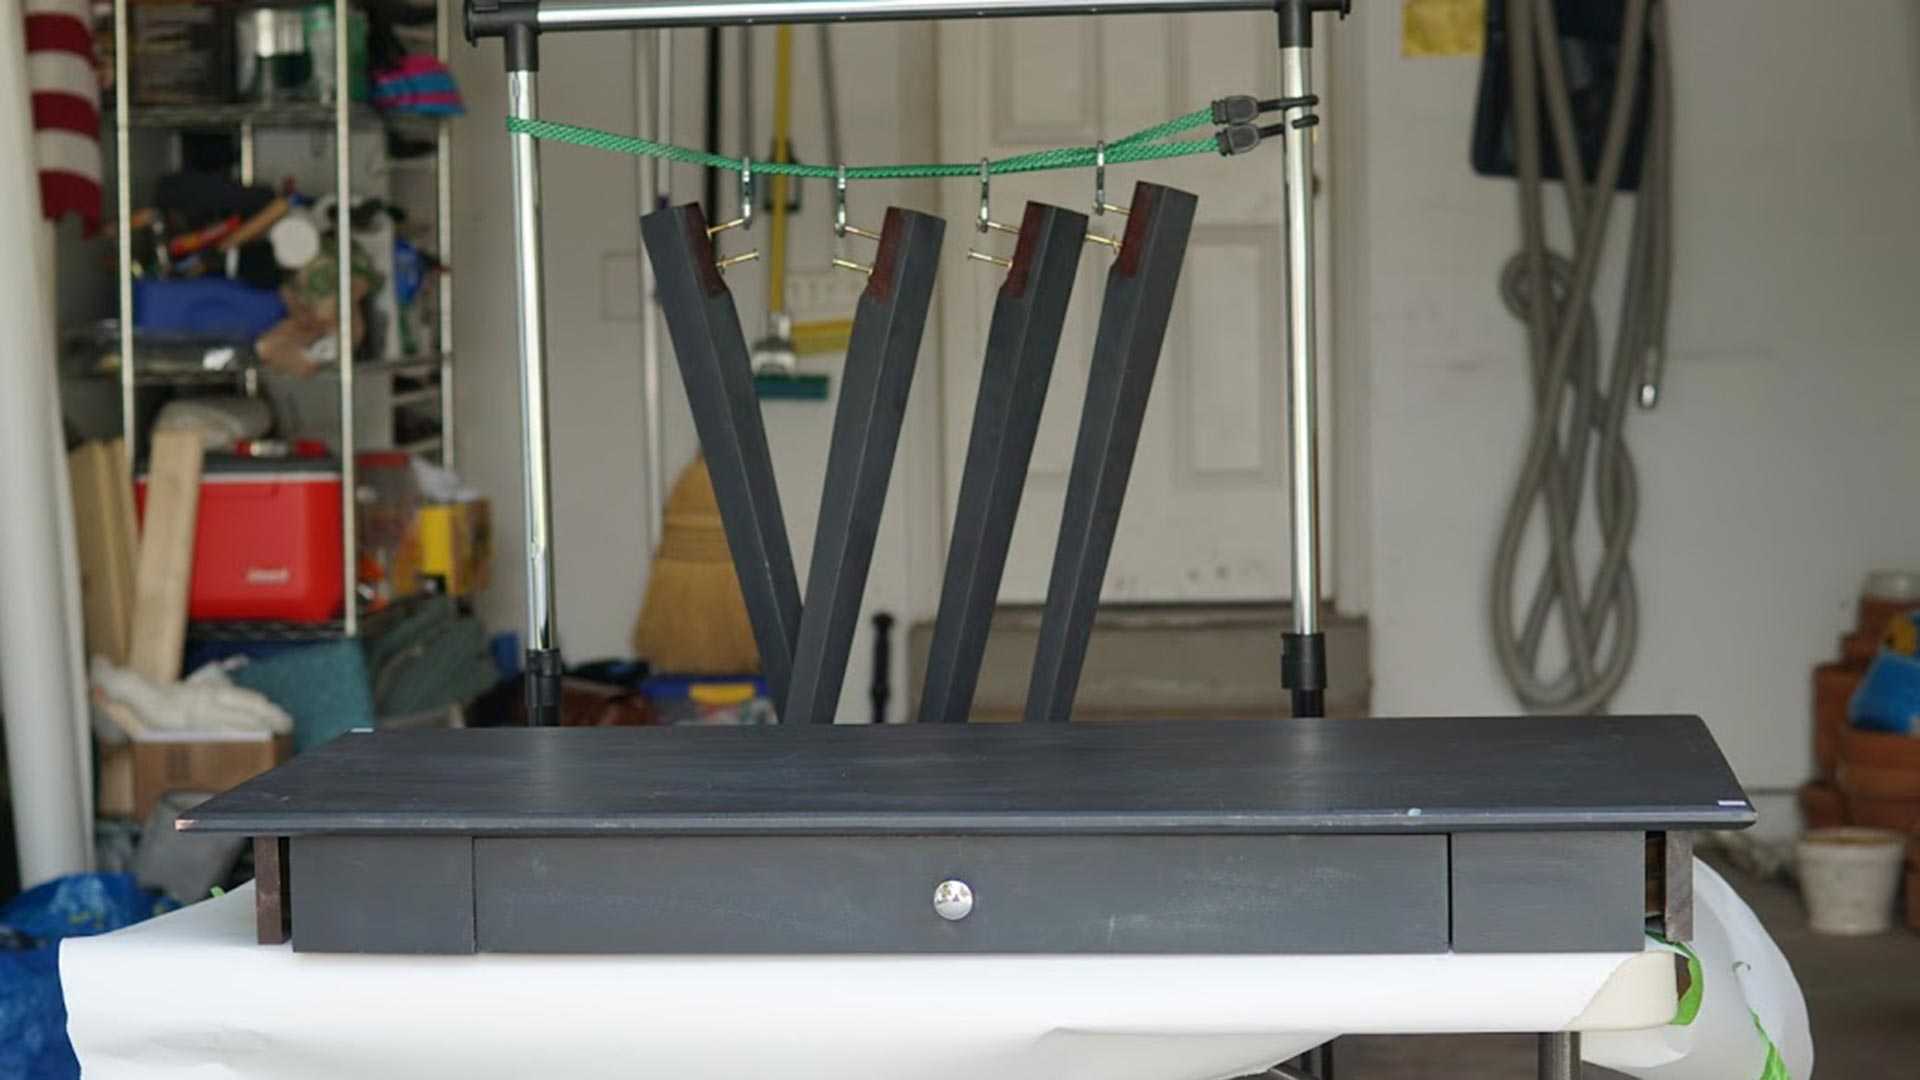
In general, one of the trickiest parts about painting furniture is painting the legs. To make it a little easier, we removed the desk legs from the desk with a screwdriver. Then we hung the legs up using a portable garment rack, bungee cord, and some shower curtain hooks. This way, we could paint all four sides without waiting for them to dry in between. However, it is helpful to have one person hold the top and bottom of the legs still while another paints them.
Adding Drawers
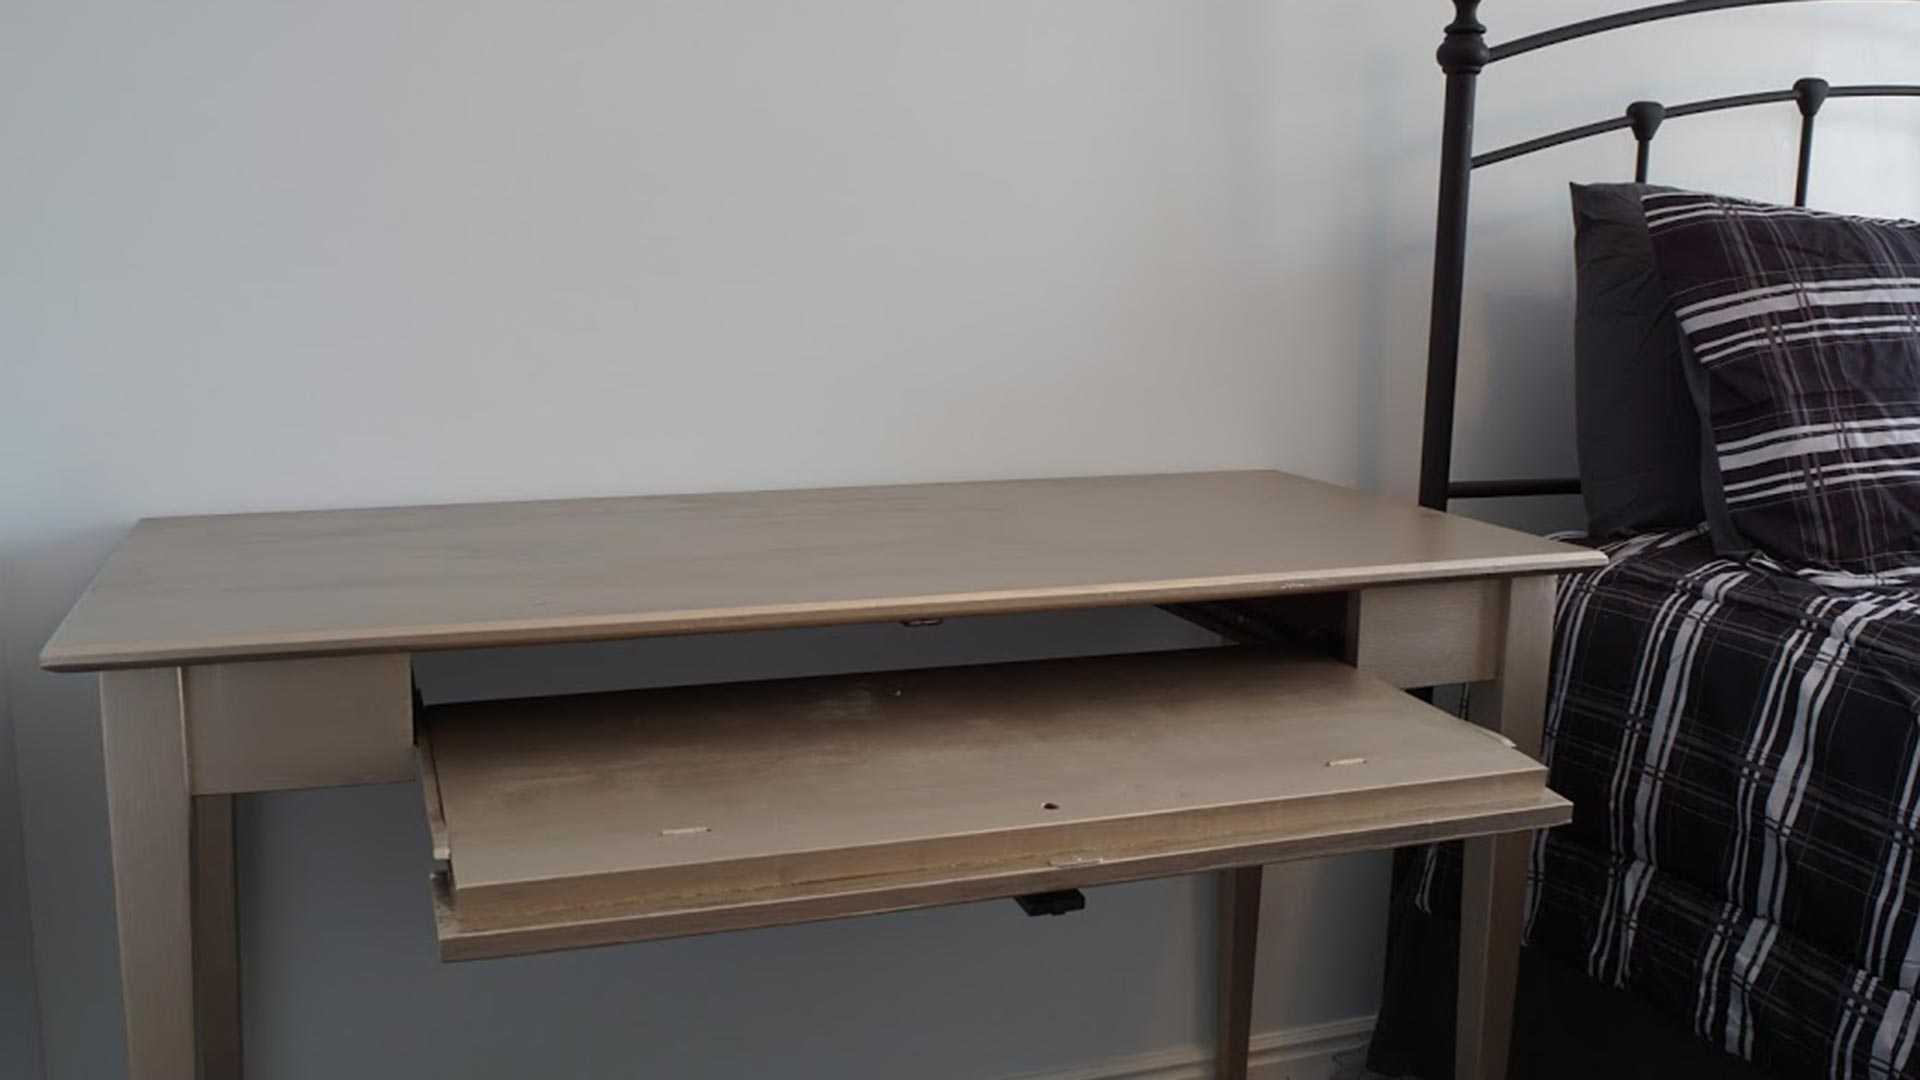
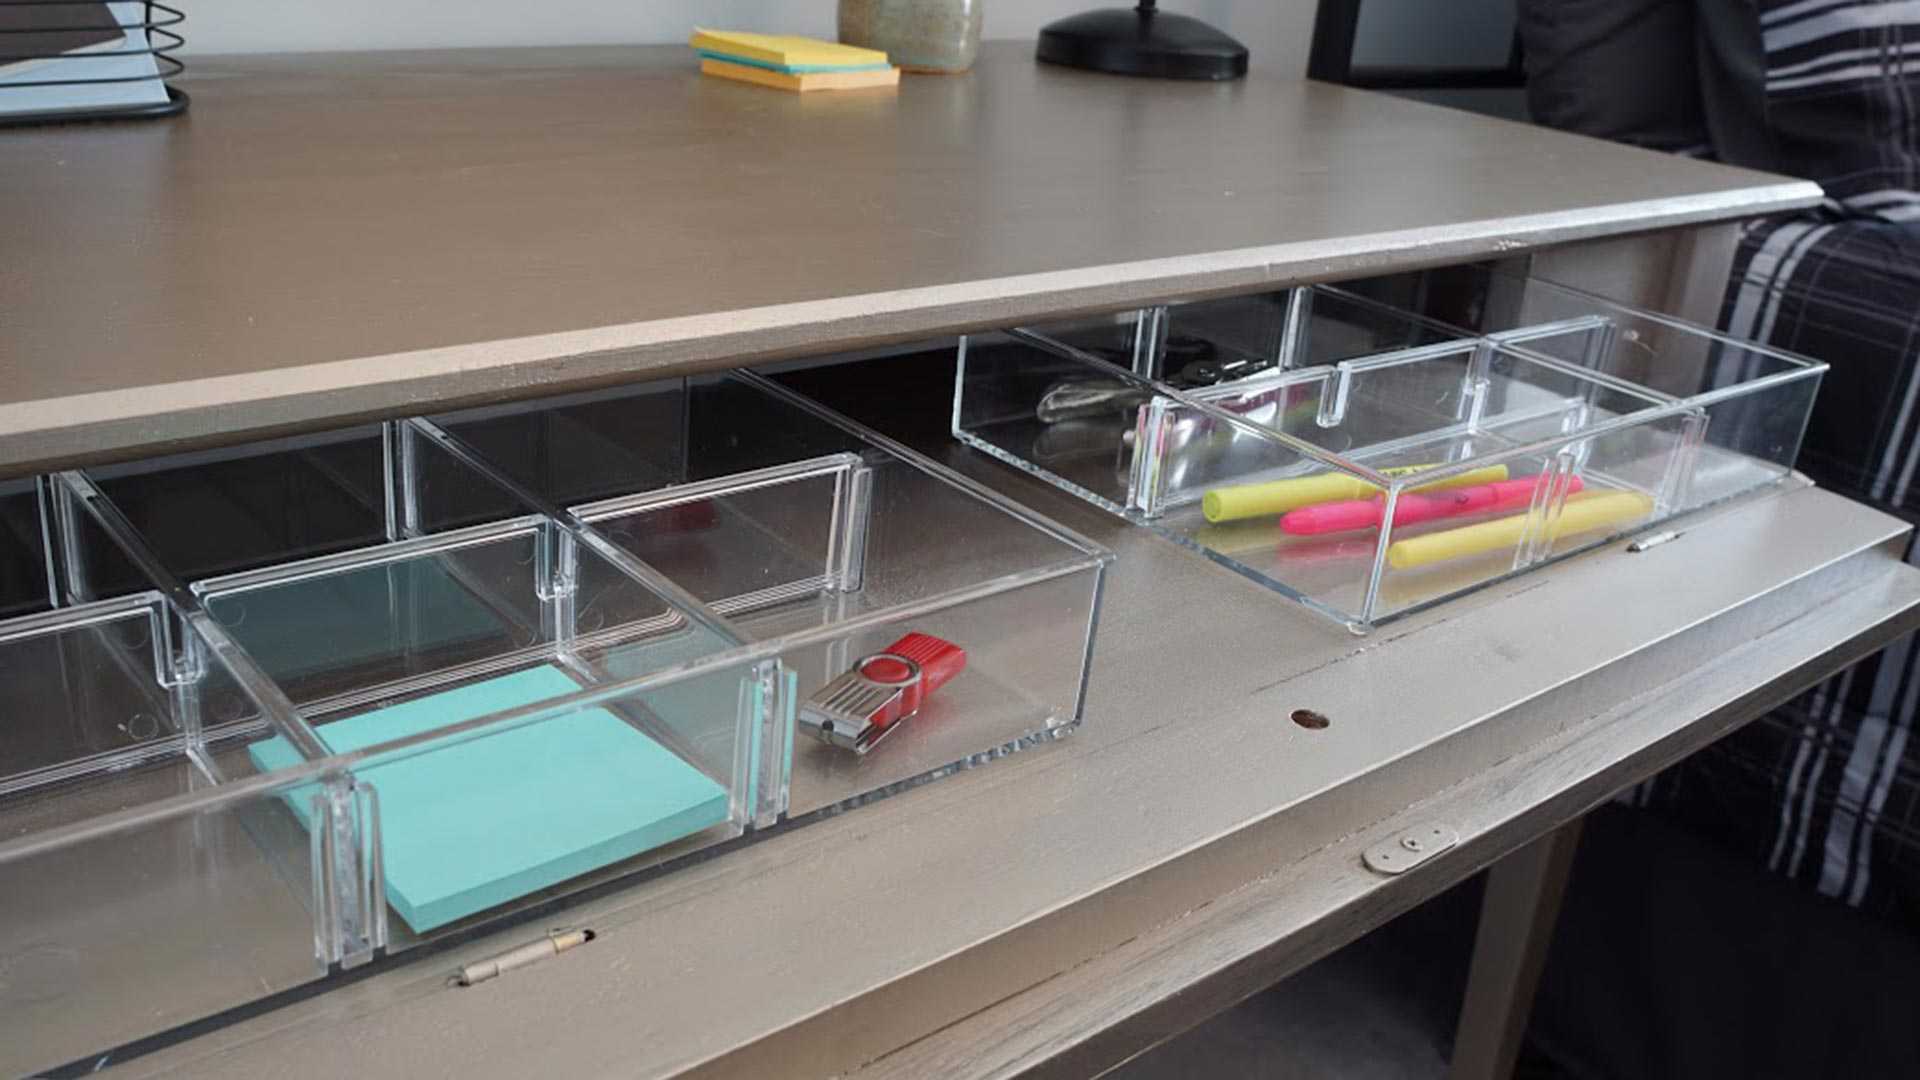
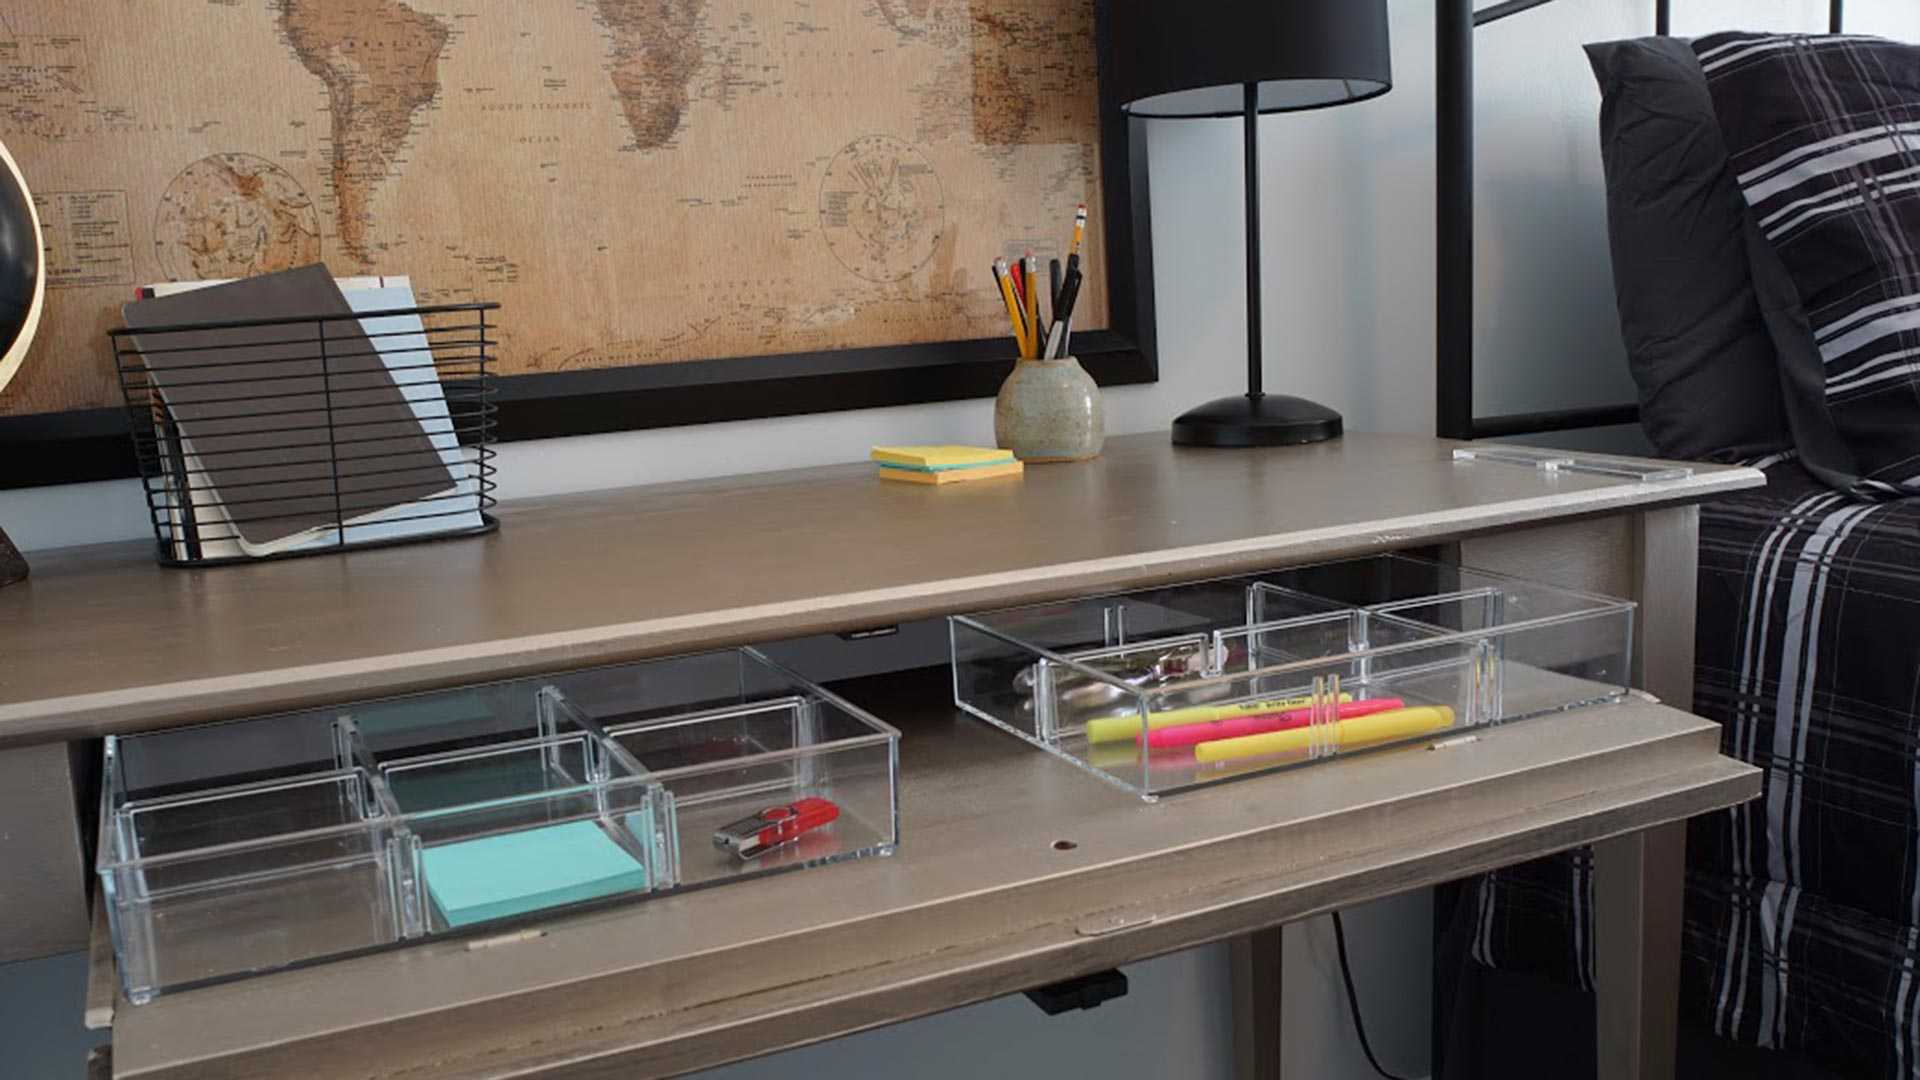
This desk didn’t have any drawers or space for office supplies—it just had a keyboard tray. Since a lot of people use laptops nowadays, keyboard trays are pretty much obsolete. However, with some mounting tape and a few organizational trays, you can update a keyboard tray into a storage space you’ll use.
Measure the height, length, and width of the keyboard slot before picking out trays. Also, pay attention to any magnets or latches that your keyboard tray might have. Ours has a cover that latches with a magnet. We originally bought one tray that went across the entire drawer, but it interfered with the magnet, so we switched to two smaller trays instead. Think about features you want your trays to have. Ours has movable pieces so that we can adjust the size of the slots in the tray. Things like pencils and scissors require longer slots while flash drives and paperclips don’t need as much space.
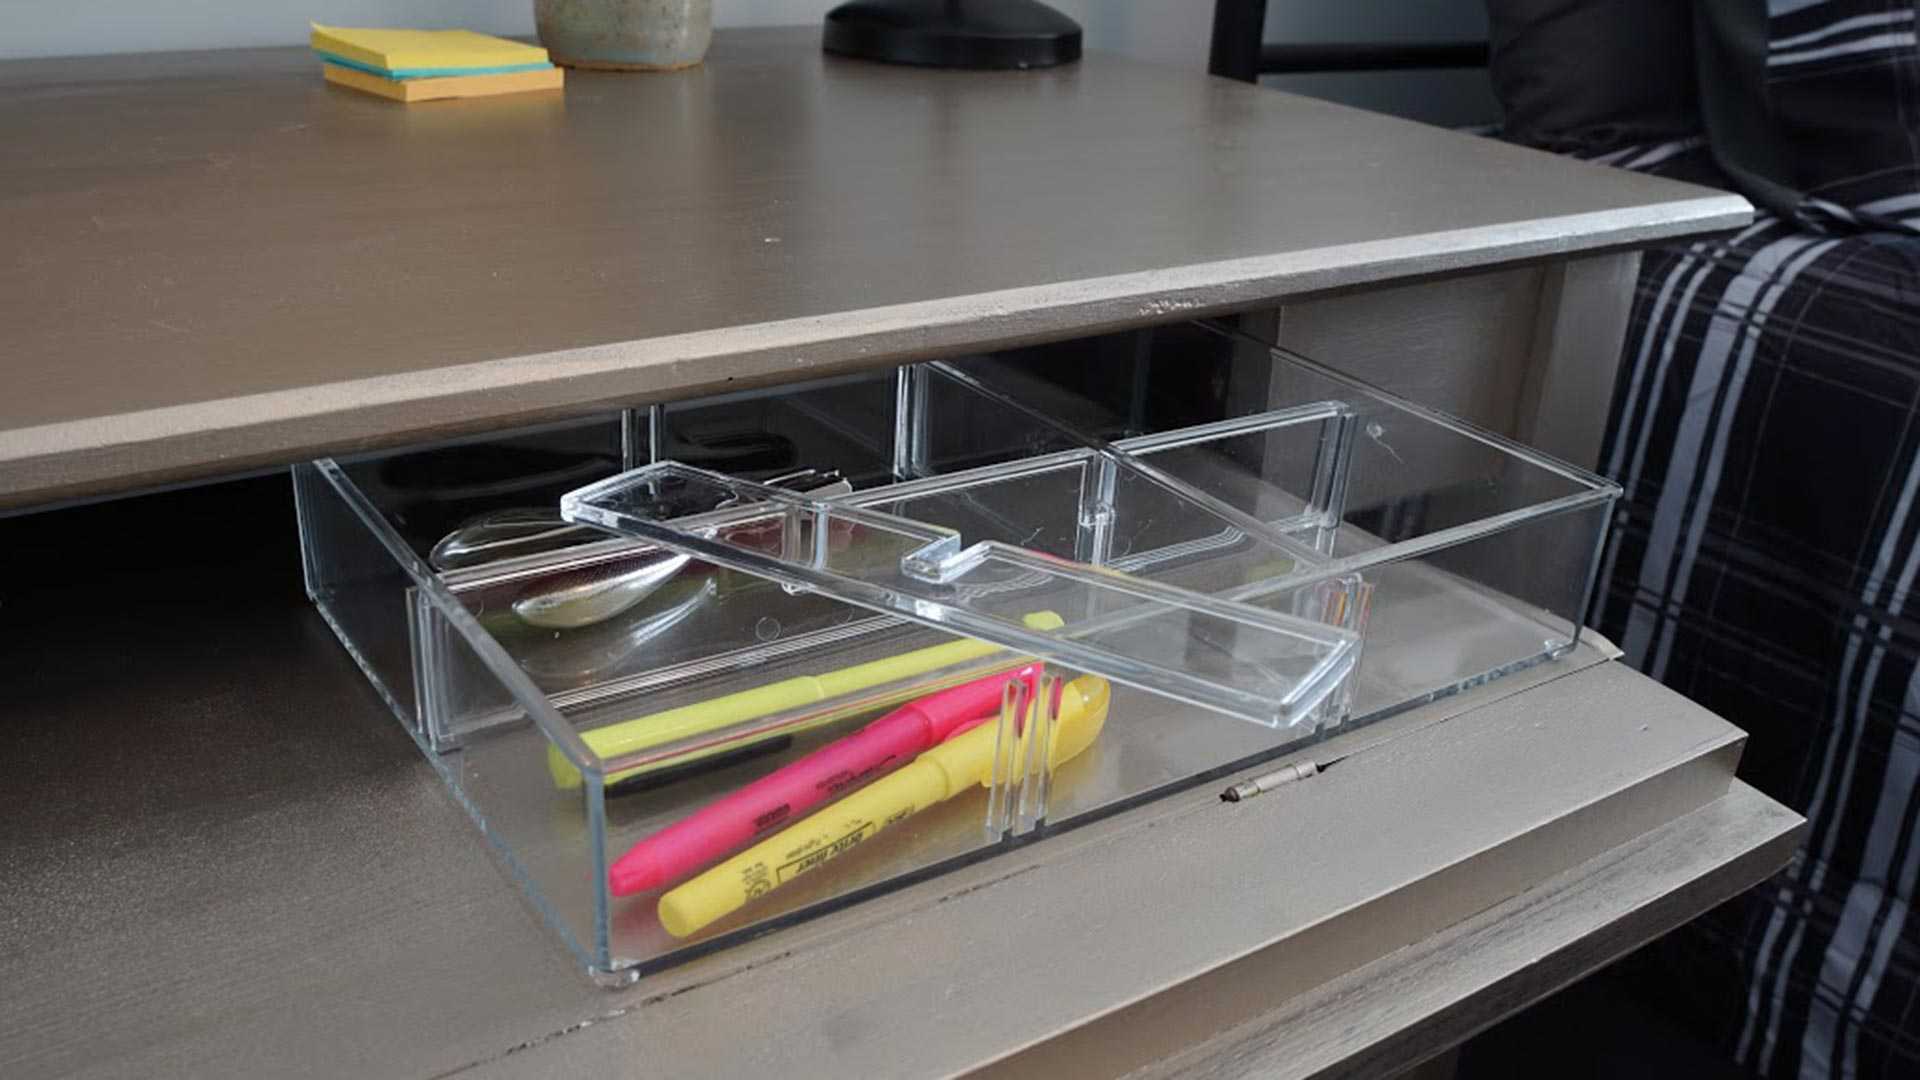
After picking out trays, we attached them with clear double-stick mounting tape. If possible, buy precut mounting tape. Our tape came on a roll, and since it was sticky on both sides, it was difficult to cut. To attach the trays, we put a piece of mounting tape in each of the four corners.
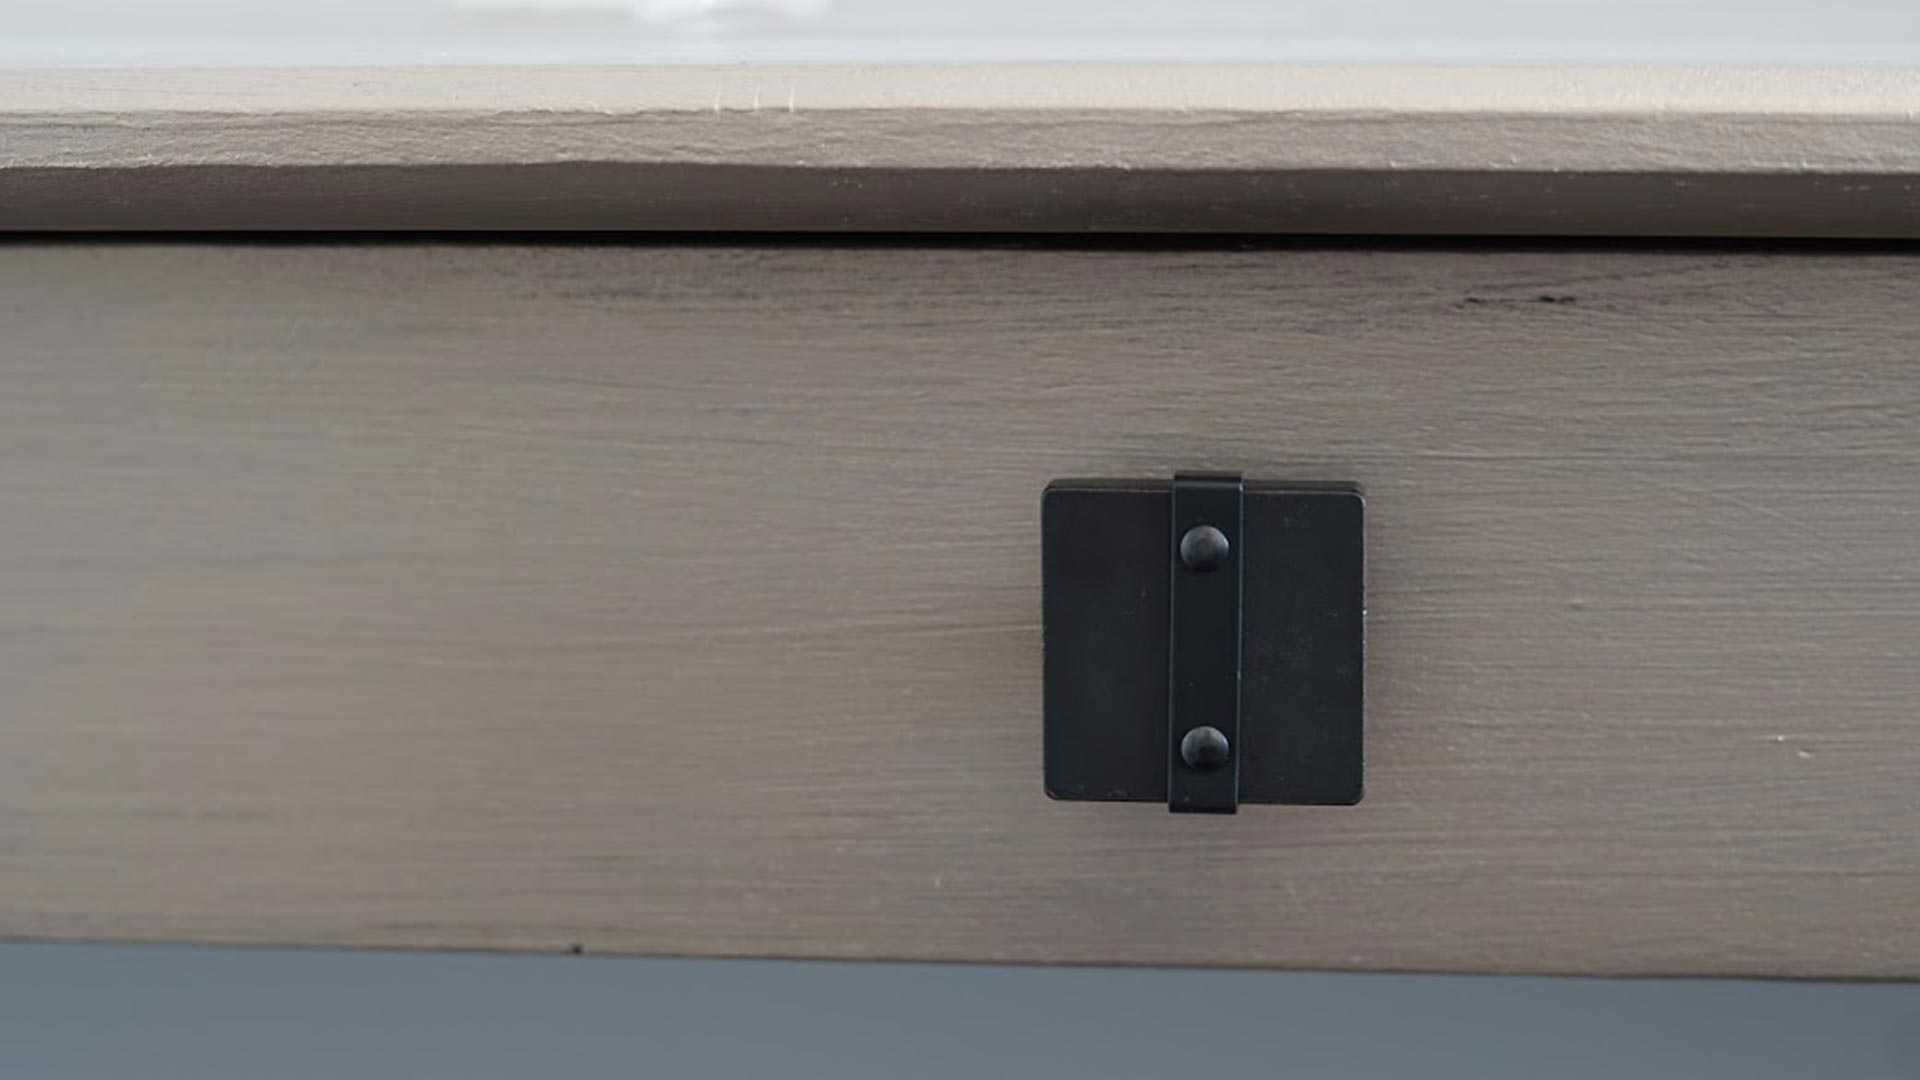
Replacing the Knob
An easy way to personalize and update furniture is to replace the knobs. We love the industrial look that our new knob gives the desk. When we went to attach the knob, we were worried that the screw that came with it wasn’t long enough for the desk. Thankfully, it was. But if it hadn’t been long enough, we could have simply used the screw from the original desk.
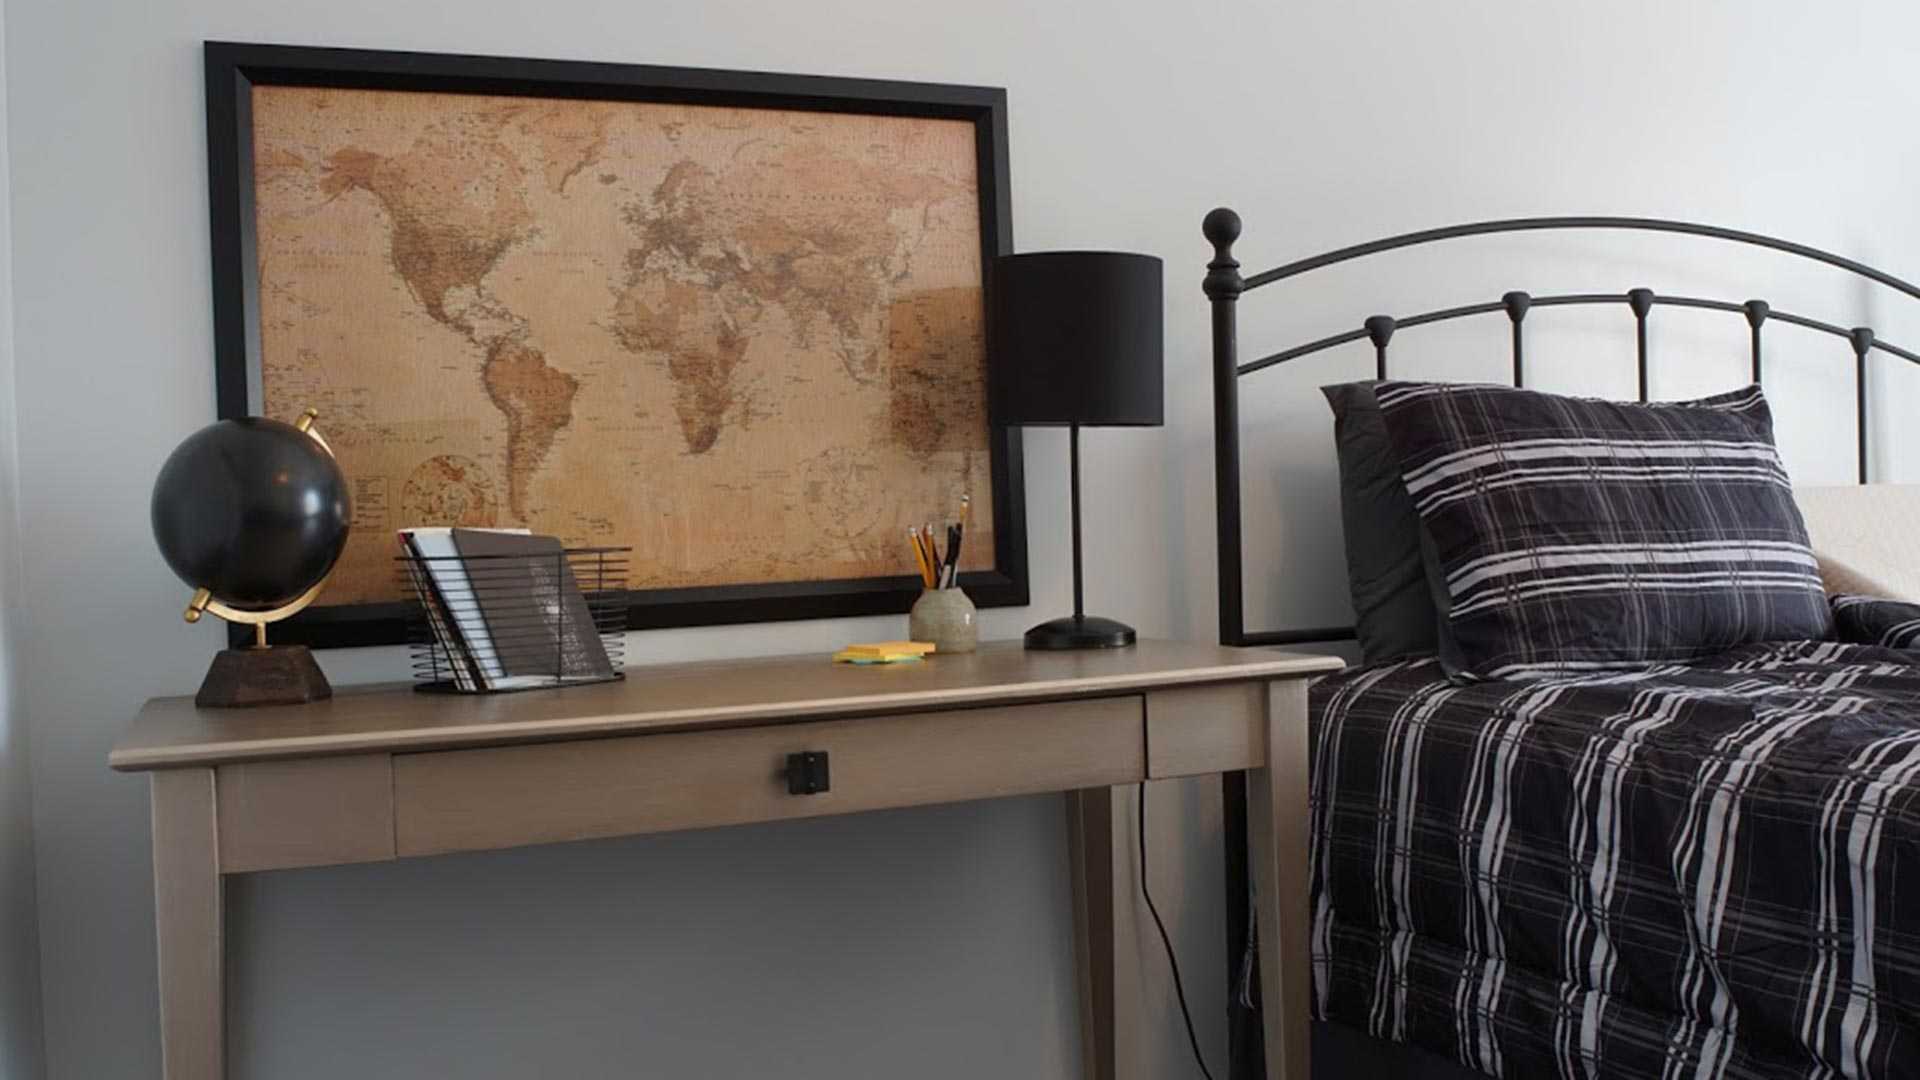
The Grand Finish
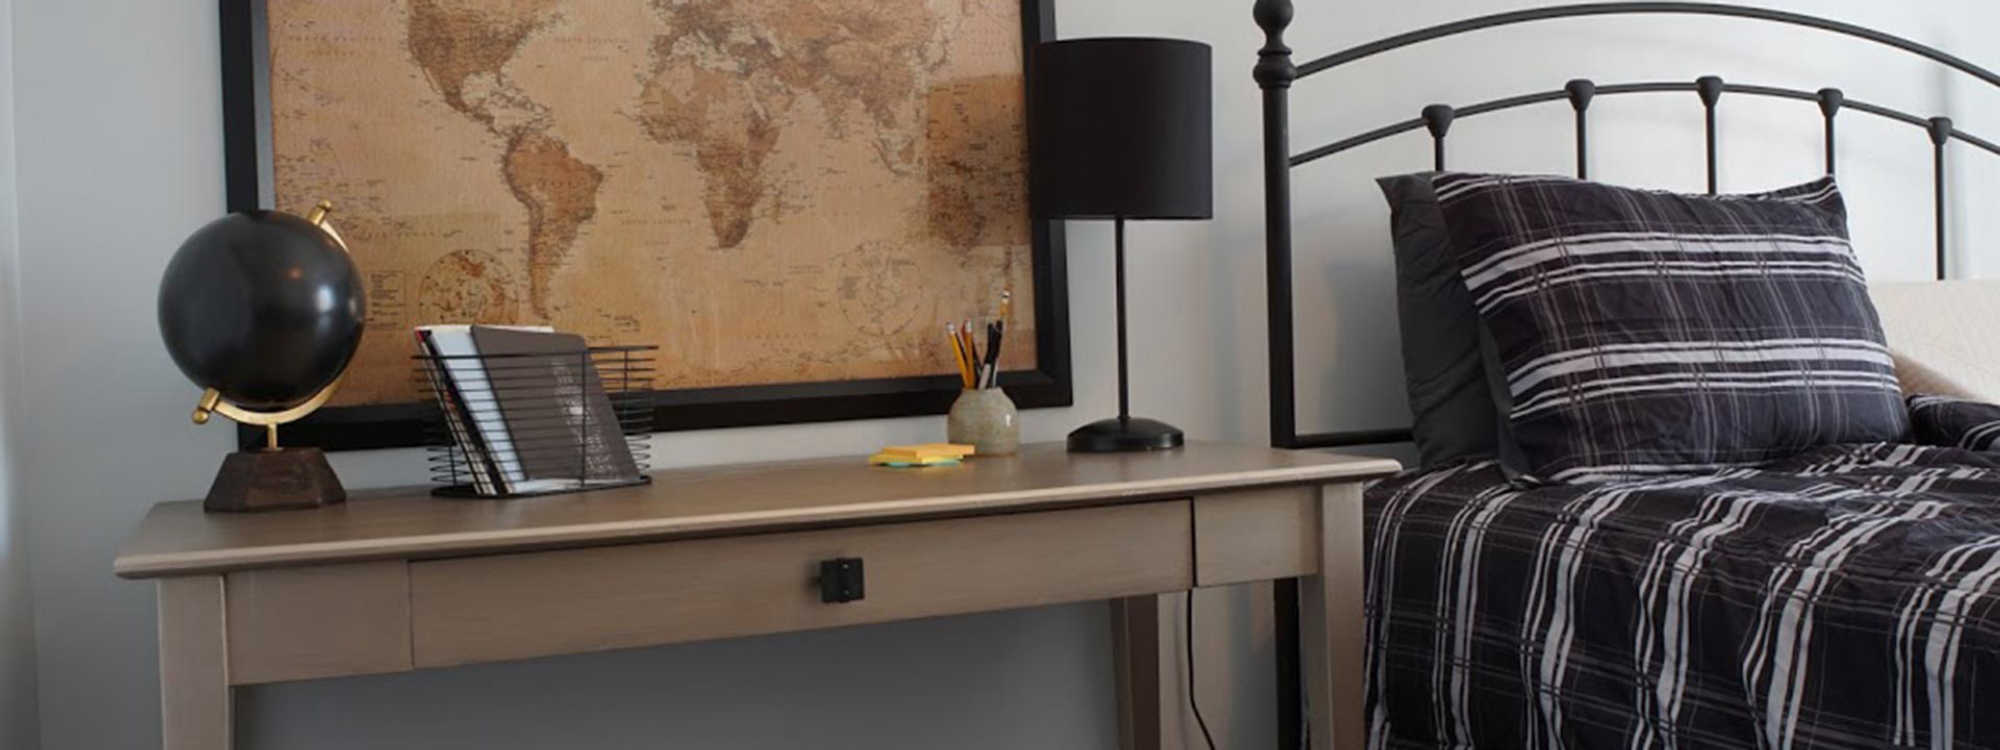
With a coat of metallic paint, an upcycled drawer, and a new knob, this desk looks totally different from the original. It’s fun and unique. The metallic paint turned out really beautiful, and we love it! A desk like this could be the perfect back-to-school space for any student.
Upcycle your own DI purchase, and send us pictures at blog@deseretindustries.org. We can’t wait to see what you come up with!
Recent Posts

Harrisville Deseret Industries Reopens with a Fresh Look and Expanded Offerings
The Harrisville DI store has been remodeled, featuring an improved layout, new items, and a renewed focus on job training.
How to Use Spray Paint to Transform Your Thrifted or Secondhand Finds
Learn how to prep, spray paint, and refresh your thrifted finds with easy DIY techniques. Simple steps, beginner projects, and budget-friendly ideas

Donate to Support Real Christmas Joy at Deseret Industries
You can help your local community in a fast and easy way this holiday season by donating to your local DI. Learn how donations like yours have helped people in need and warmed their hearts through Deseret Industries.

How to Help Your Community Through Thrifting
Support your community through thrifting at Deseret Industries—shop, donate, and create care packages that make a meaningful difference.