Revamp a Lamp in Three Easy Steps
The other day, I rescued a pair of lamps that a friend of mine was going to throw away. Although they were plain and looked a little beat up, I knew that some TLC and a pop of color would make them look brand-new. So here’s a tutorial on how you can revamp a lamp in three simple steps.
Things you will need:
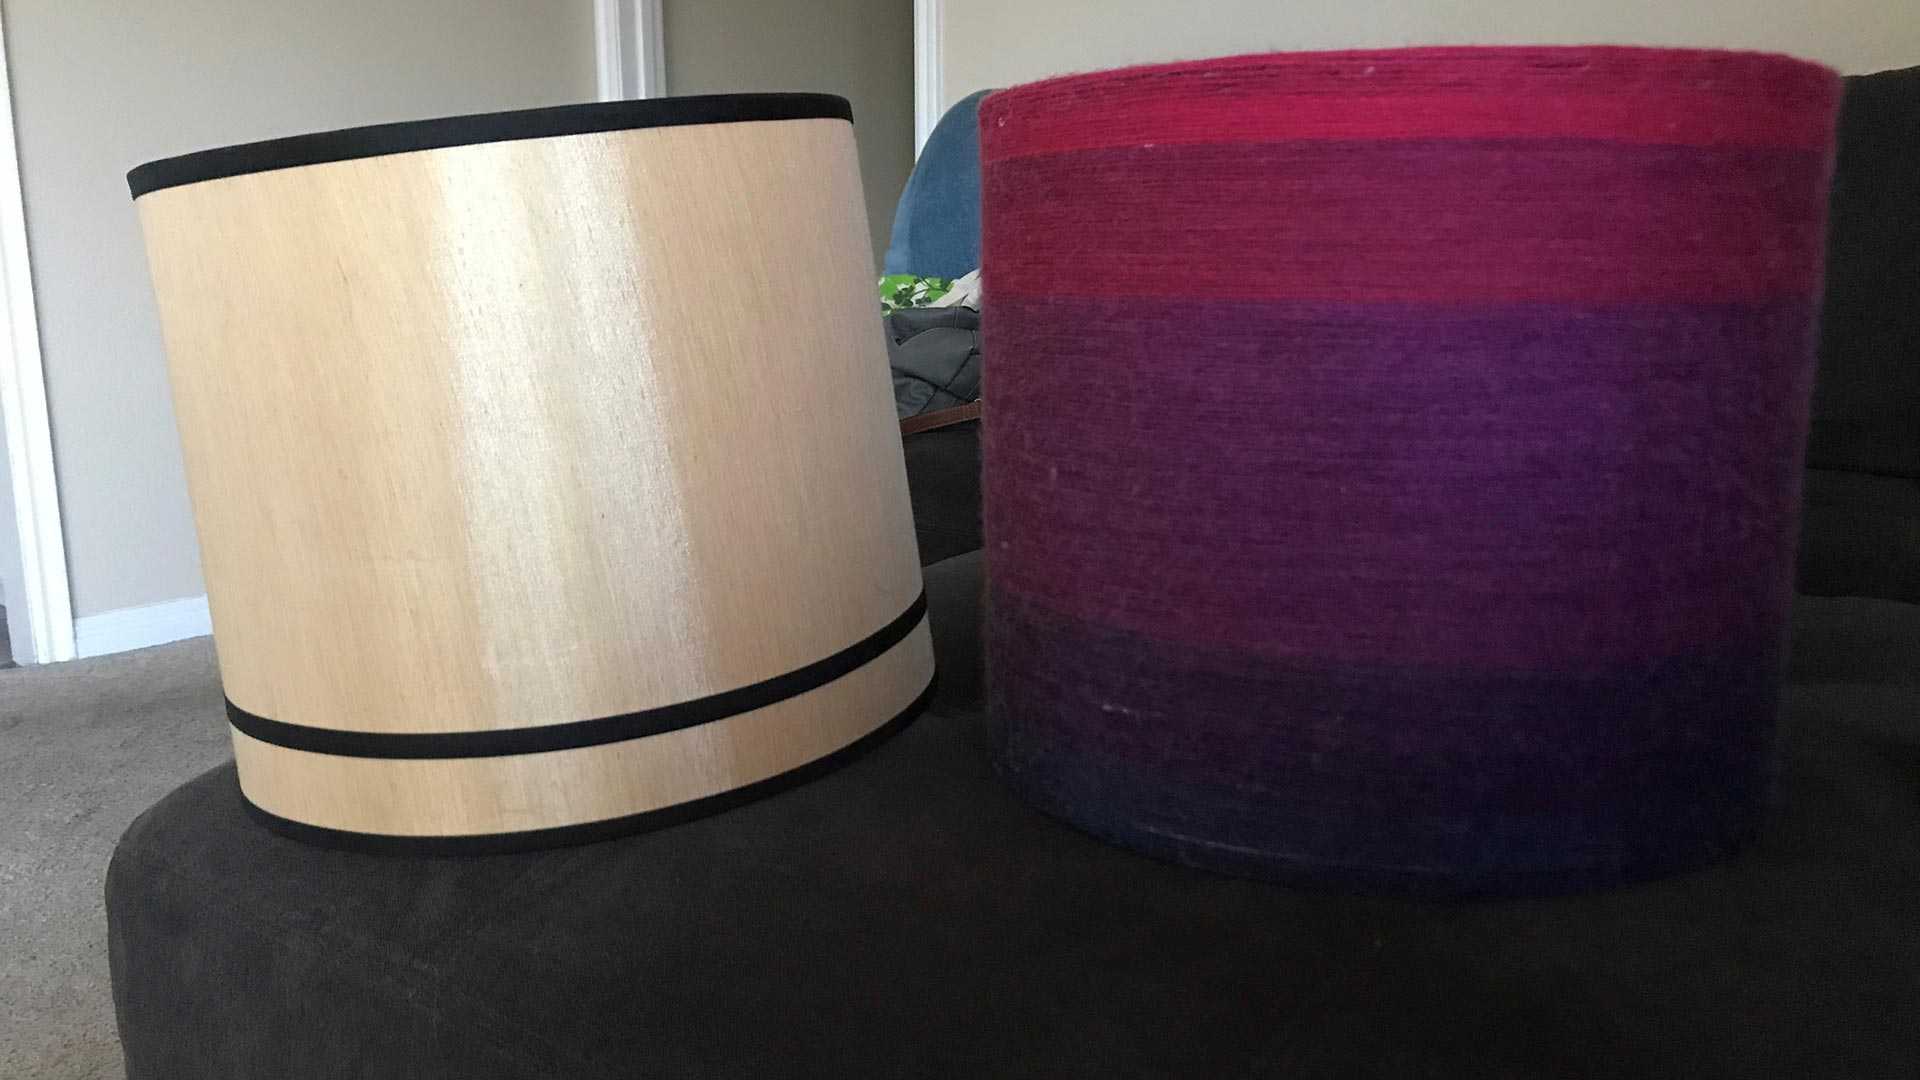
- Lamp (Thrift stores are a great place to find lamps with unique bases that are perfect for this project. Also, don’t worry if the lampshade you pick is dirty, dusty, or torn. Since we’re covering the lampshade, those minor imperfections won’t matter at all! Just pick a shade and a base with a shape or structure that you like.)
- Yarn (How much you need will depend on the size of your lampshade.)
- Hot glue gun
- Scissors
- Spray paint (optional)
- LED light bulb
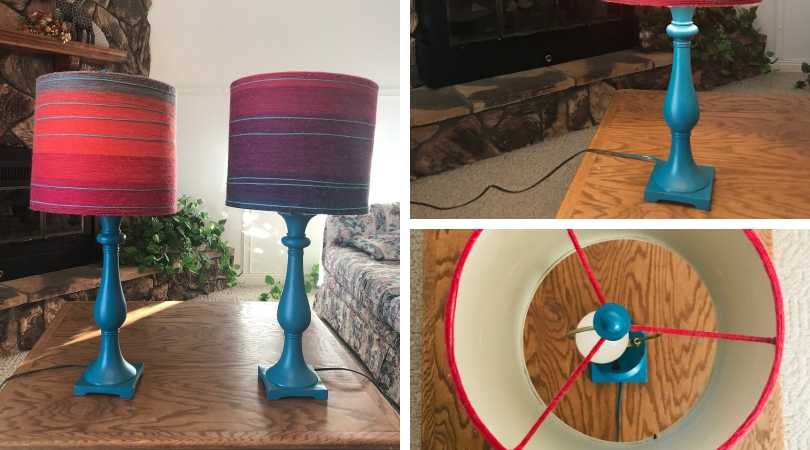
Step 1: Wrap.
In this step, you’re going to be wrapping the yarn around the lampshade until the whole thing is neatly covered. Starting from the bottom of the lampshade, dab a spot of hot glue and begin wrapping the yarn around the lampshade, adding glue as needed. (The first and last two layers will need more glue around the border to keep the yarn from slipping down or off the lampshade.) Make sure each layer is laid close together for a clean, smooth look. And just keep wrapping until you’ve covered the whole thing with yarn!
Note: Depending on what kind of lampshade you have, you may or may not have a fitter across the top. A fitter is a metal piece that goes across the top of the lampshade and around the light bulb. Fitters help connect the lampshade to the lamp and direct the light.
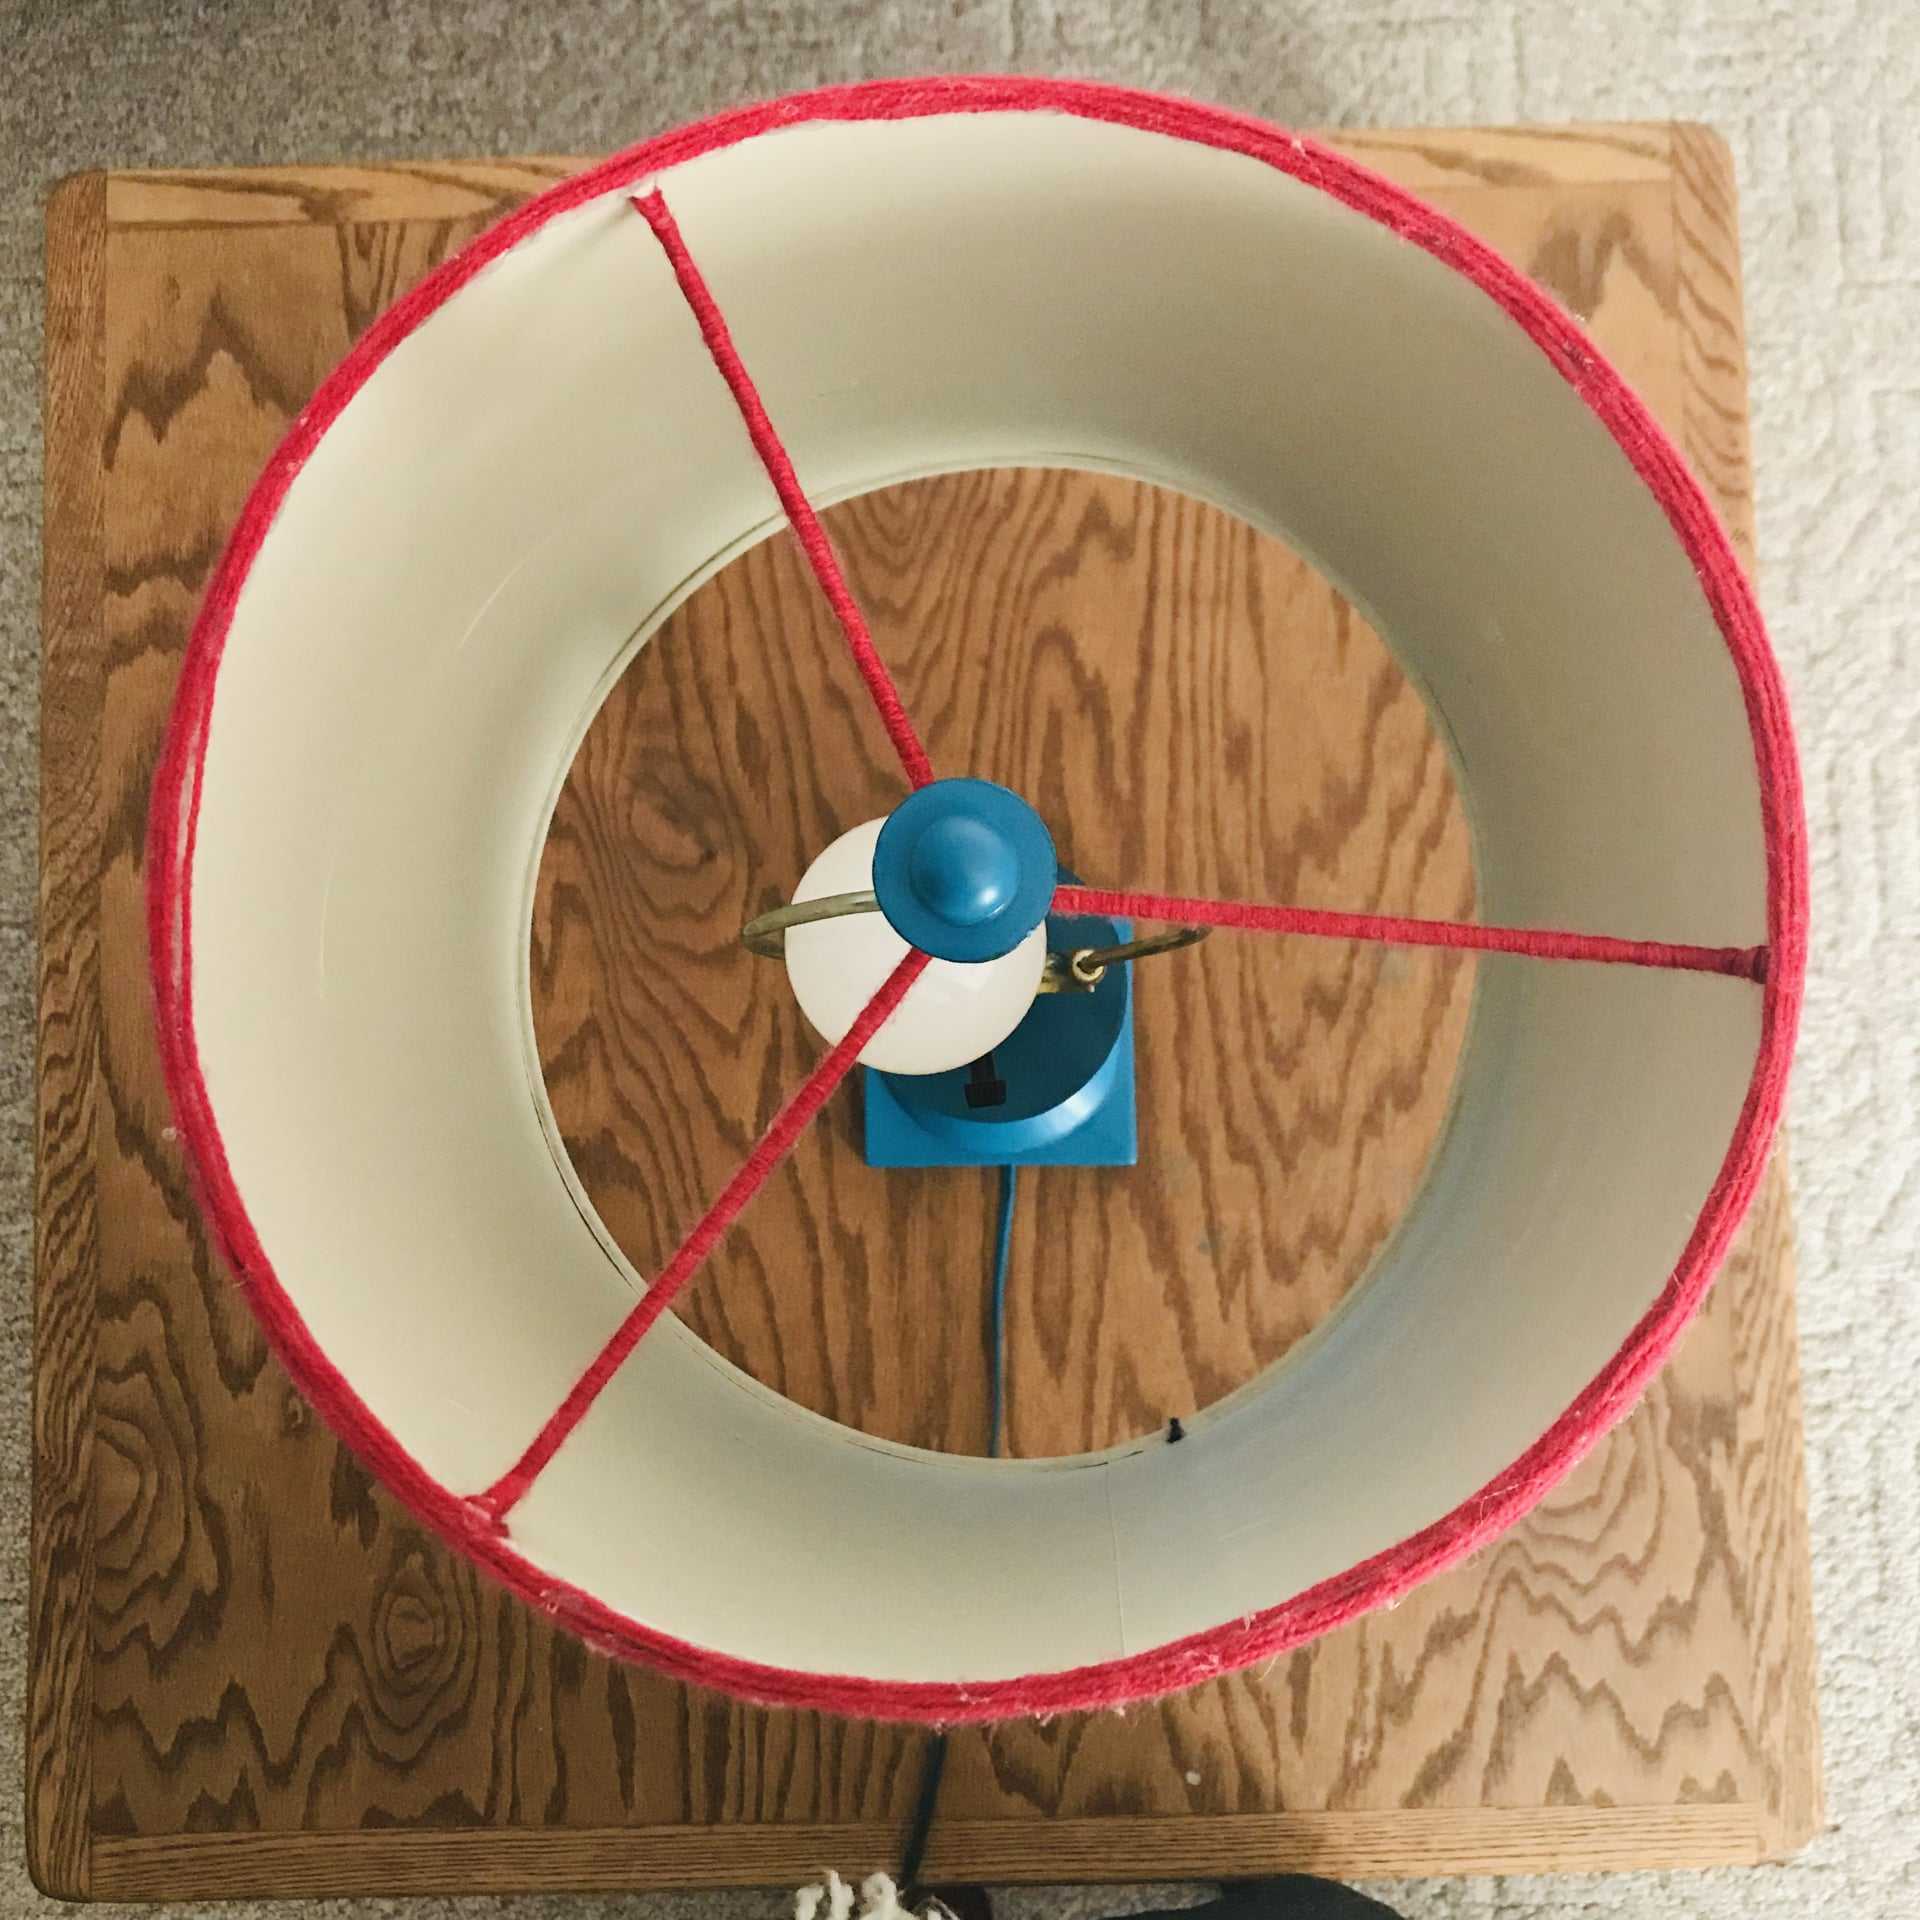
As you can see from the picture, my lampshade does have a fitter, and I chose to cover it with yarn to match the pattern and look I wanted. If you do cover this metal part with yarn, be sure to use an LED light bulb. LED lights do not produce as much heat as regular bulbs, and they significantly lower the risk of your lamp catching on fire.
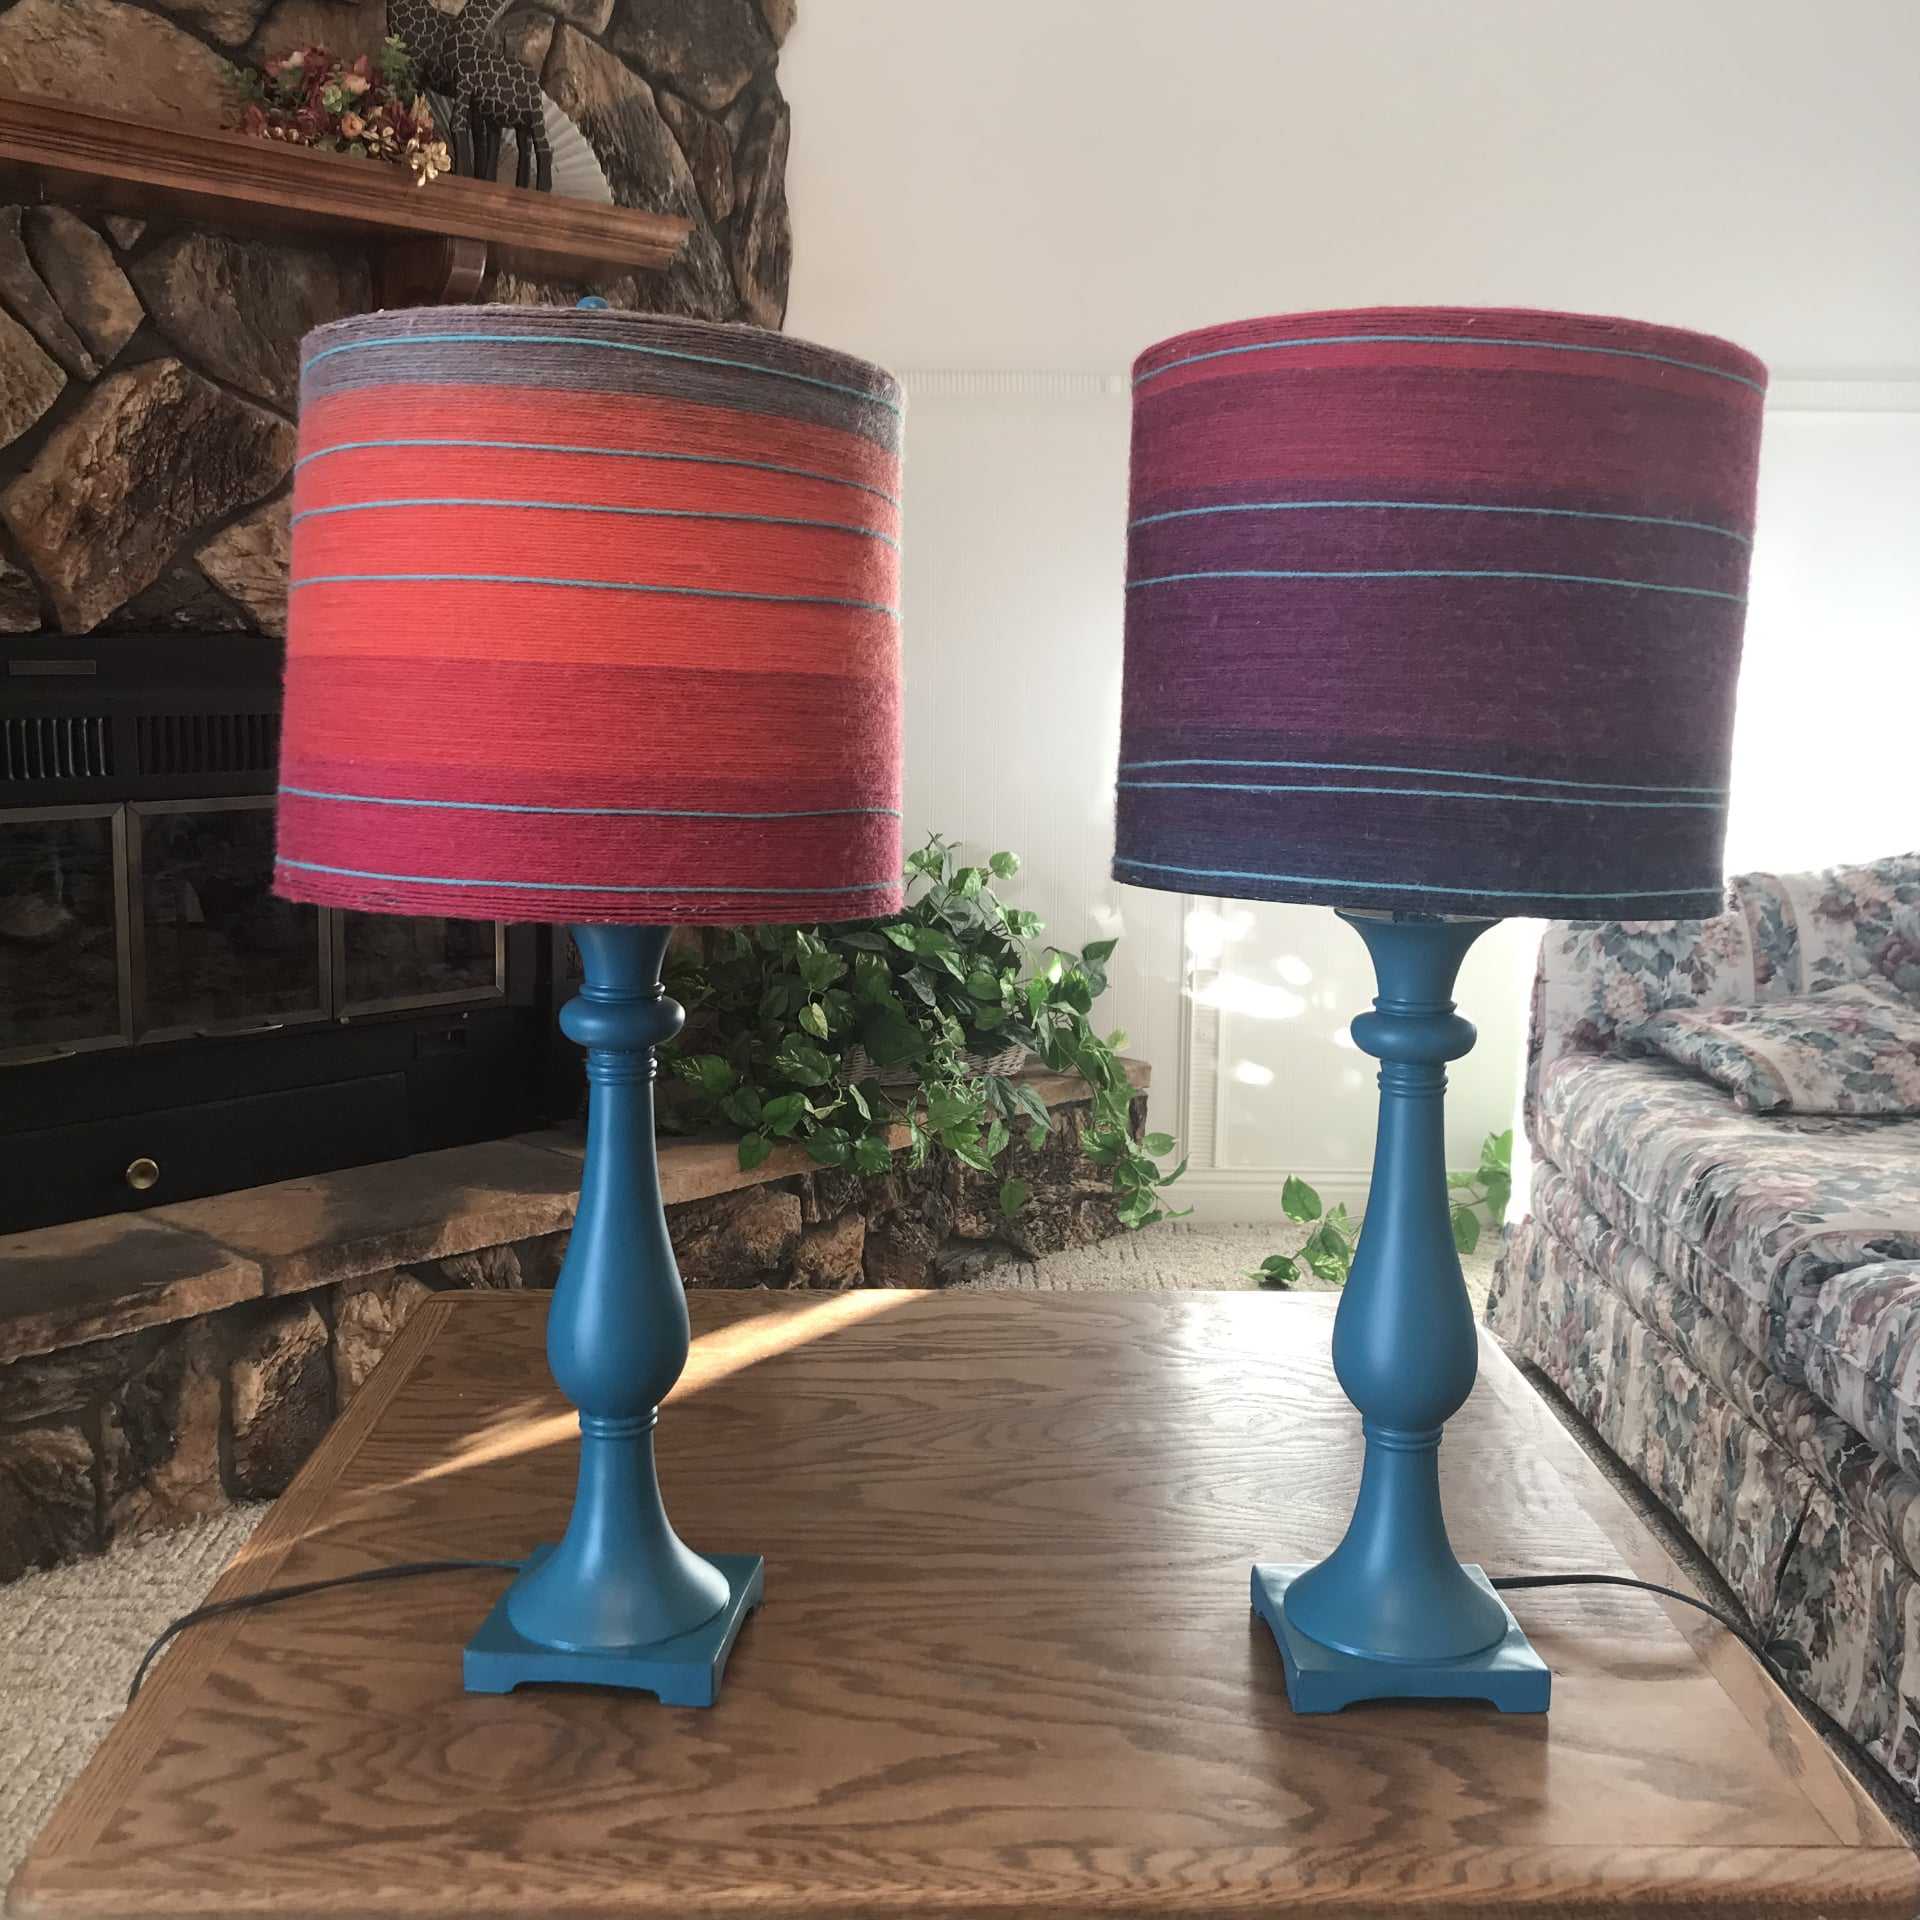
Step 2: Paint.
Now that your lampshade is stylin’, it’s time to jazz up the base. An easy way to customize your base and make it match the new look of the shade is to spray-paint it.
I really wanted a bold, colorful look, so I chose a bright teal color. After you’ve chosen your color, spread out some newspaper to protect the area, and spray-paint over the lamp base. You may have to do a couple of coats, depending on the original color of the base and the color and thickness of the paint. Let it dry according to the instructions on the spray paint. Easy peasy.
Step 3: Combine.
Now it’s time to grab your LED light bulb and assemble your beautiful pieces. Plug in your new lamp, snap a pic, and admire your hard work.
I’d never done a lampshade upcycle like this before, but I love how it turned out! My rule of thumb with DIY projects is to just go for it! You never know how an idea will turn out until you try it. If it doesn’t work, you can always try a different idea! So next time you are cruising through Deseret Industries, think about what goods you can upcycle. And don’t be afraid to get creative and have a lot of fun!
Jess Verzello is a crafting connoisseur who is always looking for the next thing to create. She’s a party planner, chef, writer, and frequent thrift store goer. When she isn’t upcycling lamps, she can be found baking something in the kitchen or reorganizing her room. Jess lives in Utah, and she hopes you make life a party every day.
Recent Posts
Building Skills and Confidence at Deseret Industries
Follow Miles’s journey as a Deseret Industries associate as he builds skills and confidence through the Deseret Industries job training program.

Why Moms Love Shopping at Deseret Industries
Meet three moms who love shopping at Deseret Industries—for affordable finds, meaningful moments, and a mission that supports families and communities.

How Thrifting at DI Makes Wedding Season Affordable
From bridal showers to receptions, a little creativity and strategic thrifting at Deseret Industries can make a wedding event more affordable and meaningful.

Analise Finds Purpose Through Learning and Service at Deseret Industries
See how Deseret Industries’ job training and supportive environment helped Analise build skills, confidence, and a renewed sense of direction.