Piano Painting 101

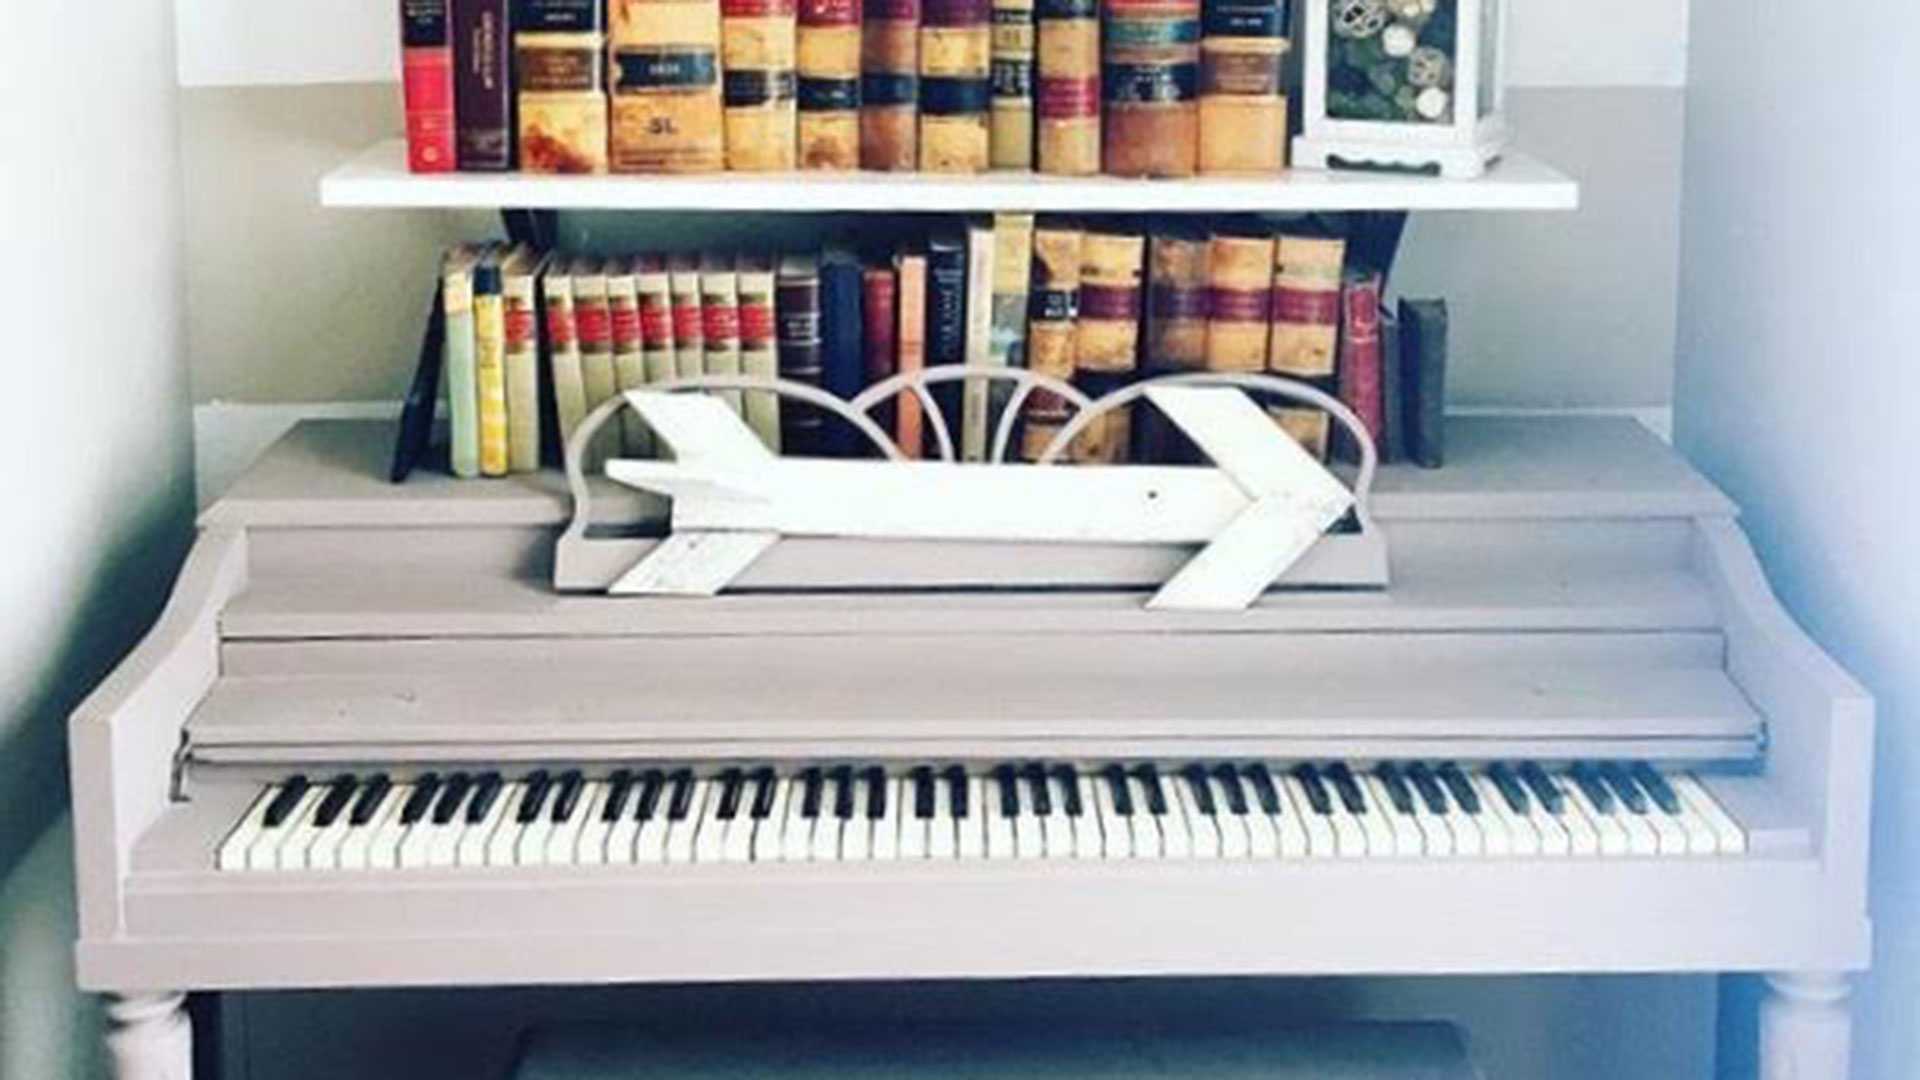
Is there anything better than a beautifully painted piano? I think not! A painted piano adds character and uniqueness to your home décor, and it makes a beautiful centerpiece.
If you don’t have a piano yet, here are a few tips:
- Check all of your local thrift stores and social media thrifting platforms.
- Ask if you can have the piano for free. We found our beautiful little lady online, and all we did was ask if we could have it for free. I have found that there is no harm in asking.
- Bring someone with you who plays the piano or knows how to tune a piano to make sure you are getting something that won’t break the bank with future issues.
- Be prepared for a complicated moving process. Bake cookies for all involved, because moving a piano is a big pain. After moving our piano, my husband said, “This piano is now a permanent fixture in our house.”
Jump In and Get Painting
Tools You’ll Need
- Sponge roller brush (to use over large areas)
- Angle sash paintbrush (to use in the more intricate areas)
- Painter’s tape
- Plastic drop cloths
- Chalk paint
- A cookie (or two) for good luck
After we got our piano, I decided to redo it with chalk paint. It’s cheap, convenient, and easy to use.
It might seem like a big undertaking to paint a piano, but don’t overthink this project. Just do it. It’s not as hard and scary as it seems. Wear clothes that can be destroyed by paint, and make sure to clear your schedule so you can bust this project out.
Chalk paint dries matte and has a rustic finish. Also, it doesn’t require any sanding or priming. So you can start by covering the piano keys and pedals with painter’s tape. Feel free to go crazy with the tape—you want to make sure these areas are well protected.
Apply a nice, even coat of chalk paint and let it dry. The paint should be dry to the touch, which takes an hour or two, depending on thickness of the coat. Once it’s dry, do a second coat of paint. Don’t paint areas that you don’t see, like the inside or the bottom of the piano.
After you’ve painted the piano, you can seal the paint if you want to. I did not seal the chalk paint on this piano. I like the matte look better, and it is easier to clean. When my kids decided to take permanent markers to the piano bench, I was able to fix it without much trouble. However, sealers do protect the paint and help maintain the beauty of your work.
Sealing the Paint
When it comes to sealers, there are a few options you can choose from:
- Wax has been a hot trend over the last few years, and it creates a lovely, rich finish. However, it doesn’t really protect the wood. If the furniture gets a lot of use, like a piano that kids practice on and stack books on top of, the wax can get scratched and worn out easily. Also, you have to reapply wax every few months, and it can take over a day to cure after reapplying.
- Polyacrylic is another type of sealer. It’s much more durable and scratch-resistant than wax, and it only needs to be reapplied every few years.
- Not using a sealer is also an option. I’ve done lots of pieces without any sealer (like my piano), and I love it. I just prefer a matte look. It’s totally a personal preference.
Some of my happiest memories growing up include listening to my mother play the piano. I love when I walk in and see my kids learning and when I hear those keys moving and beautiful songs being sung. This piano has changed our living room and our lives. It helps us focus on what really matters—learning, being creative, and bonding as a family through music.
Samantha is a stay-at-home mom, entrepreneur, and chocolate connoisseur who believes that you don’t have to spend a lot of money to decorate your home the way you want. She lives in Idaho with her husband and their four children. When Samantha is not hiding in the bathroom from her children, you can find her taking pictures of cool products or saving one shirt at a time with SimplyBibs, all while trying to rule the world and change diapers. To see more of Samantha’s work, follow her on Instagram and check out her children’s bibs here.


.jpeg)

